

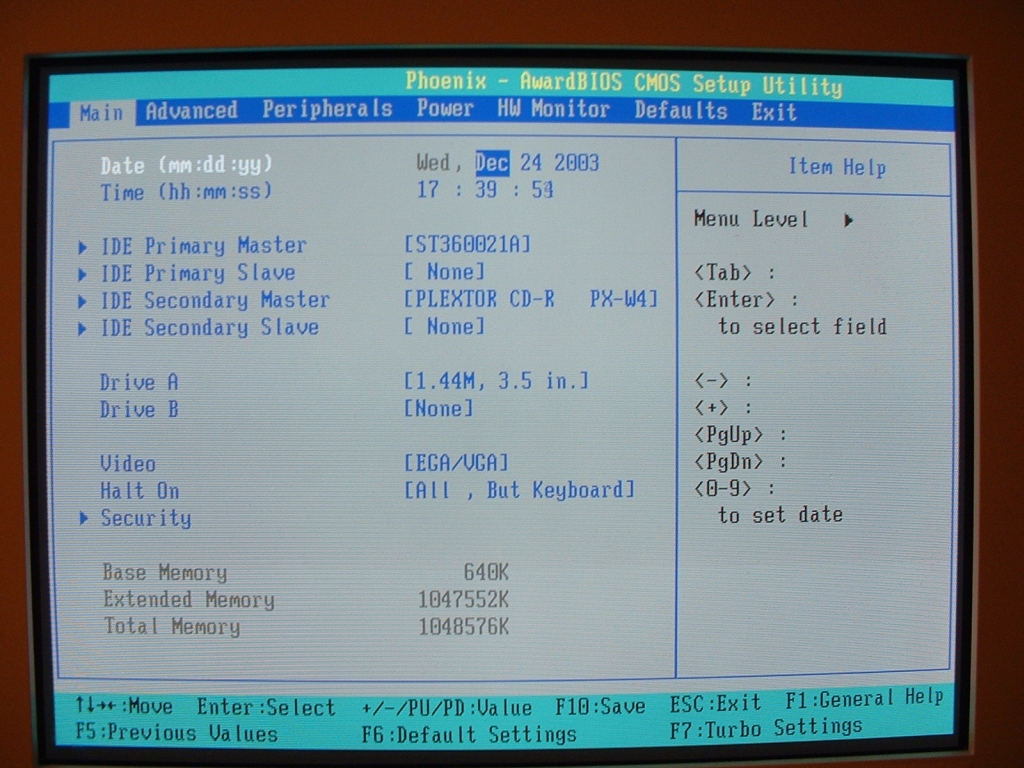
The BIOS used on this motherboard is a Phoenix AwardBIOS but looks a little different that the other Phoenix BIOS layouts. I am not really sure to be honest why they have two different styles however I’m sure there is not a significant difference. In the main section of the BIOS you can set the time/date, boot devices, and get a little bit of other information.
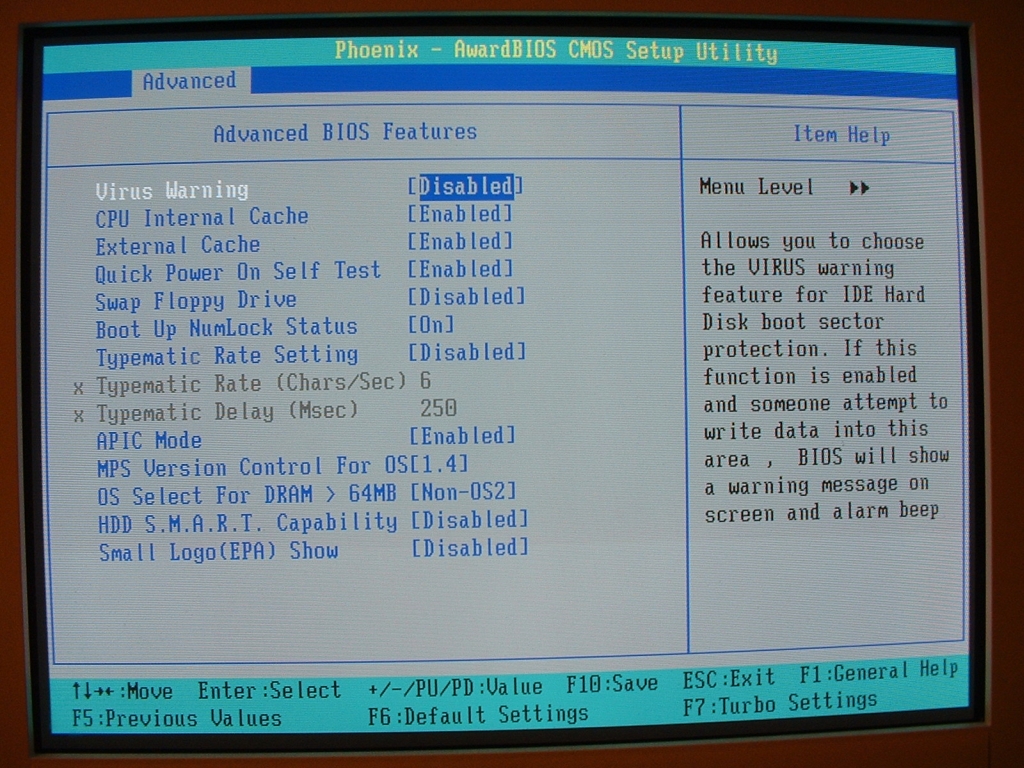
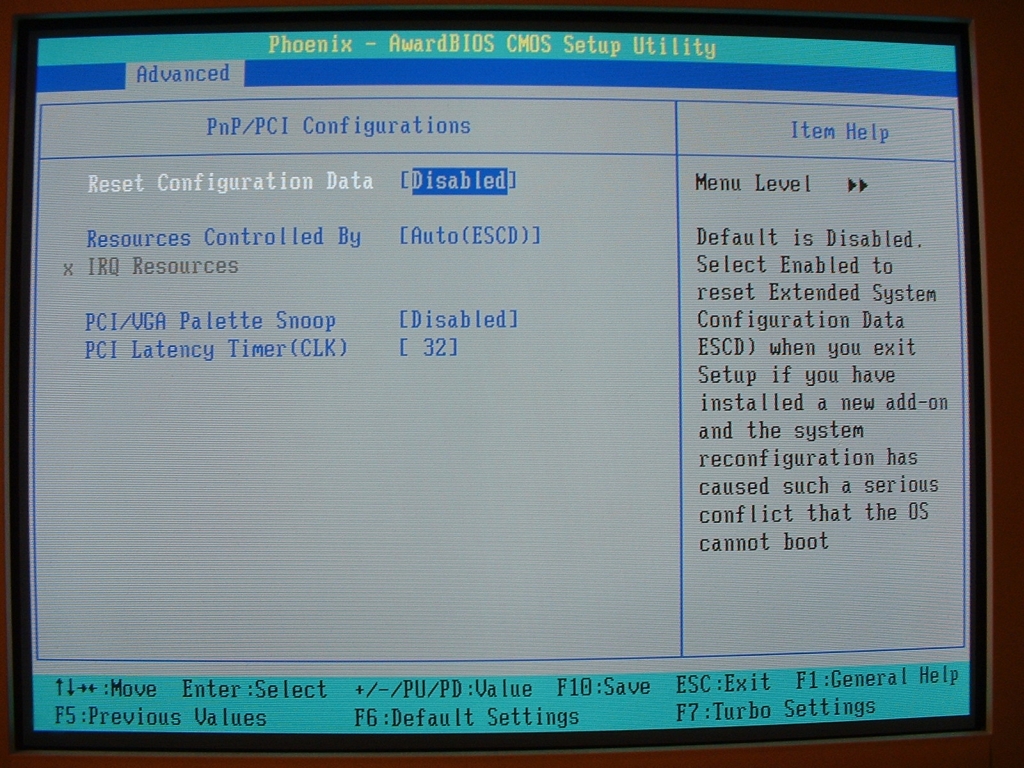
The main section of the advanced tab is where you set the boot order of your computer. There are also three sub categories which are: advanced BIOS features, advanced chipset features, and PnP/PCI configurations. Inside of the advanced BIOS features sub category there are a good amount of different features which can be enabled or disabled. Normally these settings are in the main section of the advanced tab. Within the PnP/PCI configurations section you can choose the settings you want for data configuration resetting, what resources are controlled by, PCI/VGA palette snoop, and PCI latency timer.
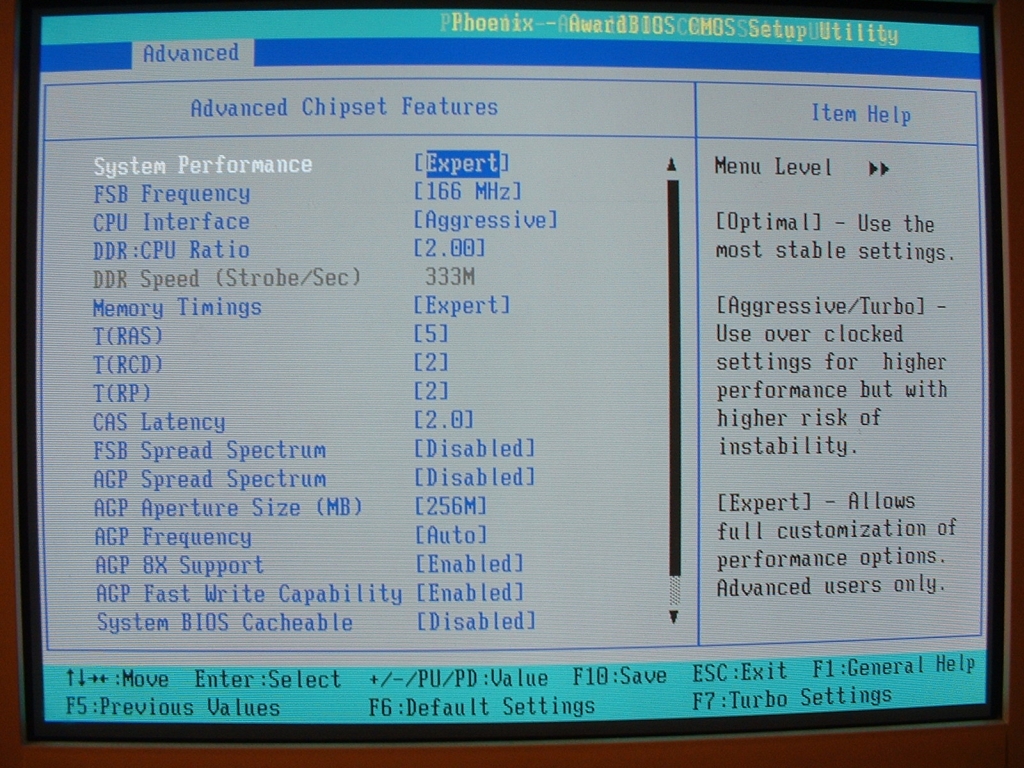
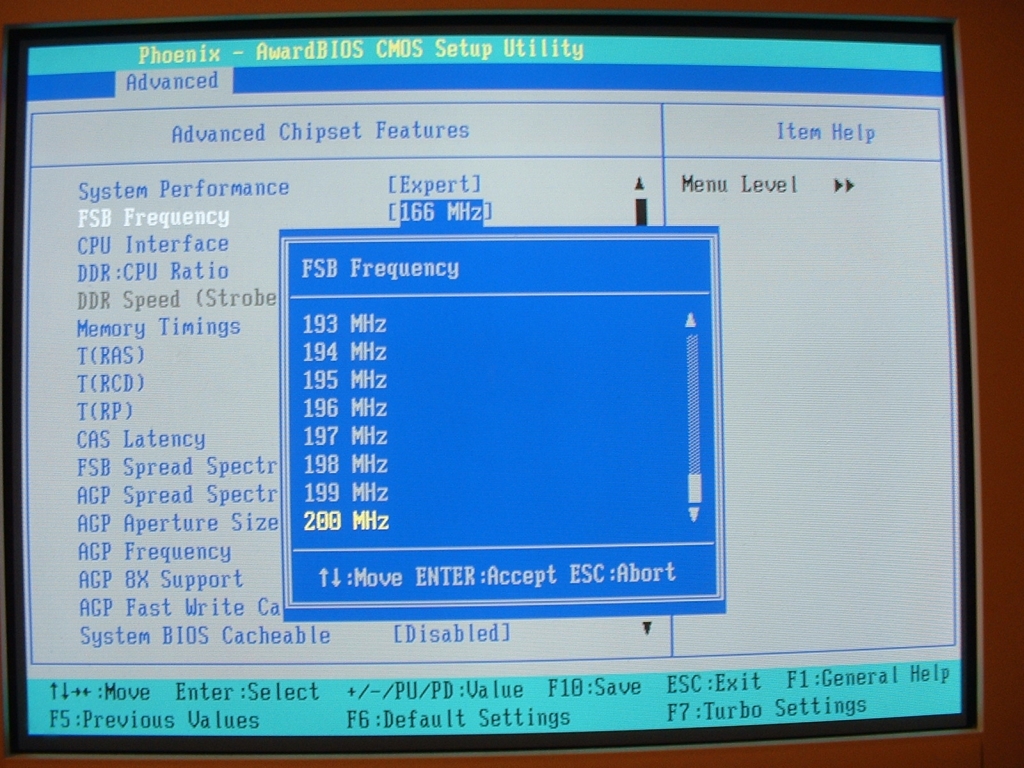
The Advanced Chipset Features section is where you can change your CPU, RAM, and AGP settings. There is a good amount of RAM settings to choose from such as RAS, RCD, RP, and CAS latency. There are also a good amount of AGP settings to choose from such as the spread spectrum, aperture size, frequency, 8x support, and fast writes. You are unable to change the multiplier on this motherboard so that is clearly going to hinder overclocking. The FSB is able to be changed and goes up to 200MHz however I doubt that I will even get close to that. You are also able to change the DDR:CPU ratio which will let you set the DDR speed higher than the CPU basically.
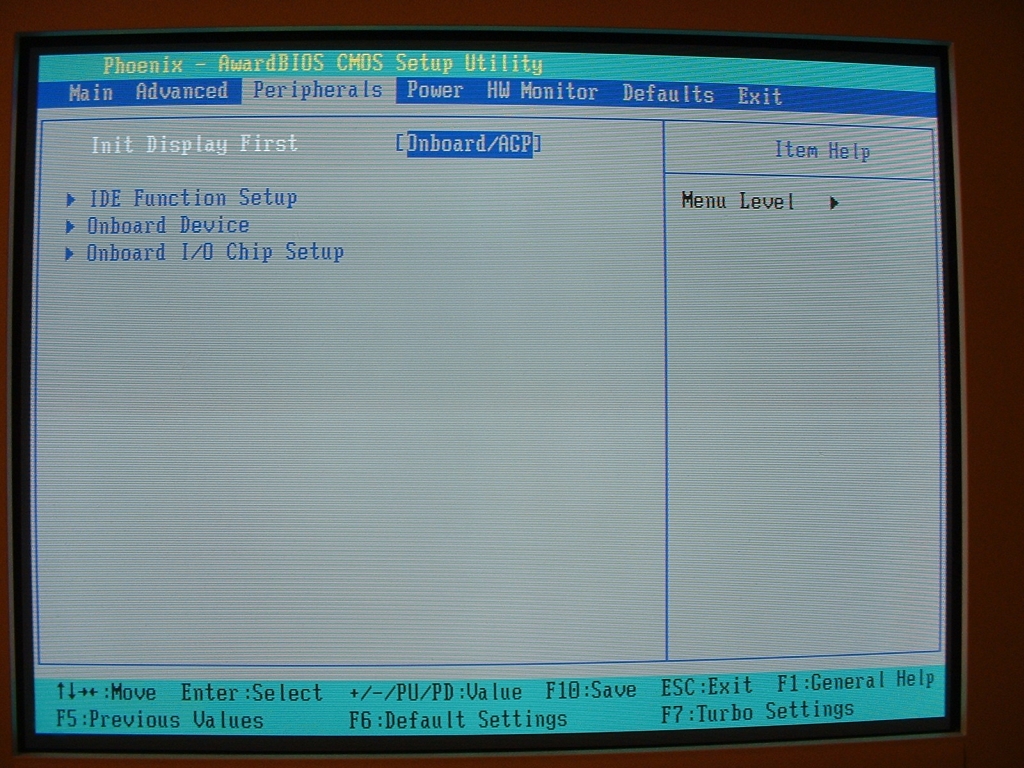
In the peripherals section you can set the first display device and onboard devices. Because this motherboard has so much onboard functionality it is nice that things are able to be enabled or disabled. I left everything enabled because I wanted to fully test the motherboard. The power management setup section is where you can set your ACPI, wakeups, and power on functions options.
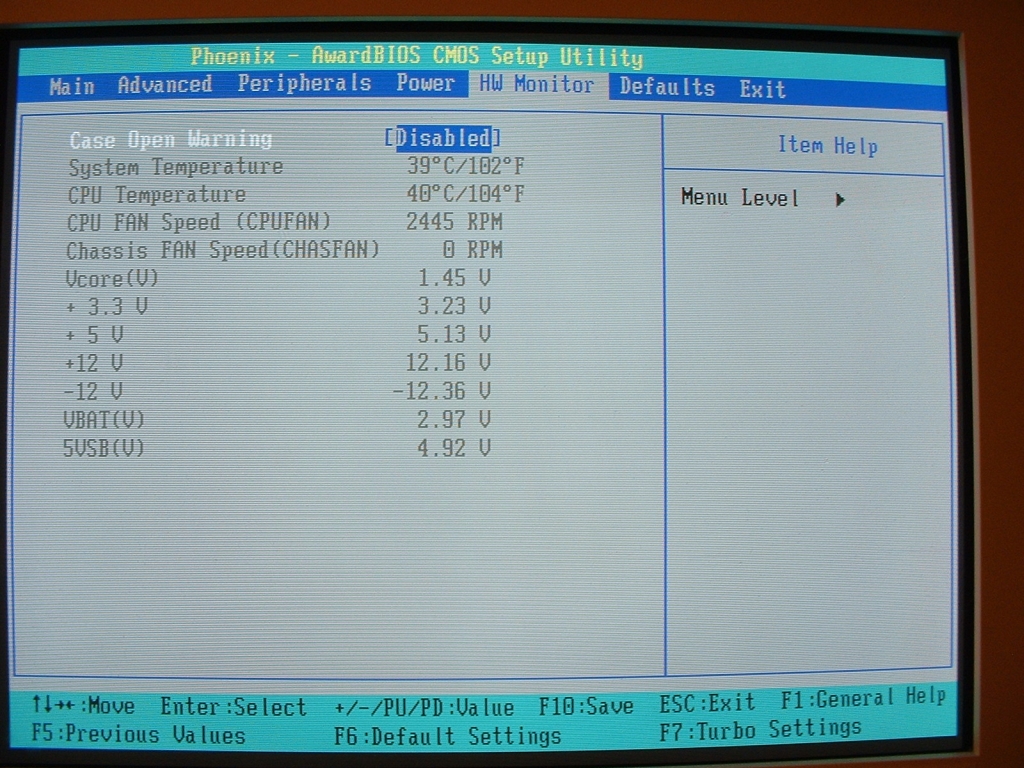
The HW monitor section is pretty basic and simple, in here you are able to monitor temperatures, voltages, and fan RPMs.


2 comments
Why did you choose a ten year old post to comment on?
FOr me it won’t turn out good even if your mother board is good then your fiber optic cables is garbage. You want all things part of it have the quality.
Comments are closed.