

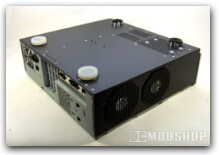
Since this case segments components into their own chambers, cables must be routed to these chambers through oblong holes. The holes are rounded, so there are no sharp edges to fray your cables, and they are barely long enough to fit a standard ATA cable through (you have to angle it just right to get it through). Those holes close themselves off pretty well once you have enough cables stuffed through them.
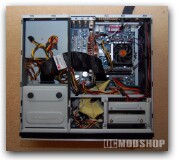
Installation takes a little longer because of the extra routing, so go ahead and take some time to tie them down to really get them out of the way. Once you have everything installed you really shouldn’t have to remove the cables when you upgrade… you’ll be replacing a DVD drive, and there will probably be no need to upgrade its cable.
Hard Drive Installation
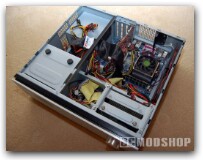
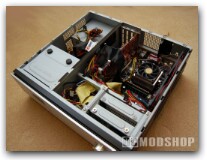
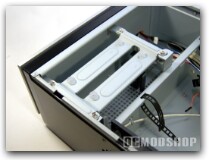
Hard drive installation is rather unique, and takes getting used to. Drives are “suspended” between a top mount and the bottom of the case using long screws. Between these screws are silicon grommets that (in theory) reduce vibration.
There is no removable drive cage, just the top mount is removable. You must then flip the case upside down to access the underside and secure the left side of the hard drive to the case bottom. It is very easy to get confused and install the drive the wrong way, which doesn’t become apparent until the top mount won’t fit properly. Once you do get it installed properly, the drives are hanging rather securely right above a large air intake. The drive area is segmented rather well, so heat produced by the drives should not contaminate other areas.
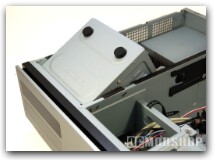
DVD drive installation
The DVD drive cage is rather unique. It is removed by pulling back on the cage slightly (to unlock it) and then flips up on a hinge. The DVD drive is attched to the cage in a normal fashion, and then the cage is slid back into position. Cables can be routed to the drive via the slots between chambers.
This case can only hold so many components, so you even if you used the best video card and CPU available today you would only be using about 300W, well under the 420W rating of this PSU. Below are the components used in this test configuration:
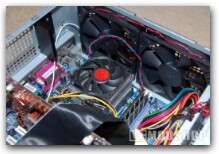
- Athlon 64 3000+ (socket 754)
- Gigabyte K8VM800M motherboard
- Hauppauge PVR-150 MCE card
- SoundBlaster Live audio card
- PowerColor X1300 PCI video card
- 2x Western Digital 120GB HDD
- Asus DVD-R drive
- 1GB Kingston DDR400
The power supply was testing using a voltmeter, and had less than 1% variance when idle or under load. Antec power supplies have a good reputation, but even a crappy power supply would do well when under 70% of the PSU’s capacity. It’s a good power supply… you can rest easy at night.


1 comment
For computer ANTEC lifestyle fusion, what is the supply voltage input: 100-240v or 200-240v?
Comments are closed.