

Reach Aslan’s How
- You are now in control of Peter
- Defeat the Telmarines that are coming at you attacking you by pressing
 to attack them
 - Once they have been defeated follow the set path
- There will be patrolling Telmarines on the way, defeat them as you go along
- Once you pass the first camp fire you will come into an area covered in arrows
- In this area there a few Telmarines to defeat, once they are gone, use the shelter on the left to wait for the hail of arrows to stop
- Once the hail of arrows stops run to the next shelter directly in front of it
- Wait under here for the next hail of arrows, once that hail has stopped run towards the Telmarines in front of you, this area is safe from arrow hails
- Now defeat all the Telmarines with the spears, then defeat the Telmarine with the flag
- Once you have defeated them, follow the path round to your left, there will be another 2 Telmarines waiting for you there
- Defeat these two Telmarines and then approach the vines to your left that are blocking the way. Smash them by pressing
- Once the path is clear head up the path and defeat the Telmarines that are patrolling there
- Once all the Telmarines are defeated keep heading up until you reach the end and see a giant boulder
- Approach it and press then tap
 until the boulder is pushed of the edge
 - Once the boulder is pushed off the edge, four Telmarines will come to attack you, defeat them and move back down the hill you came from
- Once back at the location where you destroyed the vines go to the new area to the right of the camera view
- In this area there will be two Telmarines, defeat these and head to your right up a small hill where there will be five more Telmarines
- Defeat the four Telmarines with the spears first and then the one with the flag, this will stop the hail of arrows
- Return into the main area and head straight on
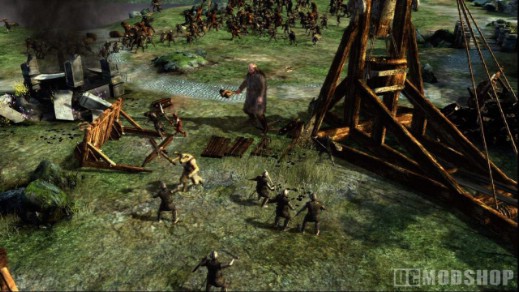
- Destroy the vines blocking the path
- Now approach Caspian and press
 to change character
 - Using Caspian face the tall cliff directly in front of you and press to fire 3 arrows up it
- Once that is done change back to Peter and throw your grappling hook
- Climb up the rope by walking right up to the rope and pushing up on the

- Once at the top defeat the flag bearer
- After defeating the flag bearer climb back down the rope and head left
- You will now see a battlefield with two shelters in the distance
- Stay left and head for the left side shelter
- Past the shelter you can see Aslan’s How, head for the archer on the left side
- Once you get close enough you will see a floating bullseye, shoot it by pressing , do this twice to destroy the vines
- Once the vines are destroyed shoot the two Telmarines protecting the flag bearer, as they will loosen the grappling hook every time you throw it
- Now switch to Peter and use the grappling hook
- Climb up the rope and defeat the Telmarines and the flag bearer
- Climb back down and head for the right side of Aslan’s How
- Once you get close enough you will see a floating bullseye, shoot it by pressing , do this twice to destroy the vines
- Once the vines are destroyed shoot the two Telmarines protecting the flag bearer as they will loosen the grappling hook every time you throw it
- Now switch to Peter and use the grappling hook
- Climb up the rope and defeat the Telmarines and the flag bearer
- Once the flag bearer has been defeated move to your left and get right up close to the rock that is in the way (this is the rock with the twig on it)
- Press and then tap to push it off, clearing a way to the final flag bearer and his guards
- Defeat them all
- Now go to your right and back down the rope
- The arrows will now have stopped hailing into the entrance of Aslan’s How, making it clear to enter
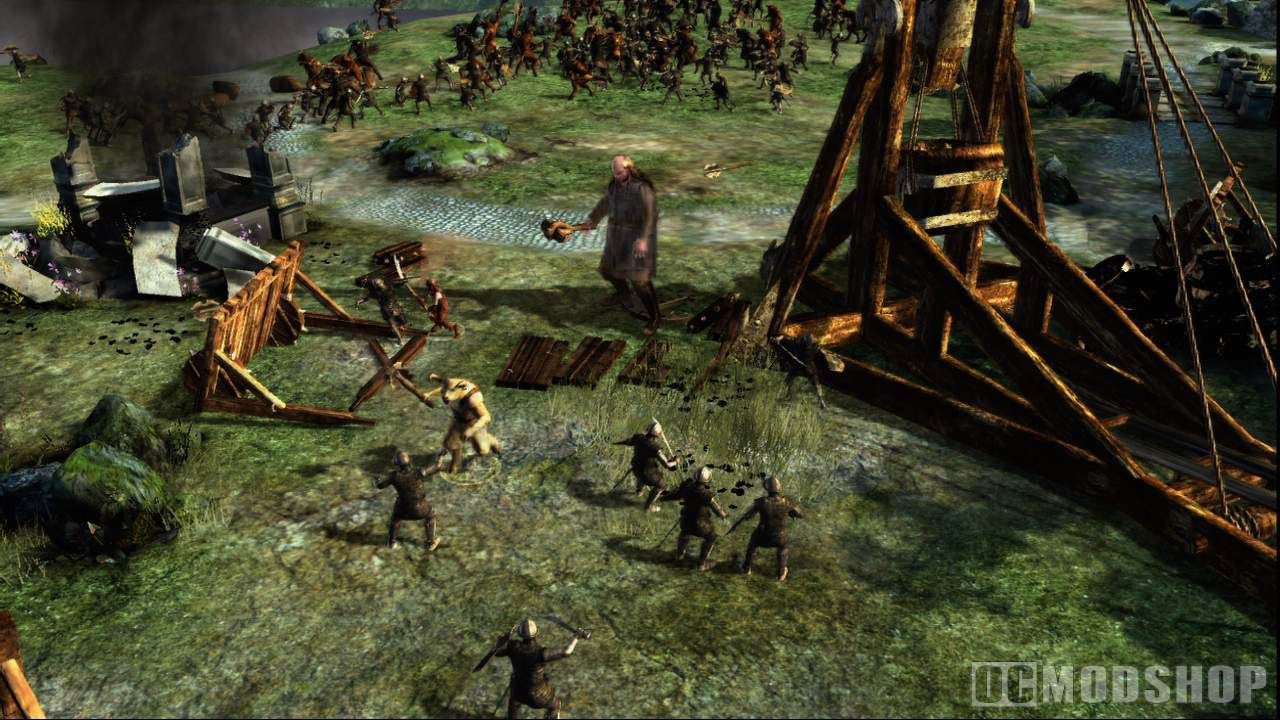
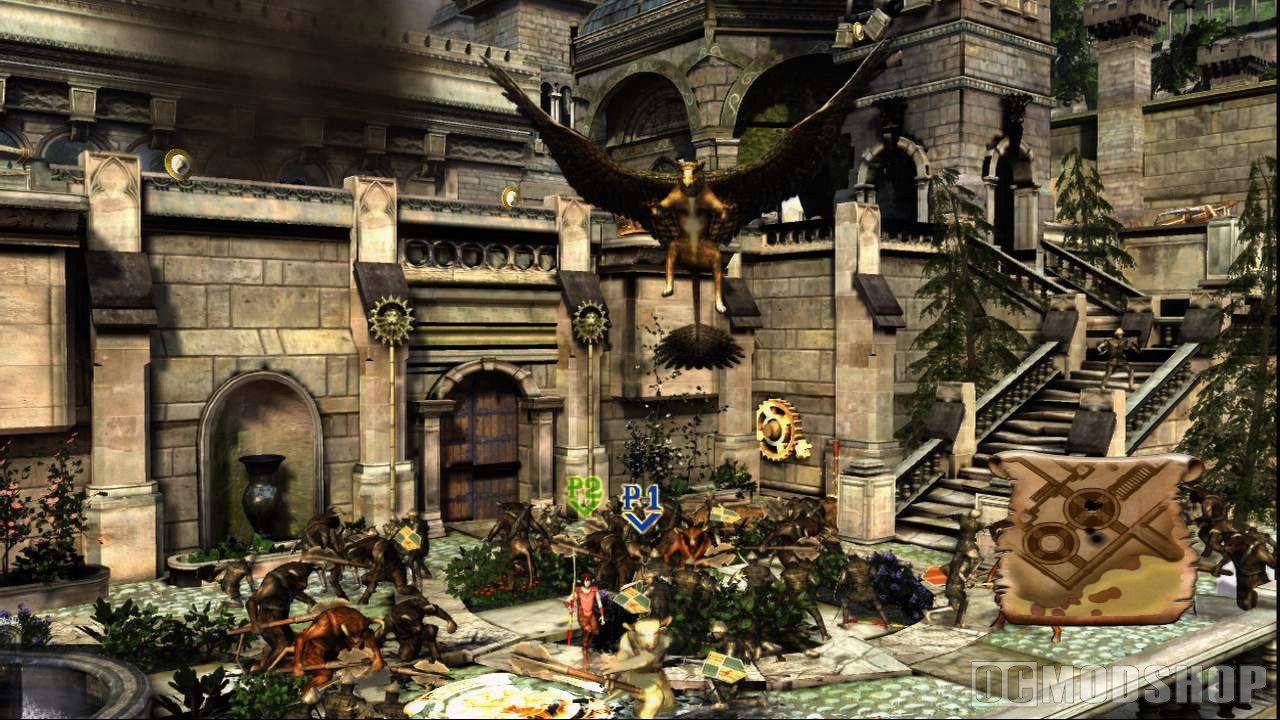
Explore Aslan’s How (Center Path)
- Aslan’s How is broken up into three main paths, opposite the camera’s position is the first path you’ll take
- Once there head away from the camera to the sparkling crank and turn it to move the wooden platform into position
- Pull the lever just to the right to lower the platform and create a bridge
- Cross the bridge, turn left and slash the vines which are blocking your access to a crank
- Pick up the crank and carry it towards the camera and right to the sparkling stand
- Place the crank on the stand and turn it to raise pressure pads just to the right of you current location
- If you need to, switch to a character with a bow (most likely Caspian)
- Now stand on each of the pads and press to fire an arrow into the hole that opens up
- Once you fired an arrow into all three openings a door will open beneath them
- There you will find the lever needed to lower the bridge
- Pick it up and place it to the right of the bridge in the designated socket
- Cross the bridge and head right
- There is a closed door, walk up to one of the chains and press and then tap to pull them, that will open the door and reveal a lever on the floor
- Pick up the lever and place it into the socket to the right of the bridge
- Now head left until you come across a load of barrels and pots, smash all these to reveal a crank on the floor
- Pick up the crank and place it into the socket on the left of the bridge
- Now turn the crank and pull the lever, this will turn the bridge and lower it
- Cross the bridge and go into the room with the stone pillars representing the four Pevensie children
- The left lever rotates the second row of blocks and the right lever the third
- Pull the levers until a column forms a complete picture of one of the Pevensies
- That column will now freeze in place allowing you to complete others
- Once all four images are made the pillars will lower into the ground and a set of stairs will become available
- Go down the stairs and into the fight to stop the return of the White Witch


2 comments
geoffreydprice@googlemail.com
hey guys i looked at the game walkthrough and tried the 1,2,1,3 for the levers in assult on mirazs castle and guess what it failed
Comments are closed.