

Prevent the return of the White Witch
- This is a timed mission, however you should have plenty of time to complete this mission
- If you are not in control of Peter at the start of this mission switch to him now to make this mission easier
- First the werewolf will attack you, hit it twice and it will return behind the force field, once he is behind the field, the werewolf will howl which will trigger a small rock which drops from the ceiling
- Pick up this rock and move into a position where you can aim for the hag and hit her
- To fire the rock press and hold
 to aim for the hag and then press
  to throw it
 - After you do this the Dwarf (Nikabrik) will come out and attack you, hit him twice and he will run off behind the force field
- Repeat steps 2 – 5 three times
- After you attack him for the third time there will be a short cutscene and you will then be attacked one more time by the werewolf, this time you can defeat him, so hit him until he is defeated. Nikabrik will now attack you once more, attack him until he is also defeated
- Rocks will now fall from the ceiling to provide you with the ammo to defeat the hag – these will now keep dropping until you either defeat the hag or run out of time
- The hag throws explosive potions, be sure to dodge them
- To throw rocks press and hold to aim for the hag and then press to throw it
- Keep throwing rocks at the hag until she is gone
- End of mission
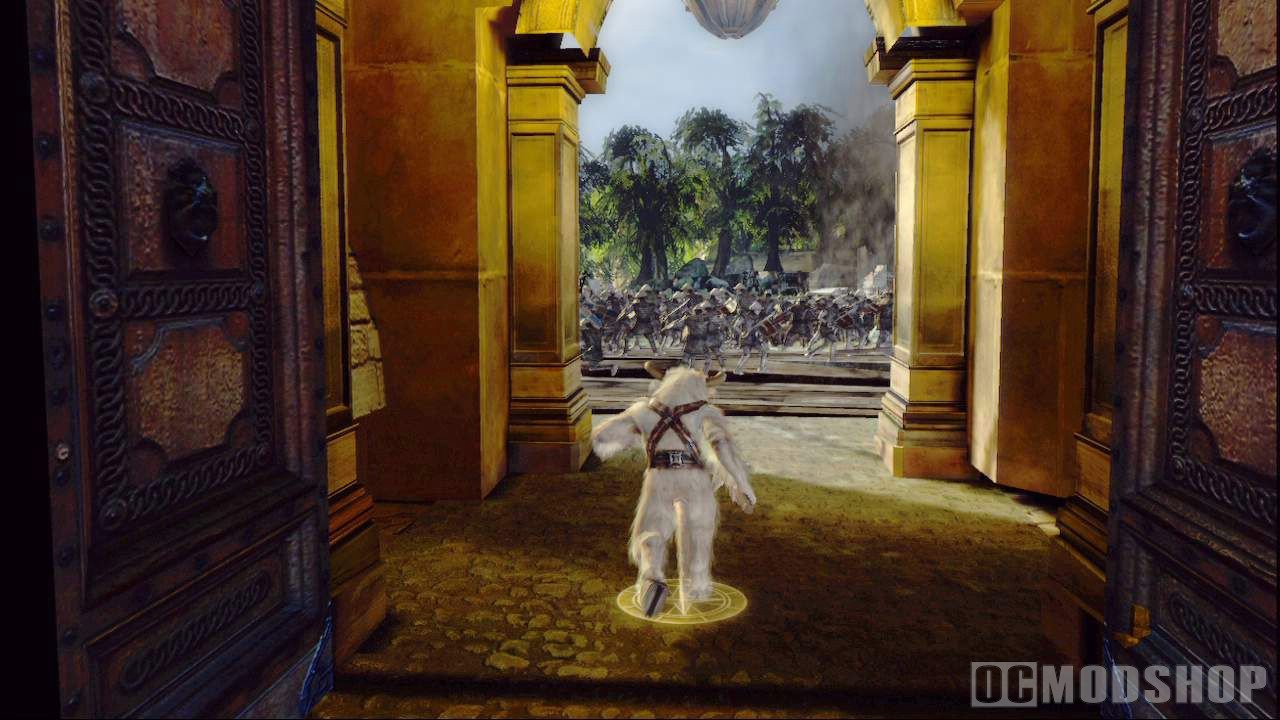
Back in Explore Aslan’s How (Right Path)
- Once back in the main junction room, head right into the next room
- You’ll see a draw bridge, on top of that draw bridge are two bullseyes, target them by pressing and holding and then press to shoot each one
- Once the supports for the draw bridge are down use the crank to bring the main bridge part across so you can cross the bridge
- Once you have crossed the bridge switch to the dwarf, do this by pressing
 next to him
 - Now use the dwarf to roll into the little small access hole to your left
- You will re-appear upstairs where you will find a small cog, pick it up and place it into the flashing outline of the cog to indicate the missing part
- This will activate the two pressure pads in front of the big gate
- Go back down and step on one of the two pads, the AI will step on the other one
- The door will open, walk through it
- You are now in another puzzle room
- Go to the crank and turn it until the first circle aligns, then pull the lever once
- Repeat this until all the circles are aligned
- Now you will see the staircase appear, go down
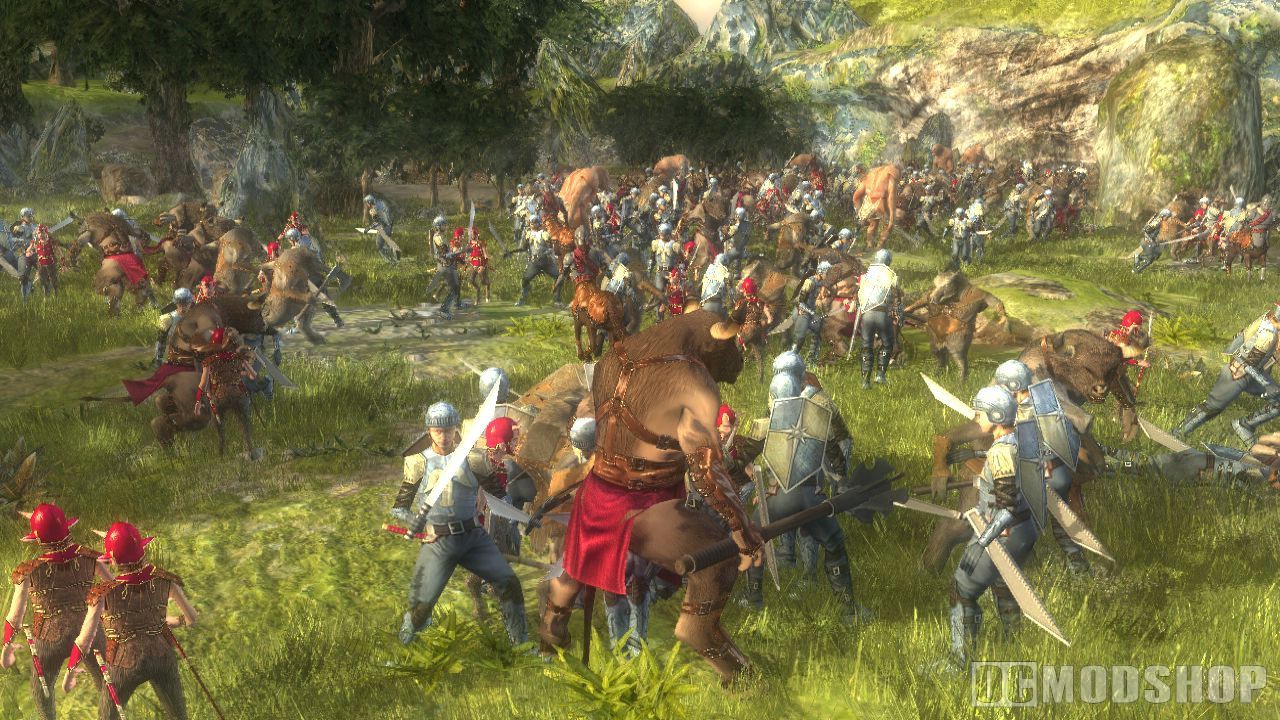
Help Lucy find Aslan
- Right where you spawn, there is a lever on the ground, pick it up and carry it to the floating gold white circle with the red arrow in it
- Place the lever by pressing

- Then pull the lever by pressing again and tapping
- A door will open, walk though it
- Fire an arrow at the Telmarine horsemen to get their attention
- Once they are circling your party find a location outside of their route to fire on them from safety
- Continue this until both of the horsemen have been defeated
- Your characters will now automatically mount the available horses
- Steer the horse to the barrier and press when prompted to get the horse to jump
- Your party will now be attacked by more horsemen
- Use your horse to keep pace with the horsemen and attack them with your sword or arrows
- Once they are gone, use your horse to jump the creek
- Repeat this process another three times
- You may dismount and mount your horse at any time by pressing
- Once you reach the bridge you will be attacked by archers
- Clear them and approach the bridge
- Cross the bridge and enter
- After a cut scene a chieftain will appear, defeat him by attacking with your sword once or twice
- The chieftain will drop a small cog
- Dismount your horse and pick up the cog
- Walk up to the gate and place the cog
- This will open the gate, re-mount your horse and go through and enter the camp
- You will have about 10-12 Telmarines coming to attack you, just tap b while run over them a few times with your horse until they are all defeated
- In the middle of the camp you will see a horse operated crank, walk your horse up to it and rotate it clockwise with the
 until it stops rotating
 - Now run into the small rocky valley
- End of Mission
Back in Explore Aslan’s How (Left Path)
- Once you are in the main junction room head left to the final path of Aslan’s How
- Directly in font of the camera is a platform with a crank
- Stand on the platform and turn the crank and a computer controlled character will join you
- Turn the crank to move the platform across the gap
- Make sure you’re in control of a character with a grappling hook and enter the tower
- There is a rope to the next level directly opposite the camera position on the second level
- Once on the second level, walk clockwise to the lever and pull it
- It will raise a platform and pressure pad on the level
- Stand on the pressure pad and that floor’s mirror will slide into place
- Just left and above the mirror’s resting position is the rope to the next level
- Climb the rope
- Once on the third level turn the crank to the left which will give you access to the rope up to the next level
- Climb the rope
- Pull the switch to the immediate left of where you climb up
- This will lower a piece of track to the level below
- Climb down to the third level and stand on the pressure pad at the end of the track
- This will shift the mirror and extend the beam of light
- Climb down again and switch into a character that can fire arrows
- Climb up the next two levels and shoot the bulls eye prompts just to your right
- This will complete the track and raise a pressure pad
- Stand on the pad to move the mirror
- Climb back up and climb the rope to the fourth level
- Once at the top walk clockwise to the rotating puzzle
- The crank rotates the active piece and the lever selects a different ring
- When the puzzle is finished your final mirror will be revealed
- Stand on the pressure pad to move it into place and open the exit to the combat ring

Defeat Miraz
- Now you have to defeat Miraz
- He will attack you with a heavy slash. Miraz will make a growl noise when he does it. Get close to Miraz and block with your shield by pressing and holding

- Once you blocked his attack, Miraz will go to his knees
- Now you have to switch to Reepicheep and approach Miraz who is on the floor
- Go behind the crouching Miraz and pressing , then tap until the attack is over
- Repeat process 2 – 5 three times
- Now Miraz will use a dash attack
- Let him charge at you and doge the attack, as long as he misses you he will get tired and go blue to indicate he is weak. While he is blue, hit him by pressing
- Do this until Miraz is defeated
- End of level


2 comments
geoffreydprice@googlemail.com
hey guys i looked at the game walkthrough and tried the 1,2,1,3 for the levers in assult on mirazs castle and guess what it failed
Comments are closed.