

Scale the Cliffs
- When the level starts you are in control of Edmund
- Approach Peter (He is wearing a blue vest top) and change to him
- Now walk/run to the far left where you will see a cavern entrance blocked with rocks
- Clear the entrance of rocks by picking them up and moving them to the side
- Now walk into the cavern
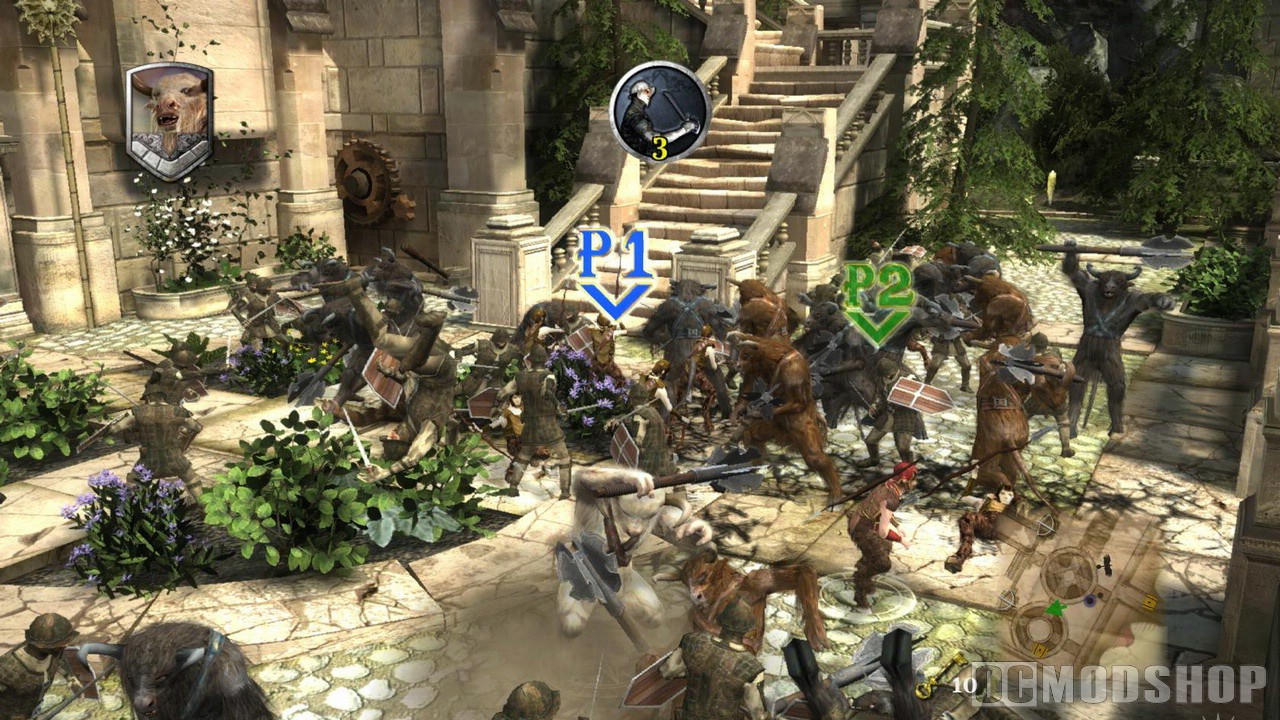
Mission 1 – Find the Grappling Hook
- You are now in the cavern and will be holding a torch. If this torch goes out at any point during this mission, make sure you are in the light, as you will get attacked by bats if you are in the dark
- Look for the wind blowing from right to left in front of the starting point it will extinguish your torch if you are too close to it
- Time your run so that when the winds stop blowing, you pass to the next safe area and wait for the wind in front of you to start up again
- Once you made it through the first gust of wind, go through the second one and third one
- You will now see a small pile of wood on the floor, walk right up to it which will start a fire and create another safe area in which you can light your torch if it goes out
- Now follow the path round to the right and you will see another pile of wood, light that too by walking right up to it
- A little to your left from that pile of wood you will see a broken looking pillar standing by a constant gust of wind (may have a sparkle on or near it)
- Walk up to that pillar and press

- Once you have pressed , repeatedly press
 until it collapses
 - This will stop the constant wind flow from that particular area
- Pick up the torch that you dropped when you pushed the pillar. If you have lost your torch at this point or any other in the mission, more can be found nearby each fire
- Now you have your lit torch keep going left through the cavern to the next wooden pile and light it
- You are now faced with another constant wind flow coming from an open door
- Walk back just before the fire you just lit and to the left will be a small pile of boxes and barrels
- Break these barrels by attacking them to reveal a lever on the floor
- Pick up the lever by pressing
- Place the lever into the socket to the right of the open door where the wind is coming from
- Now that the lever is in place, press to grab it and repeatedly press until the lever is pulled
- The doors will now close cutting off the wind flow
- Collect your dropped torch and after making sure it is lit continue through the cavern
- You will have to turn a corner to the right and at the end of the tunnel you will come across another pile of wood to light and a pillar to the left of it
- Like the first pillar walk up to it and press , then repeatedly press until the pillar collapses
- You will have dropped your torch again so press to pick it up
- Now continue further into the cavern until you see another pile of wood on your left
- After lighting the pile watch for a gap in the wind and run through
- You will see another pile of wood and several more gusts of wind
- After lighting the wood, like before time your run so that you can progress through the wind without blowing out your torch. There will be another pile of wood part way through that you can light
- Now you will see piles of wood on the floor to the right and left side of a doorway on the right of the cavern wall. There will be a constant wind flow coming from this doorway.
- Light the wood on your side of the wind and it will automatically light the wood on the other side of the wind
- This will allow you to pass through the final wind flow, your torch will go out but you’ll have enough light to be safe
- Once on the other side re-light the torch by walking up to the fire on the other side of the door (the one that lit automatically) and carry on forward
- You should be able to see a pile of wood in the darkness ahead of you
- Light the pile of wood and you will see that next to it is a chest
- Walk up to it and open it
- End Of Mission
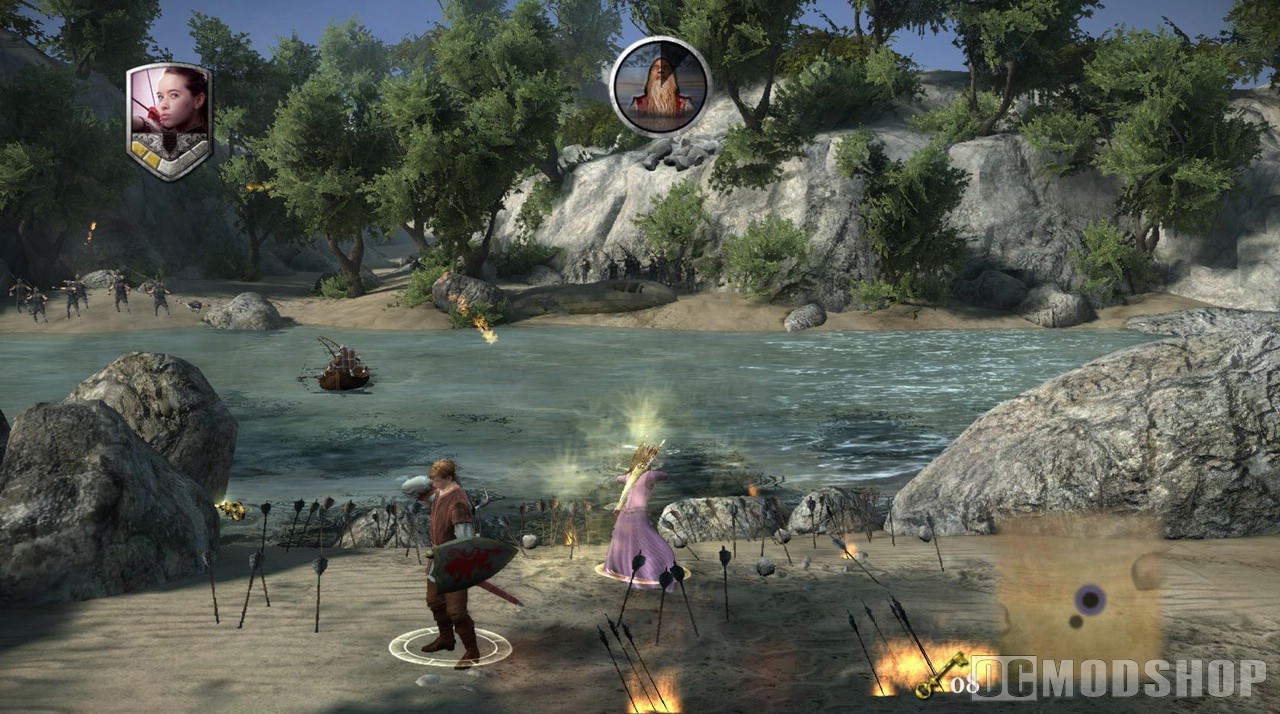
Back to Scale the Cliffs
- You will find yourself back on the beach in control of Peter and equipped with the grappling hook
- Walk/Run to your right until you see a cliff edge and a floating
 enclosed in a golden circle
 - Stand a few meters back from the prompt and face it
- Facing the prompt press and rotate the
 clockwise until the grappling hook is thrown
 - You will now see a rope hanging of the cliff ledge
- Walk up to it and push and hold the up to climb to the top
- End of area
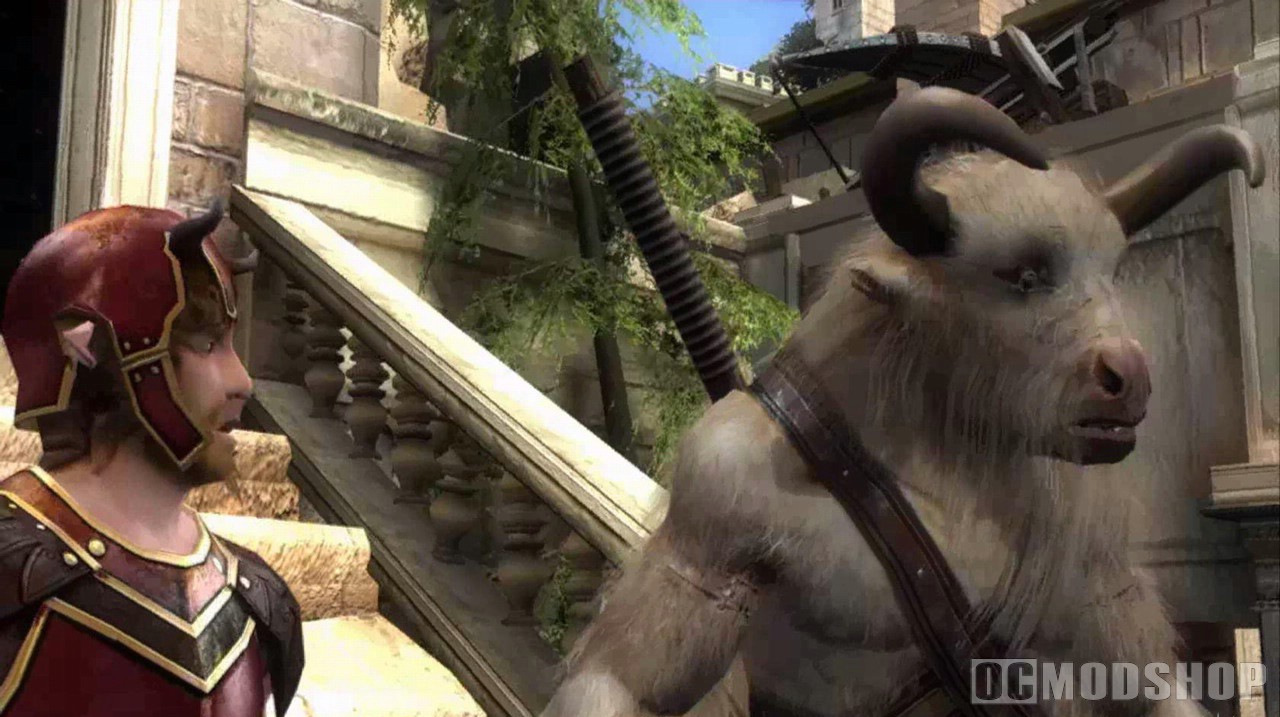
Explore the Ruins
- You are now in the ruins, if you are not already in control of either Peter of Edmund switch characters to one of them now
- Run forward through the arch to steer to the left
- Run up the stairs that you will see to the left
- Once you are on the top of the stairs run to your right until you see a building with a floating silhouette head with a red question mark on it
- Walk up to the floating icon and it will turn into a
- Now press and repeatedly press until the wall is pushed out of the way
- A door will be revealed and will open allowing you to progress through into the next mission
Find the Pevensies’ Gifts
- You will now be in a dark underground area
- Walk to your left to the pile of wood that is on fire and nearby will be an unlit torch lying on the floor
- Pick it up and walk up to the fire to light it. You will notice that when you light a torch the other character will go and find another torch and also light it. This will happen in all places and you should wait for the other character before continuing
- Now that you have a lit torch walk down the stairs to where you can see a sparkling lever
- You will notice that as you walk down the stairs there are lot of bugs that swarm around. They are afraid of the fire and while you have a lit torch they will not come near you. If for any reason your torch goes out or you try to cross the bugs without a torch you will take damage
- Now walk up to the lever and pull it
- This will raise a platform to your left
- You will have dropped your torch and should pick it up before you continue on
- Walk back up the stairs and cross the newly raised platform
- Walk up the stairs ahead and follow another set around to either the right or the left until you are facing 3 statues
- There is a lever to the left of you.
- Walk up to it and press , then repeatedly press until it is fully pulled
- This will open a door to your left
- Walk through it to progress to the next chamber
Treasure Room 1 – Find Peters Sword and Shield
- You are now in the first treasure room.
- By the fire will be a torch that you can pick up and light, note that when you do this the other character will run and find a torch to do the same. Allow them to do so by waiting by the fire until they have lit their own torch.
- Walk to your left and follow the path around until you see a lever standing against the wall
- Walk up to it and press , then repeatedly press until it is pulled
- This will raise a platform.
- Now go back around the walkway to where you entered the room
- You will see a set of stairs in front of the doorway that lead down into a pit of bugs
- Walk into the pit with your torch and walk over to the lever which can be found in front of the platform in the middle of the room.
- Walk up to it and press , then repeatedly press until the lever is pulled
- This will raise the platform that leads to the final lever
- Go back up the main stairs and follow the platform back round past the lever and the fire and cross the platform that just rose
- At the end of the walkway will be a lever, walk up to it and pull it to rise the final set of stairs
- Pick up the torch that you dropped while pulling the lever and walk back around the platform to where you entered the level and down into the bugs
- Walk straight across the room to the stairs that rose and walk up them to the treasure chest
- Stand in front of the chest and open it
- You have now received Peter’s Sword and Shield


2 comments
geoffreydprice@googlemail.com
hey guys i looked at the game walkthrough and tried the 1,2,1,3 for the levers in assult on mirazs castle and guess what it failed
Comments are closed.