

Back in Find the Pevensies’ Gifts
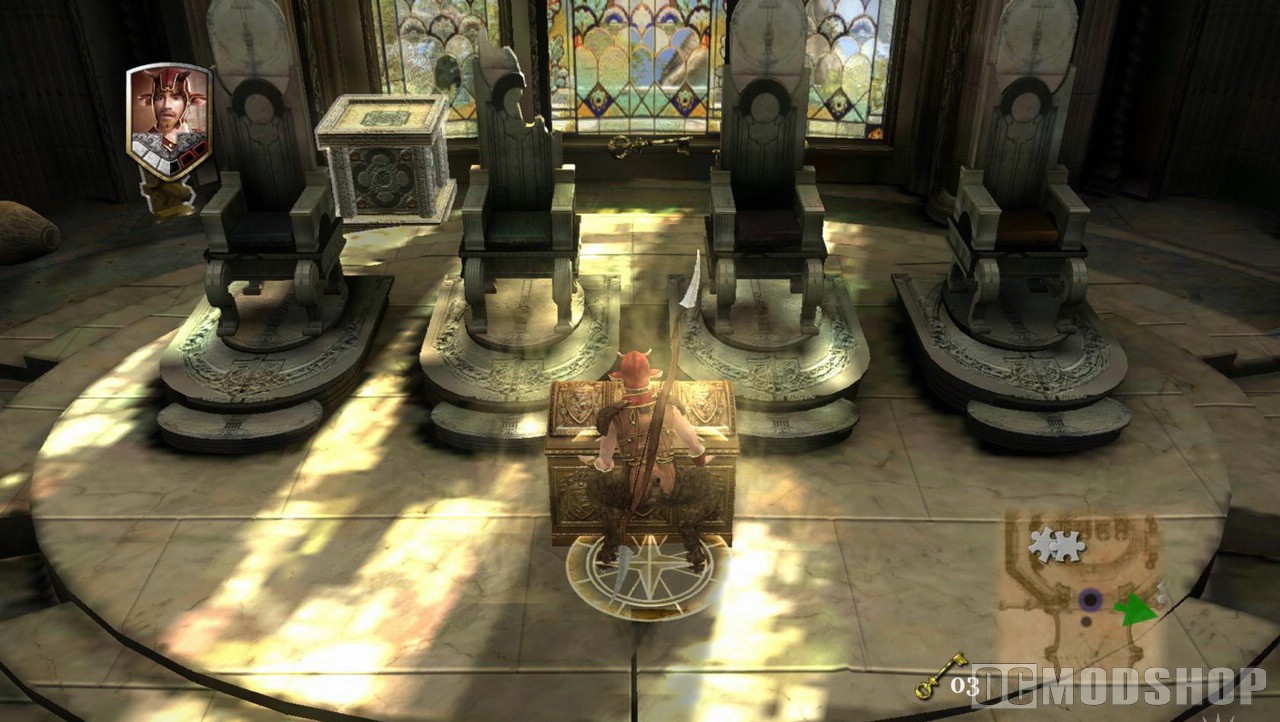
- You will now find yourself back in the main chamber with the 3 statues
- In front of the middle statue you will see a pile of pottery, smash your way through until you have a clear path to get behind the statue
- Walk behind the statue to enter the next chamber
Treasure Room 2- Find Lucy’s Cordial
- You are now in the second treasure room
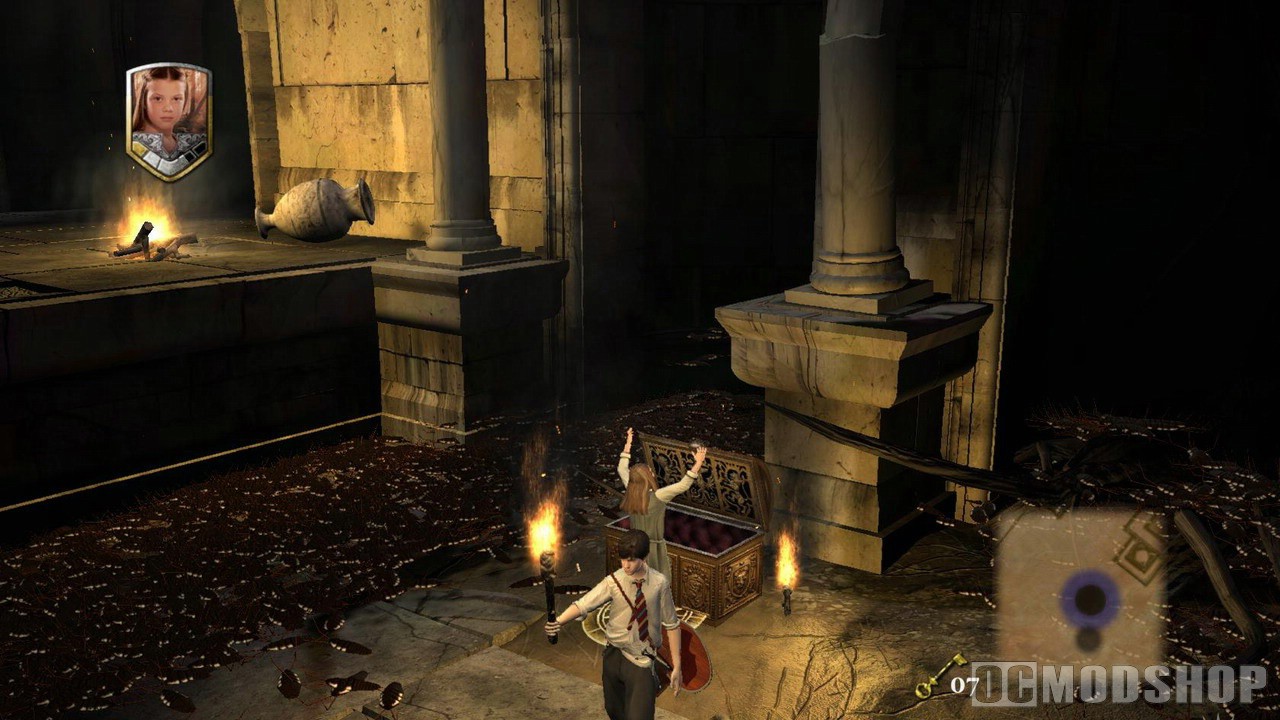
- Walk forward over to the outcrop and pick up the torch at the end of it
- Now run back and around to the right, over to the fire and light the torch. Again the other character will do the same
- Head to the right, down the stairs and into the bugs
- Once you are at the bottom of the stairs turn around 180 degrees and walk to your left through the bugs
- In the corner you will see a lever base and to the left of it a pile of pottery
- Break the pottery and once it is gone you will see a lever on the floor
- Pick it up and take it over to the lever base
- Place the lever by pressing
 and then activate it
 - This will raise a platform with two pressure pads on it just past the first outcrop
- Go back to the stairs you came down and run round to the newly raised platform
- Stand on one of the pressure pads and the other character will stand on the other one
- This will raise another platform just in front of you with two pressure pads on it
- Continue forward to that platform and stand on one of the two pressure pads. The other character will once again stand on the second one
- This will raise the stairs to the treasure chest
- Walk down the stairs in front, over the bugs to the stairs and up them to the chest
- Open the chest
- You have now received Lucy’s Cordial
Back in Find the Pevensies’ Gifts
- You will once again find yourself back in the main chamber with the 3 statues
- Walk to your right and down the stairs to the small fire
- In front of a small pillar stump you will find a torch
- Pick it up and light it at the fire. This is the only time where the other character will not go and find their own torch to light so you can move straight on
- Go back up the stairs you came down and head straight right at the top of the stairs
- To the right you will see an alcove shrouded in darkness
- As you approach you will notice lots of bugs on the ground which disperse to reveal a pressure pad
- Step on the pressure pad
- This opens the door straight in front of you
- Go though the door to reach the third and final treasure room
Treasure Room 3 – Find Susan’s Bow
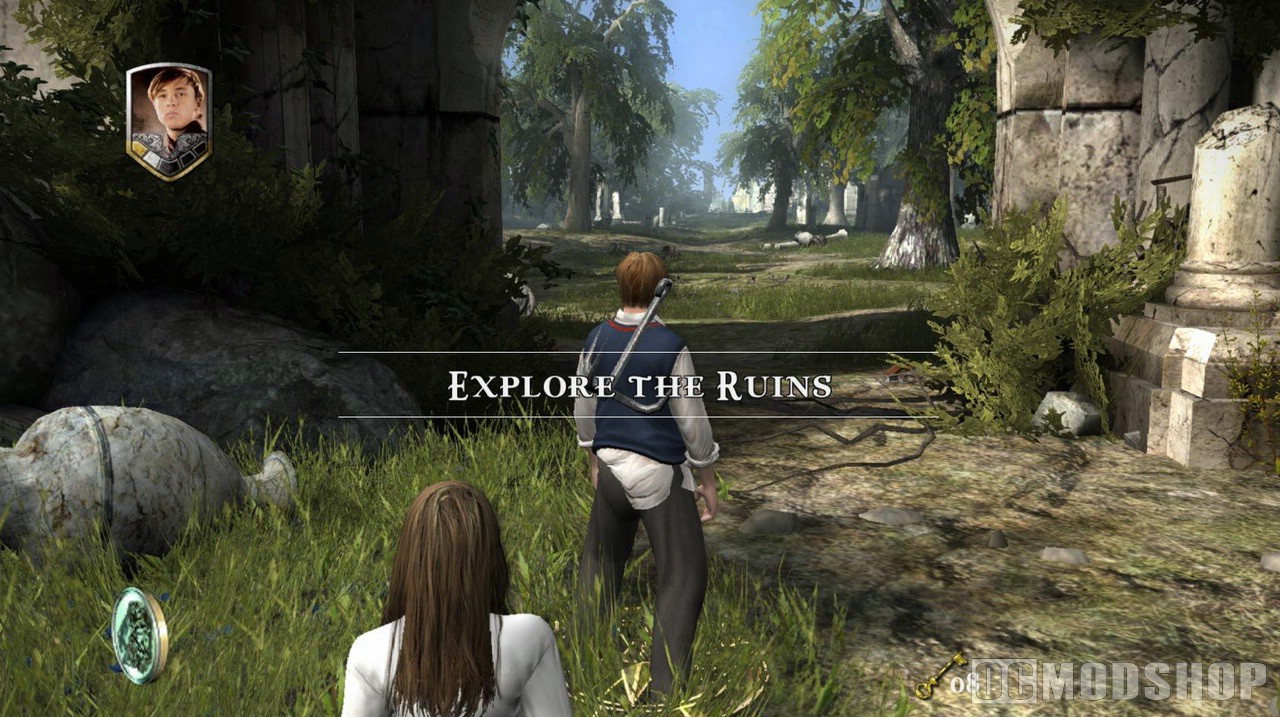
- You are now in the final treasure room
- By the fire will be a torch that you can pick up and light, note that when you do this the other character will run and find a torch to do the same. Allow them to do so by waiting by the fire until they have lit their own torch.
- Walk forward and turn slightly towards the camera until you reach two pressure pads, one up some stairs to the left, the other on the floor
- Step on the pad that is located up the stairs and the other character will step on the second one
- This raises a platform straight in front of you
- Walk onto the platform and you will notice a set of stairs on your left
- Walk up the stairs and you will see a fire surrounded by pots
- Go down the stairs and turn right
- Walk down those stairs into the bugs
- At the bottom of the stairs to your left you will see a lever
- Walk up to it and pull it, this raises stairs to get to the upper level
- If you are not in control of Lucy switch to her now and press
 to drop the torch
 - Now hold down
 and target the bulls eye prompt opposite. Press to throw a dagger and cut the rope holding the statue up. Repeat this for the other prompt
 - Now walk over to the right where you just raised the set of stairs to an upper level
- Go up the stairs and you will see two more rope fixings
- Attack these by either throwing daggers at them like before or with a regular attack
- This will cause the statue fall, creating a bridge to the treasure chest
- Walk across the bridge and approach the chest
- Open the chest to receive Susan’s Bow
- End of Mission
Back in Explore the Ruins
- You will now find yourself back in the ruins equipped with each characters various items
- Run towards the camera slightly steering right until you see the stairs that led you up here earlier
- Go down those stairs and straight forward, the camera will start to swing backwards showing the main ruins at the end the clearing
- Proceed through the clearing towards the ruins at the end
- You will see two circular recesses in the ground in front of the ruined thrones. Inside each one is a picture. Each one must be filled with the tablet that matches the picture in order to progress to the next mission
- The first tablet can be found directly to the right of the 4th tablet, this one has a picture of a sword and needs to be put into the 3rd recess from the left
- The second tablet is located slightly forward and to the left of the first recess. It has a picture of a heart and needs to be put into the first recess.
- Once both tablets are put in the correct recesses the glass will break opening the way to the next mission
- Walk straight ahead and through the newly broken glass to progress
- End of area
Rescue Trumpkin
- You now find yourself in the cove
- If you are not in control of Susan switch her to make use of her bow
- Walk around to the left of the hill that is in front of you
- Keep walk forward until you reach the water
- You will see a number of archers opposite the water firing arrows at you
- Press to target them and press to shoot an arrow, repeat this step until all the archers you can see are gone
- Now run back around to where you entered the level and run up the hill, face the archers on your right and shoot them as you did before. After a few have been hit the target will change to the rocks above them
- Press to target the rocks and then press to shoot at them
- This will have eliminated all the land based archers
- You need to switch to Peter to make use of his strength
- There two boats coming in now with archers on it
- One from the left and one from the right
- They have shields so need to be defeated with rocks rather then arrows
- Run down the shore on your left and you will see a bunch of rocks lying around
- Pick up the rocks with and aim at the archers with and throw them with
- Once you have defeated all the archers in the boat run to the other side of the hill and do the same to the other boat of archers
- Once you’re dispatched all the archers the two boats will sink
- Face Peter towards the small boat in the middle with the 2 Telmarines in it and press to target and start swinging the grapple. Rotate the
 to swing the grapple and keep doing it until you throw the grapple onto the boat
 - Quickly and rapidly press until the boat has reached the shore
- After a short cut scene go to the shore and board the boat by pressing
- End of mission
Find a safe path through the woods
- You are now on a different beach. If not in control of Trumpkin switch to him now
- Walk to your left until you see a little small access hole. You can see this as it is highlighted by a sparkle
- Move right up to it and you will roll in and come out at the top
- go right up to the stick and press
- Then repeatedly press until the rocks collapse
- Now go back down by using the small access hole again
- Go though the passage that the collapsed rocks created
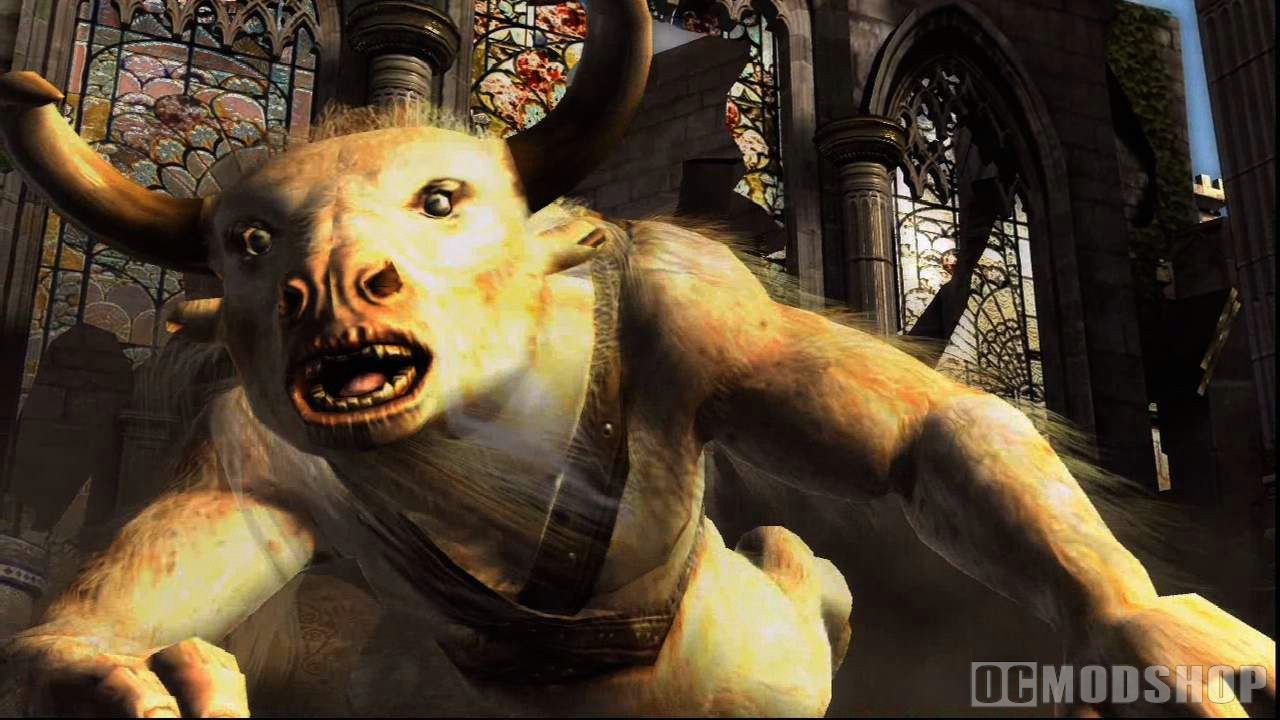
- Wait for the bear to charge at you and he will get trapped
- Soon after you get into the woods you’ll see a turning to the right, take it
- Now you should see a bunch of barrels and a cave behind it
- Destroy the barrels by pressing and the walk into the cave with Trumpkin
- You will come out on the top and see two rocks with a flashing line around them
- Walk up to both of them and press and then repeatedly press to push them over the edge
- Now go back into the small access hole and roll on back down
- Once you are down again walk up to Peter and press
 to switch
 - With Peter walk up to the rock and press to pick it up
- Now go back out onto the area you came in from and head to the river
- Once you are at the river you’ll see the outline of two rocks in the water, approach those outlines and the press to drop the rock in place.
- After this go back and pick up the second rock you pushed off and also put that one in the river
- Behind you on the left are three barrels and behind those barrels there is a rock, destroy the barrels and pick up the rock by pressing
- Now head back to the river and cross the first little river in which you’ve just placed 2 rocks
- Once over the first little river you’ll see another little river with the outlines for 2 more rocks. Place the rock you just got by pressing there
- Now behind you to your right there is the last rock you need, pick it up by pressing and place it into the little river by pressing again
- Now cross that river too
- Once on the other side there will be a bear trying to run you down
- Move towards the tree and have the bear run towards you, and just before it hits you move out of the way so it hits the tree
- This breaks the tree and in turn smashes the cliff creating a pathway for you
- Go up the cliff and follow the path until you see a cave blocked by some rocks with a bear sleeping in it
- Remove the rocks by picking them up with and drop them away from the cave with again
- Once the rocks are removed wake up the bear by approaching it and slashing it with the button
- Once its awake, run down the path and wait at the first barricade
- The bear will charge at you and when it gets close move out of the way and the bear will smash the barricade
- Do this again for the next barricade
- After the two barricades are destroyed go the little cliff edge and you will be prompted to press the
 button to throw the grappling hook
 - So now press then rotate the clockwise to throw the hook
- Now you’ll see a rope hanging of the cliff edge
- Move the up towards it and start climbing the rope
- Climb all the way up and run down the hill
- Run round until you see a big elevated cave with a log connecting the 2 sides
- Go up to the grapple point and repeatedly press to throw the hook
- Now you’ll see a rope hanging from the cave edge, move our up towards the rope and climb it
- Go to the bear on the right side and wake him up by slashing him with the button
- Once he is awake lure him onto the log
- He will follow you over the log and half way the log will break and bring him down to your usual level
- Climb back down the rope and head right to the next barricade
- Let the bear charge at you and move out of the way just before he hits you and the bear will smash the barricade open and fall into the trap
- Once the bear is trapped go ahead and get to the next area
- You’ll now be coming across a bunch of rocks that need to be moved and a sleeping bear
- Remove the rocks by pressing and place them away somewhere with again to create a clear path
- Once these rocks are removed, do not wake the bear just yet, you’ll see another set of rocks that need moving
- Remove the rocks by pressing and place them away somewhere with again to create a clear path
- There is another bear roaming around too, so watch out for him when you remove the rocks
- Once you’ve removed some of the rocks you can lure the roaming bear to smash the next barricade
- The bear will smash the tree trunk and fall into the trap
- This will give you time to remove some more rocks
- Once all or enough rocks are removed wake the bear
- Lure the bear through the path you just opened up with the other bear into the final trap at the end
- The trap is once again blocked by a tree trunk which the bear will smash trying to hit you
- End of level


2 comments
geoffreydprice@googlemail.com
hey guys i looked at the game walkthrough and tried the 1,2,1,3 for the levers in assult on mirazs castle and guess what it failed
Comments are closed.