

Defeat the Sentries
- You are in control of Caspian
- Destroy all the barrels in this part of the map to reveal parts you need to continue
- After you destroyed all the barrels you will see a crank and a cog on the floor
- Pick up the Cog by pressing
 and take it to the left side of the raised platform and place it on the flashing cog ghost image by pressing again
 - Now pick up the Crank by pressing and take it to the left side of the raised platform and place it on to the right of the Cog by pressing again
- Now walk up to the crank you just placed and press and then rotate the
 clockwise to lower the stairs
 - Now the stairs are lowered go up to the next level
- As soon as you go up you will see 2 bulls eyes above a metal grid gate
- Press and hold
 to target them and
  to shoot the arrow
 - Now the door is open
- Go through it
- Follow the path until you see a half damaged door (it appears to have come off its hinges)
- Attack the door by pressing
 once
once - This will collapse the door and you can now pass through it
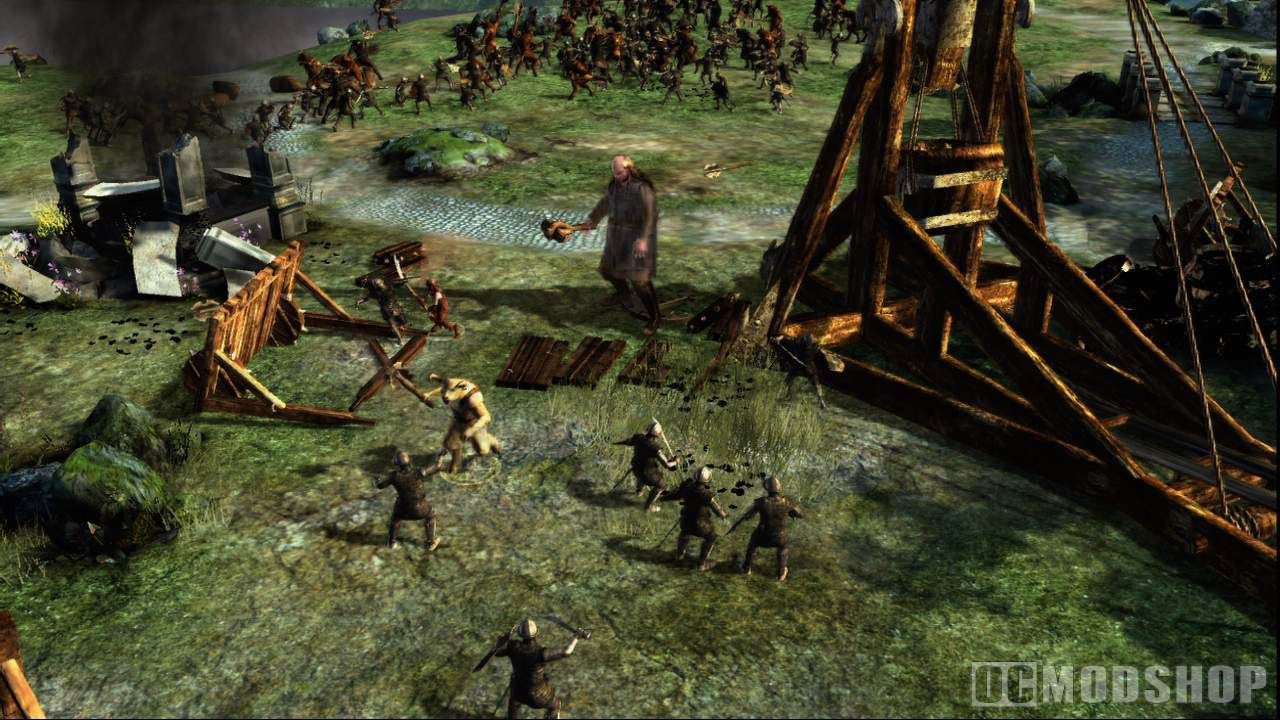
Defeat the Sentries on the Castle Wall
- You are now in a new area with Caspian and Peter
- You are still in control of Caspian
- Defeat the 2 Telmarines by pressing to attack until they no longer get up
- Once the Telmarines are defeated pick up the flashing crank in the upper right area of the map by pressing , then walk over to the crank wheel switch near the archway and place the crank by pressing again
- Once it is in place approach the crack and walk towards it until your character locks on
- Now turn the crank clockwise to extend the bridge
- Do this until the crank no longer rotates and the bridge has been extended
- Once you have extended the bridge, walk through the archway across the bridge
- In the middle of the bridge face the closed gate across the bridge and fire an arrow by pressing

- The gate will now open, continue walking through
- Defeat the Telmarines that immediately attack you
- Go down the first set of stairs you see and defeat the Telmarine that is ringing the bell and any additional Telmarines that spawn
- Walk over to the flashing lever on the lower area and pick it up by pressing
- Walk back up the far set of stairs and go to the white floating circle with the red arrow on it
- Now place the lever by pressing
- Press again to pull the lever
- Return to the lower area and pick up the flashing crank by pressing
- Walk back up the far set of stairs and go to the white floating circle with the red arrow on it
- Place the crank by pressing
- Press again and rotate the clockwise
- The gate in-between the two switches will now be open
- Proceed through the gate and follow the set path and follow the stair upwards
- Defeat the Telmarines that attack you in this new area and any Telmarines ringing the bell in the area below and any other Telmarines that may spawn
- Once all the Telmarines are defeated go back to the upper level
- Now step on one of the two pressure pads (highlighted by sparkle) and stand in front of the closed gate immediately to the right of the pressure pad
- Press and hold to target the switch above the gate and press
 to shoot an arrow
 - The gate should now open
- Walk through the gate and pick up the crank or cog which you will see in the middle of the room
- Walk along the upper area until you see a floating circle with a red arrow (if you are holding the crank) or a flashing cog image (if you are holding the cog) – these images will appear on either side of a wooden structure
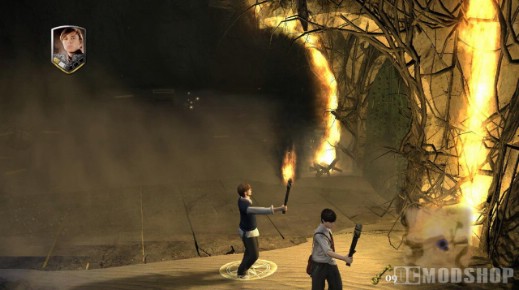
- Press to place the item
- Walk around the upper area to find the second pressure pad (highlighted by sparkle)
- Now step on that pressure pad and stand in front of the closed gate immediately to its right
- Press and hold to target the switch above the gate and press to shoot an arrow
- The gate should now open
- Proceed inside and pick up the flashing cog/crank (this will depend on which gate you open first) by pressing
- Walk along the upper area until you see a floating circle with a red arrow (if you are holding the crank) or a flashing cog image (if you are holding the cog) – these images will appear on either side of a wooden structure
- Press to place the item
- Now turn the crank this will make the left go up and down.
- Once at the top, press to pull the crank and then return to the platform and ride it down
- Then walk to the left around the upper area to the bulls eyes
- Press and hold to target each of the bulls eyes above and press to shoot an arrow at each target
- Now approach Peter and press
 to switch character
 - With Peter stand in front of the gate and you will see a grapple target floating in the air
- Press and rotate the clockwise when prompted and then repeatedly press to complete the action
- Walk across the draw bridge
- Defeat the Telmarines that attack you and the Telmarines that rings the bell in the lower area as well as any other Telmarines that spawn
- Return to the upper area via the stairs and step on 1 of the pressure pads (highlighted by sparkle) and the AI will step on the second one
- The gate in-between the two pressure pads will open
- Walk through it to complete the mission
- End of Mission
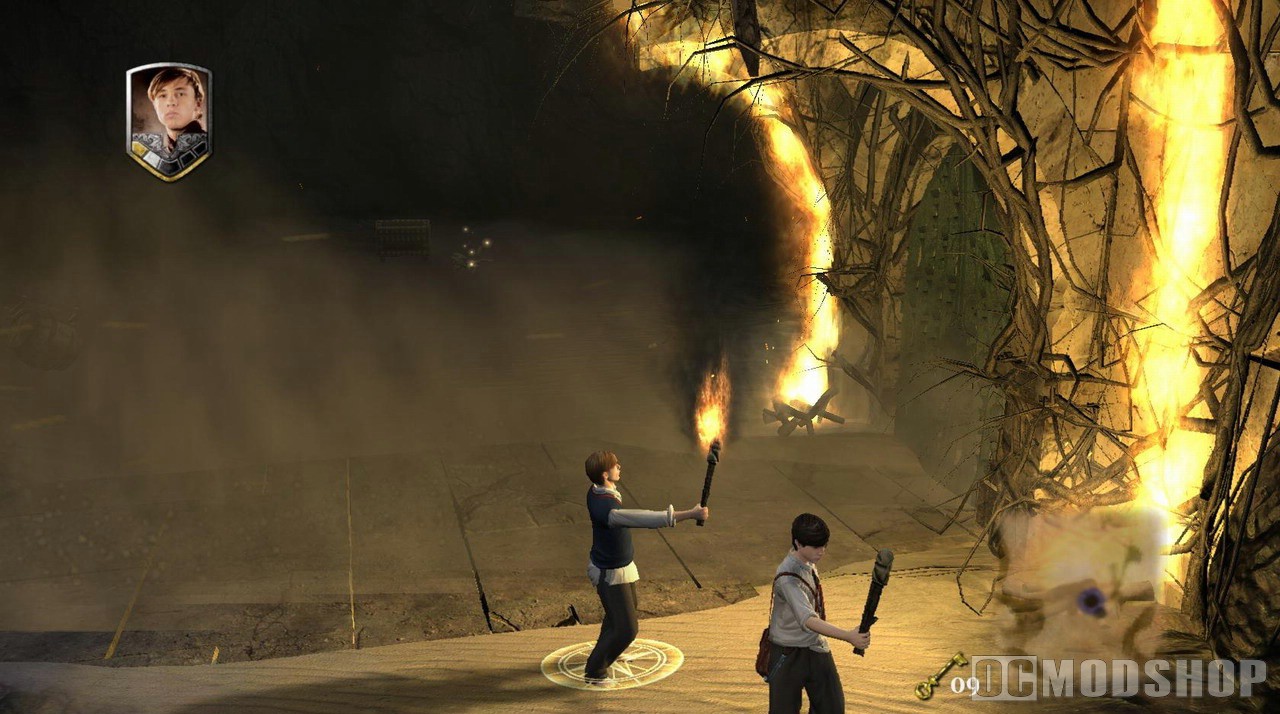
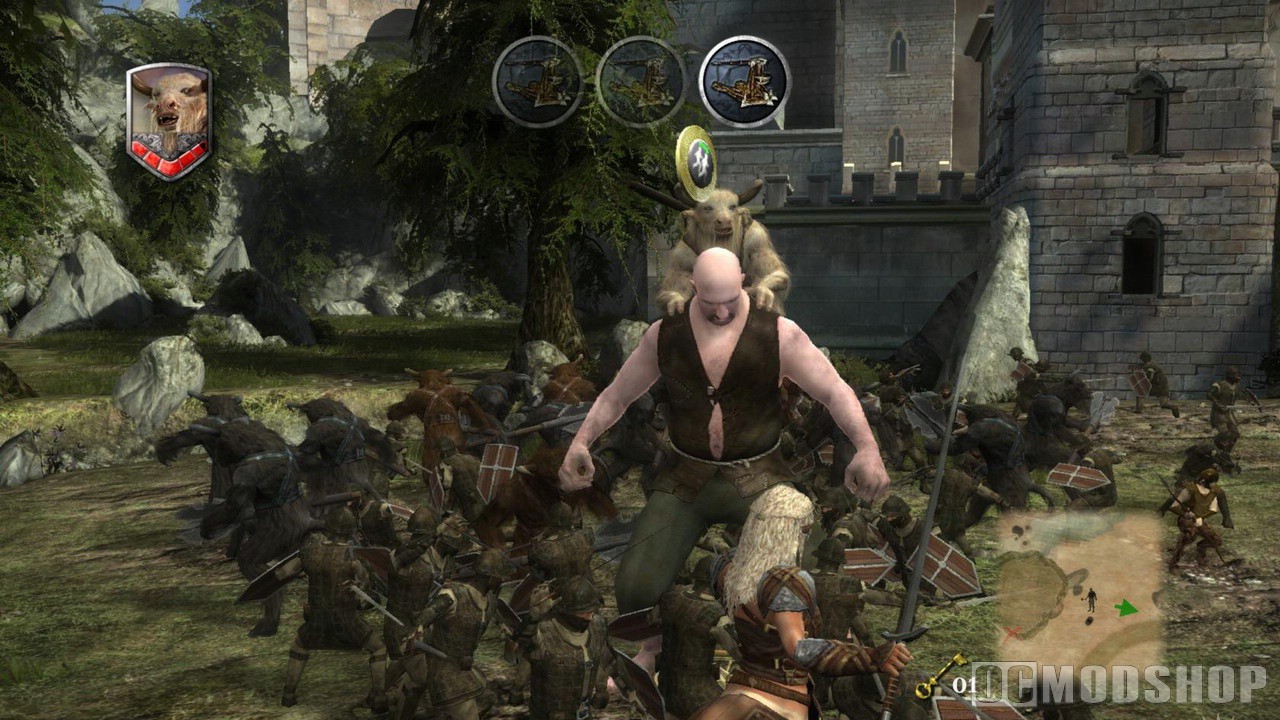
Back to Defeat the Sentries
- Walk up the stairs
- Go counter clockwise around the upper area until you reach the flashing lever
- Press and then repeatedly press to pull the lever
- Enter the door that just opened to the right of the lever
- Climb down the chain to the lower level
- Once at the bottom, exit the tower via the door and follow the set path into the next area
- In this area you will need to complete a picture puzzle
- The first piece is to the right across the walkway to the other side of the map
- Approach the piece and pick it up by pressing
- Proceed down the steps to the lower area and you will see the puzzle on the floor
- Now place this piece in the lower right corner by stand on that part of the puzzle and pressing
- Return up the steps and then proceed around the edge of the upper area to find the second piece
- Pick it up by pressing
- Retrace your steps down to the puzzle
- This piece goes into the middle right of the puzzle, place it by pressing while standing on the missing tile
- Two Telmarines will spawn to the right once the second piece is placed
- Defeat them both and pick up the third piece of the puzzle by pressing
- Return to the puzzle and place this piece in the middle left by pressing
- Walk to the left of the puzzle around the stairs to pick up the final puzzle piece by pressing
- Return to the puzzle and place this piece into the upper left corner by stand on the missing tile and pressing
- Two of the tiles will now raise to become pressure pads
- Stand on one of them and the AI will stand on the other
- This will lower the gate in front of the puzzle
- Proceed through it to the next mission


2 comments
geoffreydprice@googlemail.com
hey guys i looked at the game walkthrough and tried the 1,2,1,3 for the levers in assult on mirazs castle and guess what it failed
Comments are closed.