

Defeat the Sentries on the Turrets
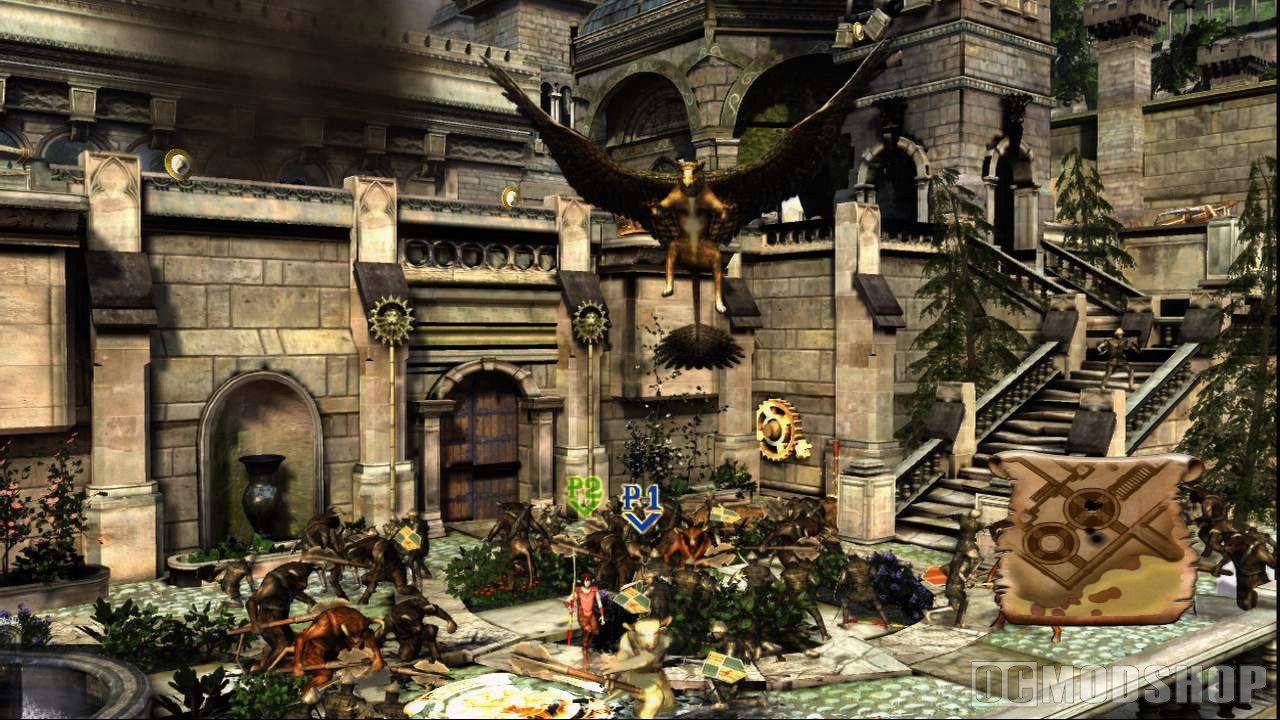
- Fly the gryphon over the tower and press
 to land
 - Standing in the centre of the tower turn left
- Press
 and rotate the
  clockwise when prompted and then repeatedly press to complete the action
 - Turn right from the centre
- Press and rotate the clockwise when prompted and then repeatedly press to complete the action
- You will now have a rope hanging of each one of the two towers
- Climb the one on the left first by walking right up to it and then pushing the up until you reach the top
- Once at the top defeat the Telmarines
- Now lower yourself down the rope again by approaching the rope and pushing the down
- Now go to the rope on the right by walking right up to it and then pushing the up until you reach the top
- Once at the top defeat the Telmarines
- Now lower yourself down the rope again by approaching the rope and pushing the down
- The gryphons will now have landed again
- Approach one of the two gryphons and press
 to mount it
 - Once you are in the air, fly left to the next tower and press to land
- Once you have dismounted the gryphon try and avoid the Telmarines near you and run up the stairs to defeat the Telmarine that is ringing the bell
- Once the bell ringer is gone defeat the other Telmarines that will be coming your way, Telmarines will repeatedly try to ring the bell, ensure that you defeat them
- You will know when they are all defeated when CHECKPOINT is displayed on your screen
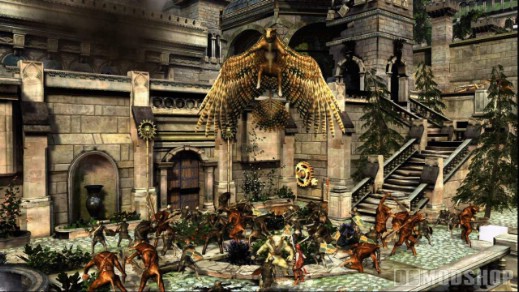
- The gryphons will now have landed again
- Walk down the stairs and mount the gryphon by pressing near them
- Once you are in the air, fly left to the next tower and press to land
- Once you have dismounted the gryphon try and avoid the Telmarines near you and run up the stairs defeat the Telmarine that is ringing the bell
- Once the bell ringer is gone defeat the other Telmarines that will be coming your way, Telmarines will repeatedly try to ring the bell
- You will know when they are all defeated when CHECKPOINT is displayed on your screen
- Walk down the stairs and mount the gryphon by pressing near them
- Once you are in the air, fly left to the next tower and press to land
- Once you have dismounted the gryphon try and avoid the Telmarines near you and run up the stairs
- Proceed clockwise around the upper area to the flashing lever
- Pull the lever, this will cause a pressure pad to the left to rise
- Stand on the pressure pad to open the gate, giving you access to the Telmarine ringing the bell
- Proceed up the winding steps to defeat the Telmarine
- Head back into the main area and defeat the remaining Telmarines on this tower
- CHECKPOINT will appear once they are all gone
- The gryphons will now have landed again
- Approach one of the two gryphons and press to mount it
- Fly to the left and land at the next tower
- As the Dwarf throw the grapple hook and attach it to the point in the upper left area
- Walk around the upper area to defeat the Telmarine ringing the bell
- Clear the rest of the tower of Telmarines and CHECKPOINT will appear
- The gryphons will now have landed again
- Approach one of the two gryphons and press to mount it
- Fly up to the last tower and land the gryphons
- The Telmarine in the upper area will begin ringing the bell
- This will spawn a Telmarine warrior
- Notice there are no stairs to get to the upper area, so stand against the wall directly under the bell to get the warrior to charge towards the bell
- Dodge his attack to complete the mission
- End of Mission
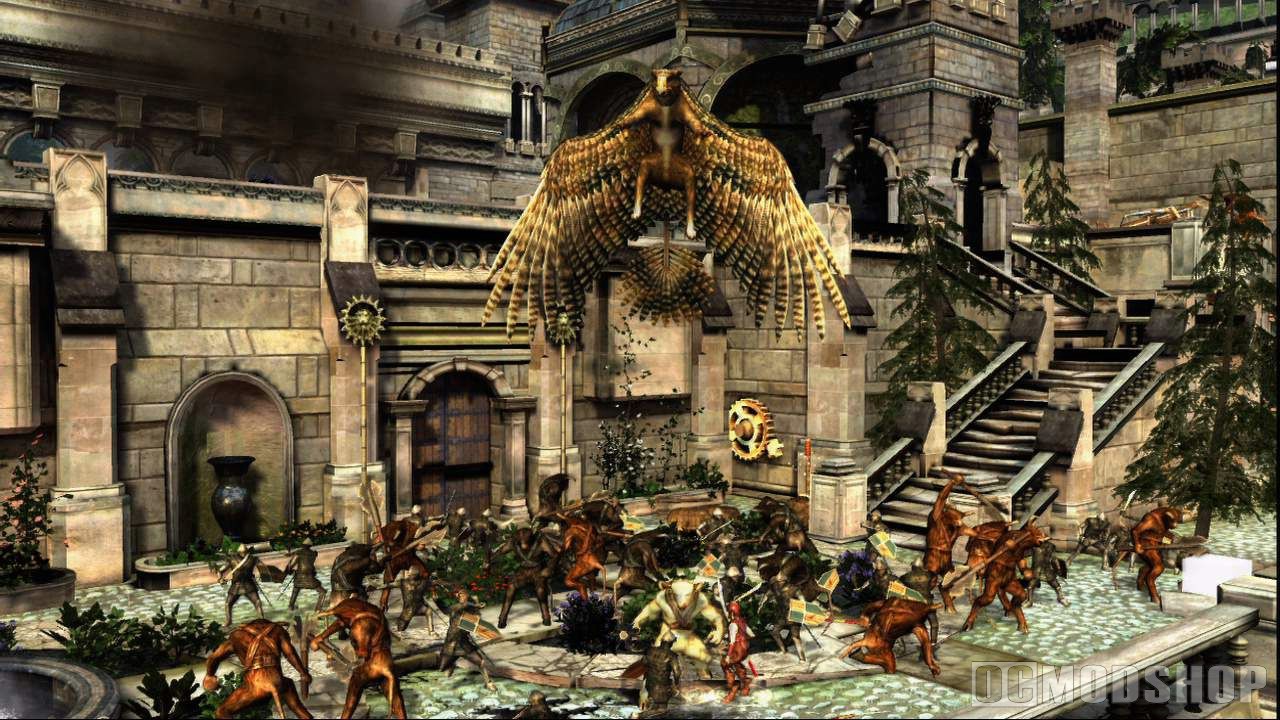
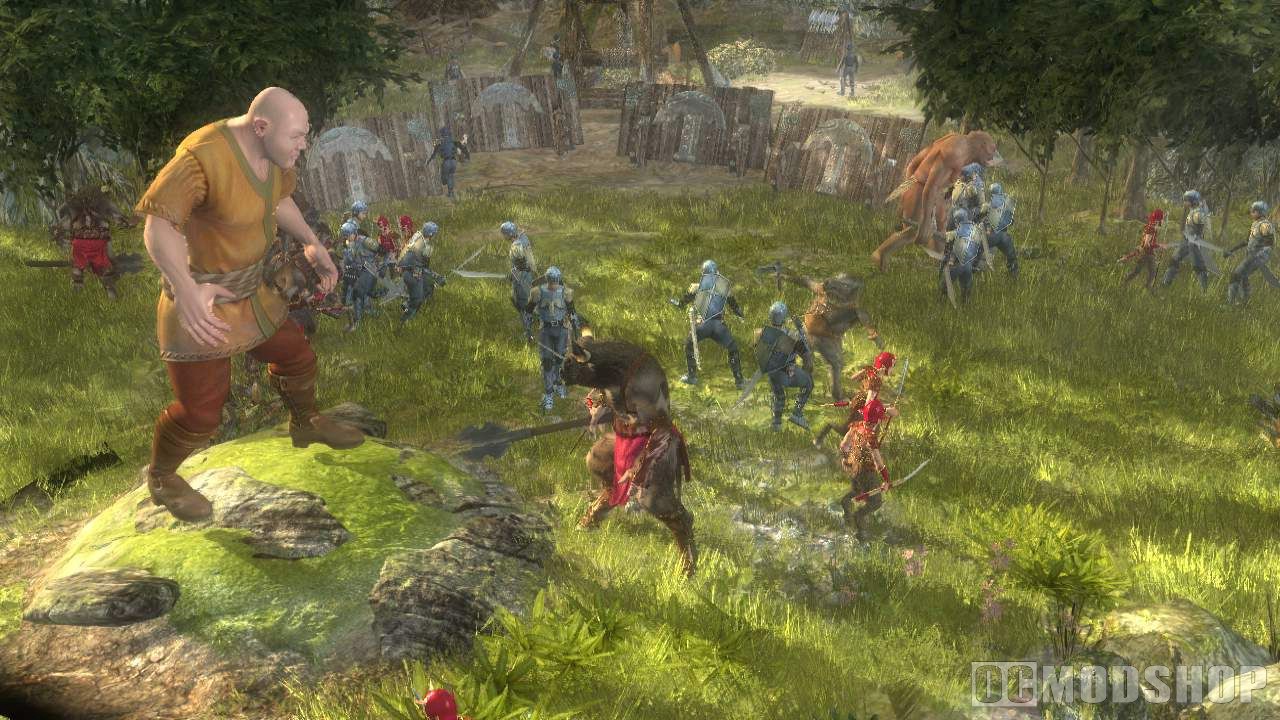
Back to Defeat the Sentries
1. Walk up the stairs
2. Head left and enter the door in front of you.
Break into Miraz’s Chambers
- To the left of the starting area is a floor puzzle
- Stand on one of the pressure pads – and a cutscene will play showing the observatory
- Use the pressure pads to guide the balls out of the maze
- Pick up each ball and walk it toward the camera and into the observatory
- Walk around the observatory with one of the balls until you receive a prompt
- Place the ball by pressing
- Repeat this with the remaining ball
- Return to the room to the left
- Once in the main room walk away from the camera
- You will notice a crank on the wall on a shelf
- Using a character with a bow, target the crank and fire an arrow
- The crank will fall to the ground
- Pick up the crank and carry it to the wall to the left
- Place it by pressing
- Press again and rotate the left thumb stick to turn the crank
- This raises the display case revealing the last ball for the puzzle
- Target the ball and fire an arrow
- Carry the ball to the observatory and place it on the final empty peg
- A door at the far end of the observatory will open
- Proceed through it into the hallway
- Defeat the Telmarine that attacks you and walk away from the camera until you reach an intersection
- Proceed left and you will see a staircase to the right
- Proceed up both sets of stairs and turn left to find a balcony over looking a chandelier
- Using a character with a bow, target the chandelier and fire an arrow
- A cutscene will show you the demise of two Telmarine Warriors blocking your path
- Once this is done retrace your steps down the stairs and walk away from the camera
- Turn left at the intersection and follow the hall downwards
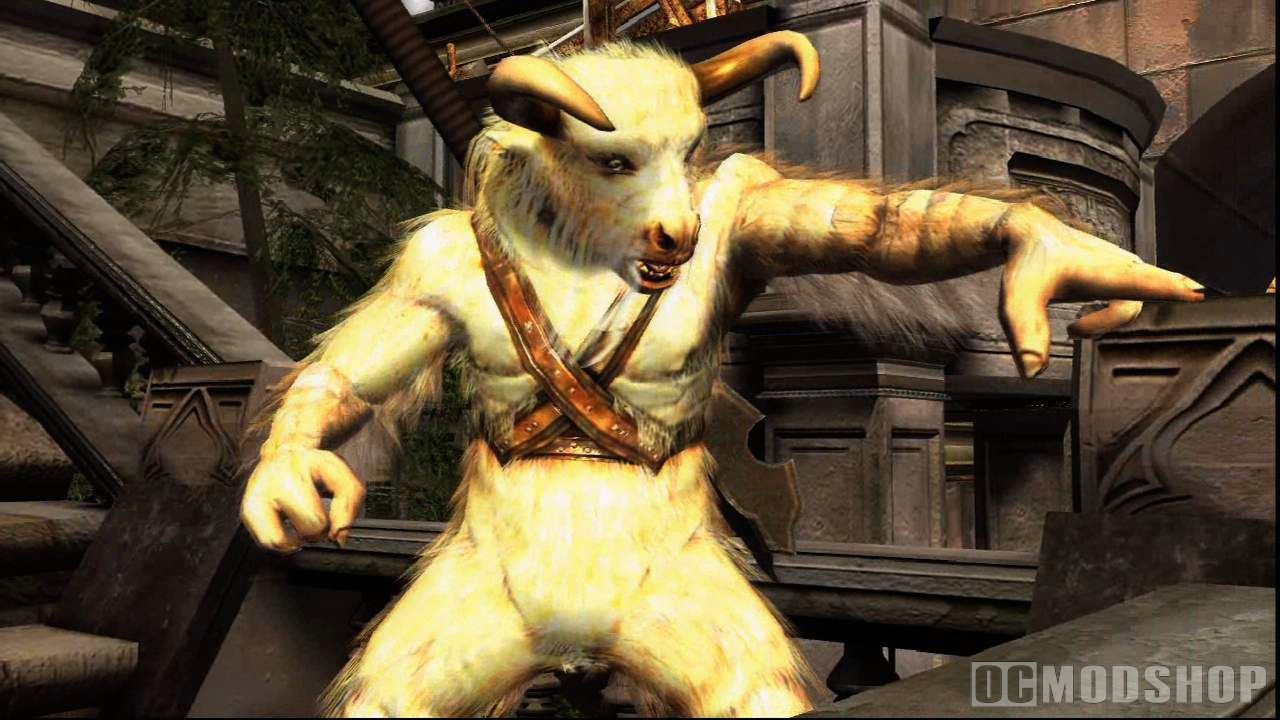
Rescue Edmund and Trumpkin from the Tower
- Defeat the Telmarines in this room, ensure you defeat any that are ringing the bell
- Once they are all defeated approach the closed door opposite the camera and press and tap
 to pull the chain
 - The AI will join you in this action
- From the doorway use your bow to hit the Telmarines in the upper area that will ring the bells
- This can all be done from the starting position
- Telmarines will emerge from the doors to the left and right
- Dispatch these and rotate the crank in the centre of the room
- A Telmarine Warrior will spawn
- Dodge his charge attacks and steer him toward the door opposite the camera
- Once he has crashed into the door three times he will be defeated
- Proceed up the stairs into the last room of the mission
- You will see a series of chains anchored by stone gargoyles along the ledge
- Approach these and press and tap to push them over the side to stop the Telmarines
- While this occurs a Telmarine Chieftain will climb one of the chains
- He can be dispatched by ringing one of the massive bells when he stands next to them
- Once all of three anchor gargoyles have been pushed over the ledge eradicate the remaining Telmarines, ending the mission
Back in Break into Miraz’s Chambers
- You will find your party near the entrance to the last mission
- Walk towards the camera and follow the contours of the hallway until you pass the entrance to the observatory
- The camera will shift showing you a closed door
- Using a character with the grapple hook, stand in front of the door
- Attach a grapple hook by pressing and rotating the left stick
- Once the hook is attached follow the on screen prompts to pull open the door
- Proceed through the open door to the next mission
Rescue Dr. Cornelius from the Dungeon
- Go left down the stairs
- Head towards the centre of the area where you see a bunch or barrels on the floor near an open cage
- Aim and shoot the bulls eye target on the top left of the big gate
- A Telmarine warrior will appear
- Let him charge at you and dodge him to get him in the centre of the room, then walk to the opening of the cage
- Once there let him charge at you again, dodging him so he runs into the cage
- The Telmarine warrior will now be trapped and the gate will open
- Go through the gate
- You now have two Telmarine warriors and two cages
- Trap them both the same way you trapped the last Telmarine warrior
- Once they are trapped head to the lever in the top left area of the room and pull it by pressing and tapping
- This will move the left cage onto the left side pressure pad
- Now go to the bottom right of the area and shoot the bulls eye target to open the small get underneath it
- There is another lever in here, pull it by pressing and tapping
- This will have dropped the chandelier which in turn drops a crank in the centre of the room
- Pick up the crank and walk to the bottom left area of the room and place it by pressing
- Turn the crank by pressing and rotating the clockwise
- This opens a gate to a small room to your right
- Enter that room and pick up the lever on the floor
- Now take that lever across the main area to a small stump of a flashing lever and place it by pressing
- Pull the lever by pressing and tapping
- This will open the next big gate to the next area
- Go through that gate
- Now you will see a big cage in the middle with Dr. Cornelius trapped inside, surrounded by four big pillars
- Two Telmarine warriors will spawn
- Use them to break the pillars by getting them to charge into them – do this by standing in front of the pillar and dodging their charge attacks, forcing them into the pillar
- Each pillar will take two hits from the Telmarine warrior to be destroyed
- Once the pillars are destroyed you should see a Mission Complete message
Back in Break into Miraz’s Chambers
- Now walk towards the camera until you come round the corner after which you walk away from the camera
- Keep walking straight ahead until you trigger a cut scene
- Now look to your right – you should see a small access hole in the wall
- Switch to the Dwarf by walking up to him and pressing
- With the Dwarf go to into the small access hole
- Level Complete


2 comments
geoffreydprice@googlemail.com
hey guys i looked at the game walkthrough and tried the 1,2,1,3 for the levers in assult on mirazs castle and guess what it failed
Comments are closed.