

Break the Narnian Army into Miraz’s Castle
- Defeat the Telmarines that attack from the left of the starting position
- Walk towards the camera and to the left until the camera turns to reveal a grapple point near the top of the screen on one of the walls
- Attach a grapple hook by pressing
 and rotating the left stick clockwise
 - Once the grapple hook is attached follow the on screen prompts to unlock the door at the top of the stairs
- Go up the stairs to enter the first mission
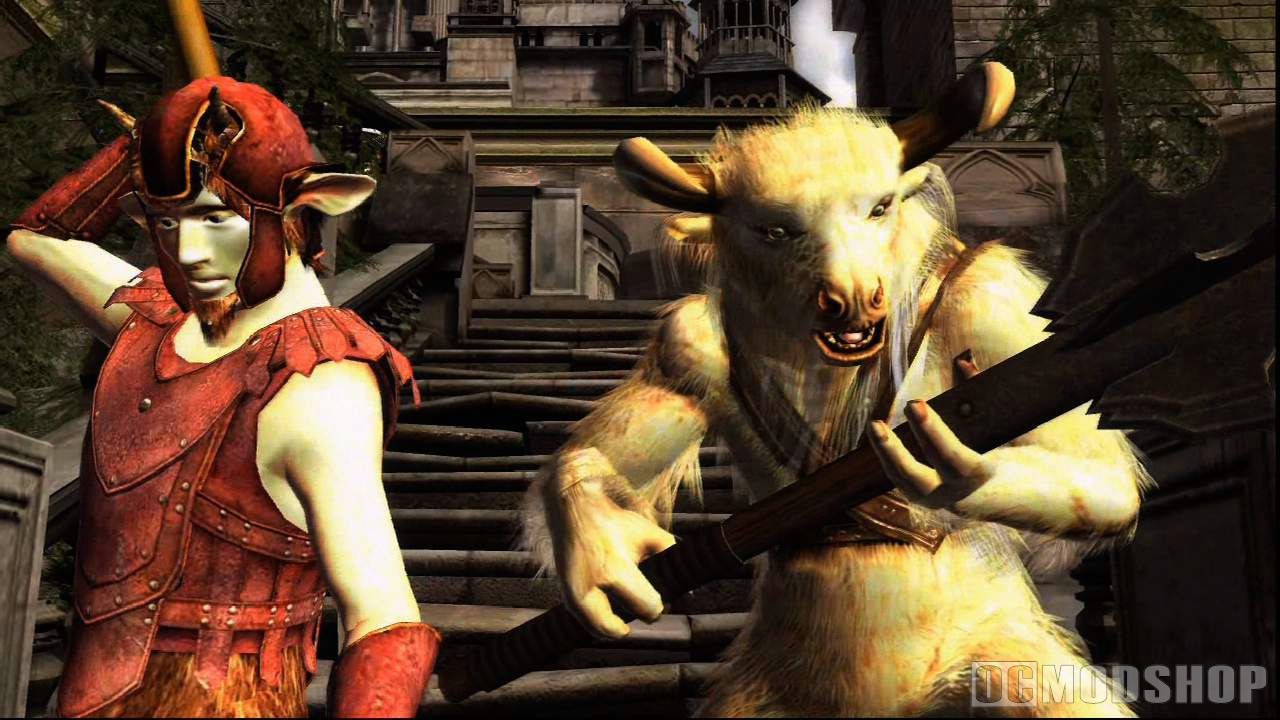
Lower the Drawbridge
- Pull the blinking lever to lower the stairs
- Proceed up the stairs and defeat the Telmairnes that attack
- Proceed right along the walls to the gap in the path with the grapple indicator on the other side
- Stand directly in front of the gap and attach a grapple hook and pull to close the opening
- Proceed to the gate – if not in control of Reepicheep switch characters to him now
- Approach the gate and press to initate the context action
- Follow the button press prompts (the buttons needed change with every attempt) to open the gate
- Continue along the wall and defeat the Telmarines in your path
- Approach the small access hole near the end of the path to enter it and go to a lower area
- Switch to the Dwarf character if not already in control of him and use the grappling hook to pull the gap closed
- Proceed across and stand on the pressure pad
- Retrace your steps to the upper area and switch to Reepicheep
- Approach the closed gate and press to initiate the context action
- Follow the button press prompts (the buttons needed change with every attempt) to reach the pressure pad
- Once the gate is opened proceed through
- Defeat the Telmarines that immediately attack
- Stand on the compass insignia at the base of the platform and allow the other character to trigger the pressure pad on the left side of the room
- The aim of this room is to lower all of levers to open the way forward
- From left to right number the levers 1-4 and pull them in this order 1,2,1,3.
- Once this is done a cutscene of a gate opening will play
- Walk off the platform via the area near the raising pillar and exit the room
- Make your way back to the left along the wall
- Once you pass the closed gap from the beginning of the mission you’ll notice that the small access hole near there is now active
- Approach it and move to the lower area
- Head left to the gap and pull it closed with the grappling hook
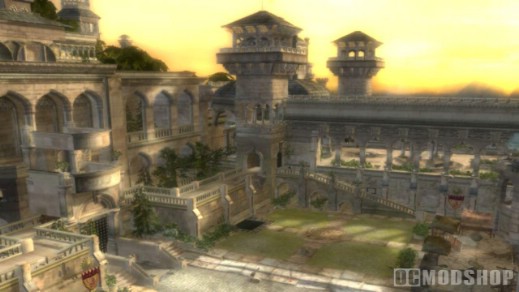
- Enter the archway just to the left
- You’ll be notified of a checkpoint and have to fight a group of Telmarines
- Once they are dispatched go up the small set of steps at the far right side of the room
- There you will find a cog that should be placed between the large gears to the front of the room
- Near the base of the steps where you found the first cog there is a pressure pad behind wooden boxes and barrels
- Step on the pad to extend a block on the right wall of the room
- Directly across the room to the right of that pressure pad is another, obscured by the wall
- Step on it to extend the second block on the right wall
- Switch to Reepicheep and initiate his context action at the base of the two extended blocks to release the second cog
- Switch to the Dwarf and place the cog between the two large gears in the same manner that you did previously
- Switch back to Reepicheep and push the now active rotating crank clockwise
- Telmarines will spawn and attempt to stop you from completing the rotation
- Dispatch them and continue to turn the crank
- End of mission
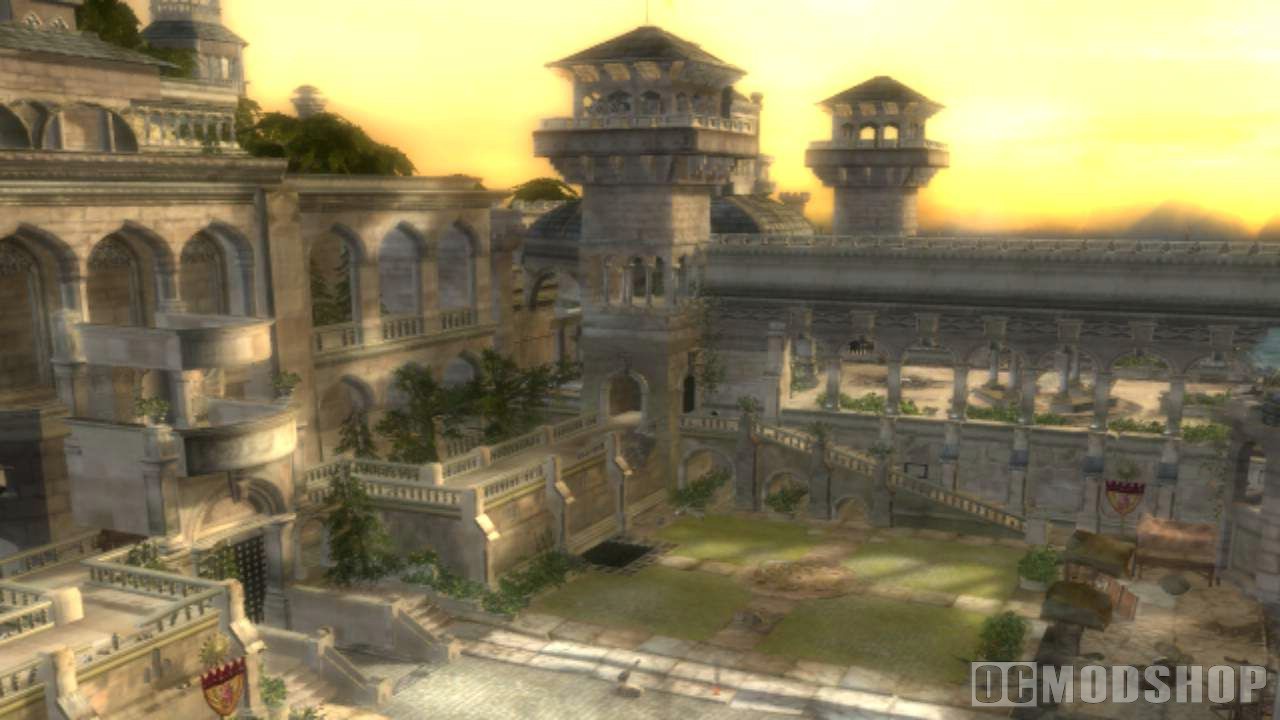
Break the Narnian Army into Miraz’s Castle
- Your party will spawn near the entrance of the last mission
- Walk towards the camera’s initial position toward the left side of the map
- You will see a bullseye on a wall there that requires an arrow
- If not in control of a character that has a bow (Susan or Caspian) switch to them now
- Hit the target and a gate on the ground will open, exposing a pressure pad
- Step on the pad to open the door at the top of the stairs
- Go through the door to enter the next mission
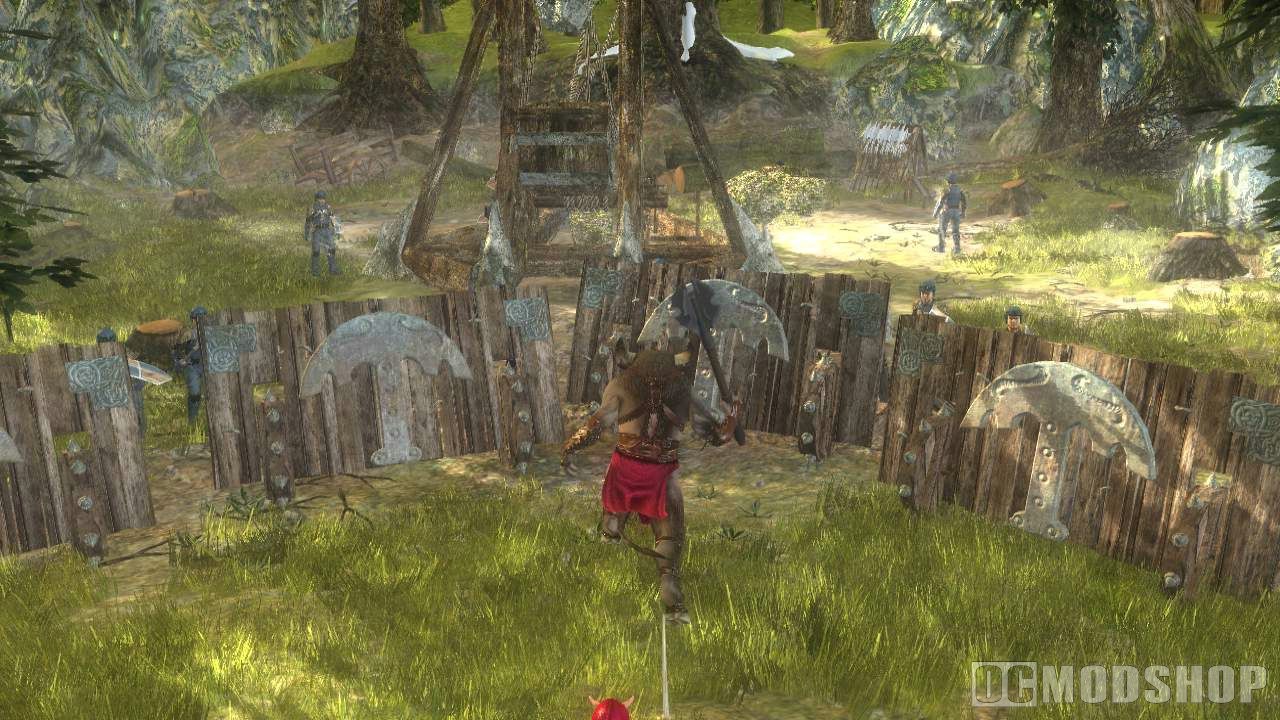
Raise the Portcullis
- There are two bullseye icons in the air to the right
- Target the first and fire an arrow
- This will release a key that you must pick up and carry to a chest near the right wall
- Place the key into the chest and pick up the crank that is inside
- Bring the crank to the large wooden structure in the centre of the room
- Place the crank in the right side of the structure
- Defeat the Telmarines that spawn and fire an arrow at the second bullseye icon at the back of the room
- This will raise the display case and expose a further crank
- Fire an arrow at this crank and attach it to the left side of the large wooden structure
- Rotate one of the cranks by pressing
 and rotating the left stick clockwise
 - The other character will join in this action and raise the platform to the next floor
- Defeat the Telmarines waiting for you in this area
- To the right of the room you will see a stack of barrels
- Behind these barrels is a lever that must be placed to the left of the large wheel in the room
- Once you have placed the lever pull it in order to make the wheel turn. The other character will then pull the other lever located at the other side of the large wheel.
- Dispatch the Telmarines that appear to stop the wheel
- If the wheel is stopped pull the lever to start it up again
- When the wheel has been spinning for a long enough time the mission will be complete
- End of mission


2 comments
geoffreydprice@googlemail.com
hey guys i looked at the game walkthrough and tried the 1,2,1,3 for the levers in assult on mirazs castle and guess what it failed
Comments are closed.