

Assault Miraz’s Castle
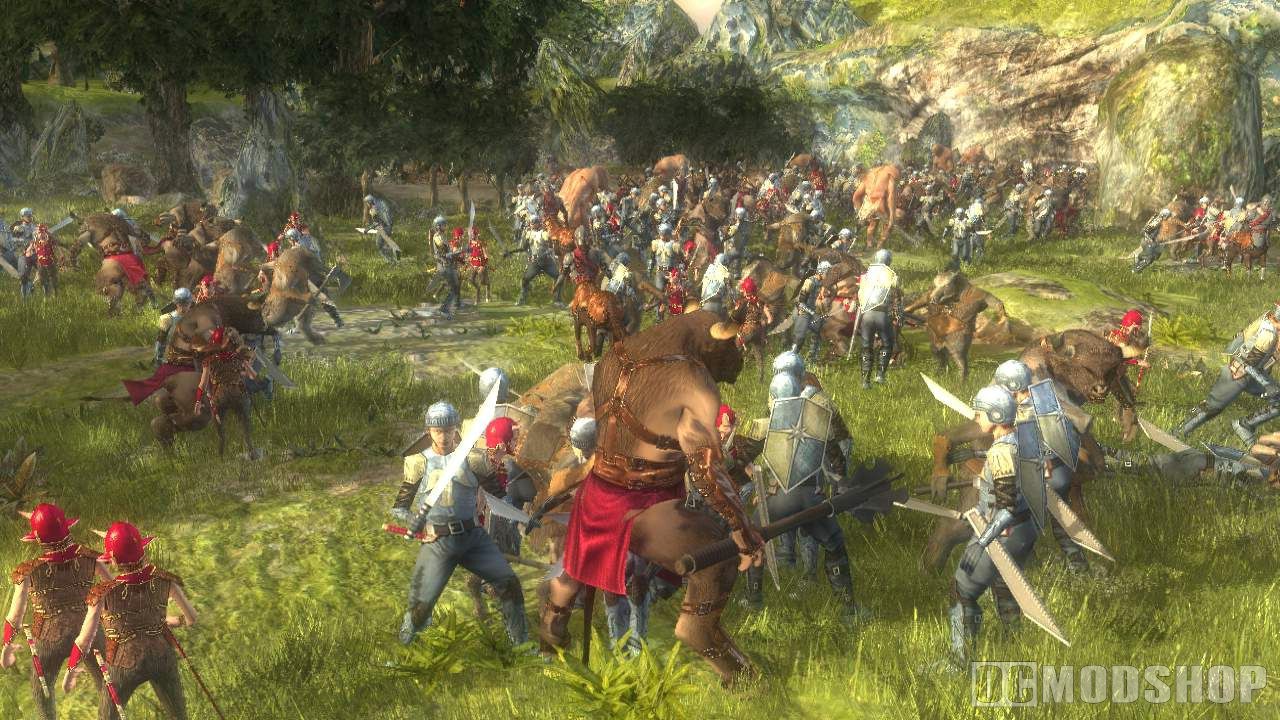
- Walk towards the camera and press
 to use the Minotaur’s smash ability on the pikemen that appear and try and attack the player
 - Continue fighting towards the camera until there are no more pikemen
- After the cutscene if you are not in control of the Centaur then swap characters to him now
- Tap
 while galloping toward the Telmarines to damage them
 - Telmarine soldiers and warriors will begin attacking the counterweights of the portcullis
- Prevent them from doing so by galloping in their direction
- Continue this until the cutscene notifies you that the battle has progressed and your party respawns in another area
- If you are not in control of Tyrus the ram, change characters to him now
- Mount the Giant by pressing

- Smash the barricades directly ahead and make your way to the stairs opposite the camera
- The Giant will be captured by Telmarine grapple troops
- Use either of the characters to defeat all of the Telmarines holding the Giant in place (the Centaur is particularly good for this task) and don’t forget the Telmarines at the top of the stairs
- Once this is done mount the Giant with Tyrus the ram, climb the stairs and approach the open archway
- A
 prompt will appear when you are near the front of the archway
 - Press and tap to make the Giant destroy the archway
- Walk back down the stairs the way you came
- Once at the base of the stairs head left until you see another archway guarded by Telmarine chieftains
- Use the Giant to defeat these chieftains and destroy the archway as before
- Walk back down to the main courtyard and head left again to see a long set of stairs
- Approach these stairs and the Giant will be captured again
- Dispatch the grapple Telmarines and remount the Giant
- Walk toward the base of the long stairs where Peter is standing on a balcony
- End of mission
Pursue Miraz
- At the start of this mission if you are not playing as Tyrus then swap to him now
- Walk to the left along the wall dispatching any Telmarines that are in the way
- Climb the grapple rope at the end of the path up to the next walkway
- Stay close to the wall, which should cause the Telmarine warrior to stumble – attack him when he is vulnerable
- Make your way to the right
- Change characters to Peter and attach a grapple rope to the far right wall with the prompt
- Climb the rope and walk right to the large spool
- Switch characters to Tyrus
- Destroy the spool by attacking it
- Now climb down the rope
- Wait for the Telmarine warrior to hit the wall below you before dismounting from the rope
- Dismount the rope and dispatch the warrior
- Walk to the end and destroy the two barrels so you can pick up the crank
- Walk back to your left and place the crank on the wall
- Now turn the crank to activate the walkway
- Walk along the newly activated stairs to complete the mission
- End of mission
Rescue Dr. Cornelius from the Stables
- Defeat the oncoming Telmarines and go towards the big door
- The door will shut as soon as you get close
- If you are not in control of Caspian swap characters to him now
- To open it again just shoot the bulls eye prompt that is floating over the door
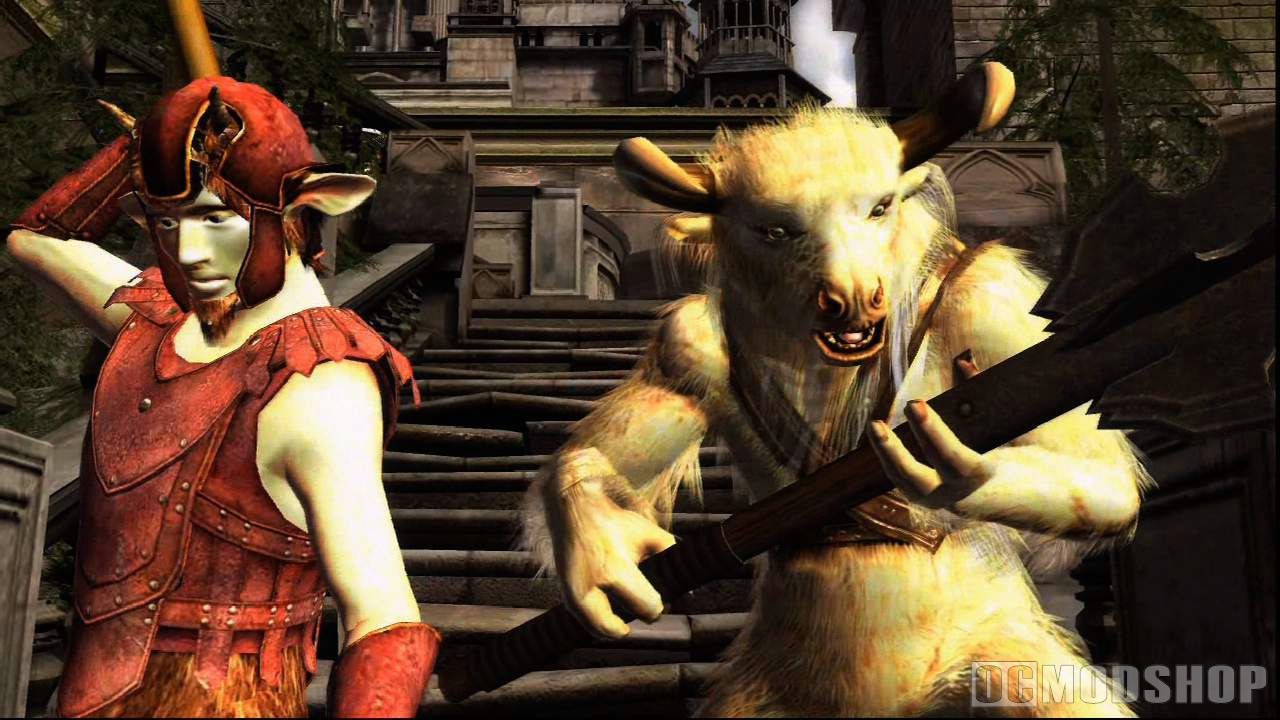
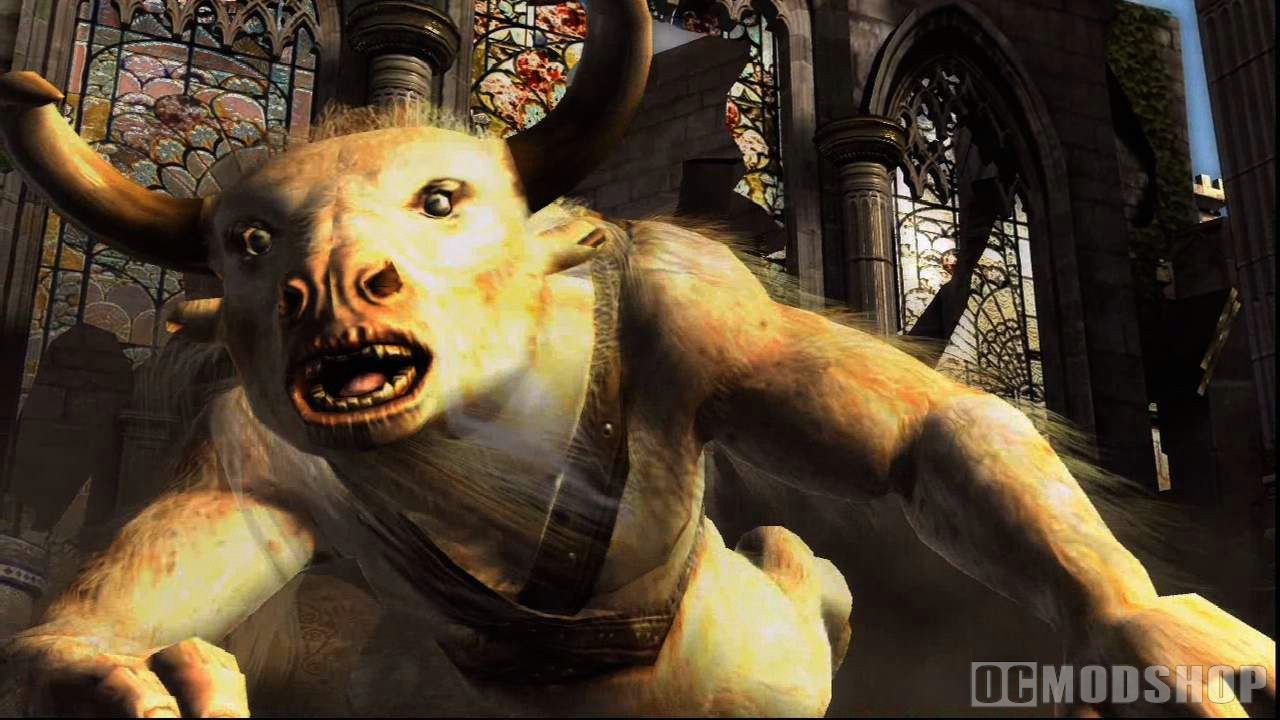
- Once you are in the next room you will get ambushed by a Chieftain
- Simply hit him 4 times to defeat him, after every time you hit him he will throw his own attack, ensure that you dodge these attacks
- Now you will have two levers, one next to the left door and one next to the right door, pull them both to open the doors
- Now go through the left door
- As soon as you get into the room, notice the bulls eye prompt floating and shoot it with
- This drops a plank of wood so you can cross
- Cross it and pick up the weight in the stable
- Carry it to one of the floating gold/white circles with the red arrow on it on the right of the stable
- Place it with
- Now there is a small wave of Telmarines coming to attack you
- Defeat them and go down into the right hand pit with the little steps
- Destroy the hay bricks and reveal the second weight
- Pick it up and place it next to where you placed the last weight
- This will raise the gate, now press to mount the horse
- Now ride the horse out of this room
- Back in the main room go through the right side door
- Here you will see a high wall on your left and a little further down there is the opening to get behind it on the left
- There are 3 Telmarines, defeat them and pull the lever in the first pen to open the first gate
- Now pull the next lever which you have just gained access to by opening the gate
- This will give you access to the horse, before riding it return to the first lever you pulled and pull it again
- Next go outside of the area with the pens in and walk towards the camera
- You will see a lever on the left against the wall, pull it
- This will open up the pen allowing you access to the final lever you need to pull to release the horse
- Walk inside the newly opened pen and pull the lever
- Now walk straight down to the horse and ride it along the path you used to get to it
- Once out of the pens. ride the horse out of the room
- Now back in the main room, exit through the main door
- The way is now blocked by barriers
- To open them go to the second alcove on your right and climb up the rope
- Once on the upper level, go a little to the left and shoot the bulls eye prompt to break the pillar
- Now cross the pillar to get to the other side
- Go to the end furthest from the camera and pull the lever
- Now cross the pillar to get back to the other side
- Go to the end furthest from the camera on this side and pull the lever
- Behind you there is another hole with a rope, climb down it and step on the pressure pad
- Now pick up the crank and walk towards the left and place the crank in the last alcove on the left
- Now turn it and the big door at the end of the stables will open
- Go through the door to end the mission
- End of level


2 comments
geoffreydprice@googlemail.com
hey guys i looked at the game walkthrough and tried the 1,2,1,3 for the levers in assult on mirazs castle and guess what it failed
Comments are closed.