The BIOS is the standard AWARD layout, you can see that the BIOS contains most of the same main sections as other motherboards do. There is a big difference though, what’s inside of these categories is much greater than most motherboards. The standard and advanced features sections have the general boot, time, and other things which are not of very much importance.
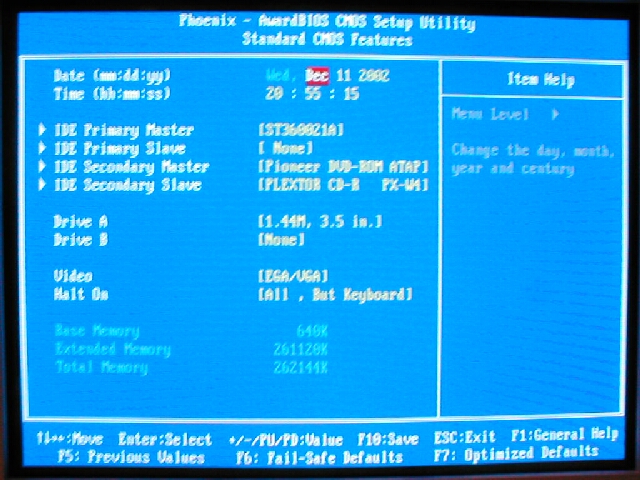
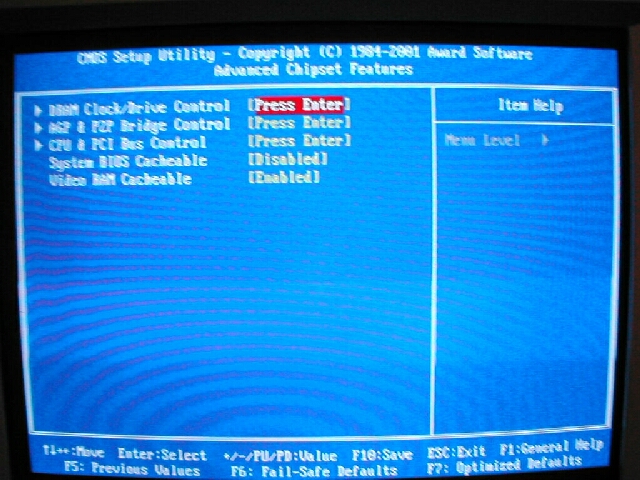
The standard CMOS features section of the BIOS is where you can set the time, IDE devices, and a few of the other things for your system. The Advanced Chipset Features menu has 3 submenus and 2 options, the first submenu is DRAM Clock/Drive control, this menu is where you will do all of your memory tweaking. The AGP & P2P Bridge Control contains options for your video card settings. The CPU and PCI Bus Control menu is where you will select the options for your PCI and bus options.
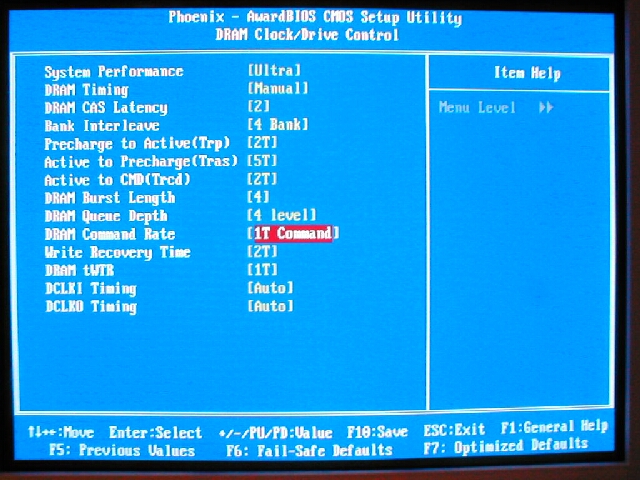
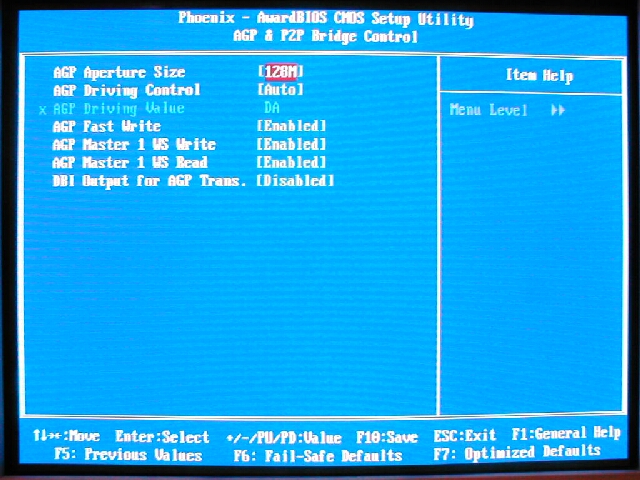
The DRAM Clock/Drive Control menu has a lot of options in it so that you can tweak your RAM settings out. You can then choose what kind of settings you want, I have all of the memory options settings at the most aggressive and fastest. My RAM was set to 2-2-2 CMD 1 with 4 way bank interleaving. The AGP & P2P Bridge Control menu is also good with all of the options that you will need for your video card, I have My AGP Aperture set to 128Mb, AGP fast write enabled along with AGP Master 1 WS Write/Read. The KT400 chipset is able to handle 8x AGP video cards so I will be using an Abit Geforce 4 Ti4200 8x 128MB I will have a review of this video card soon.
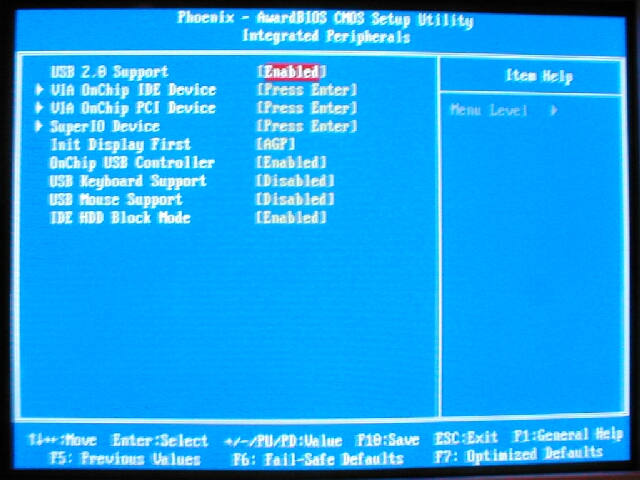
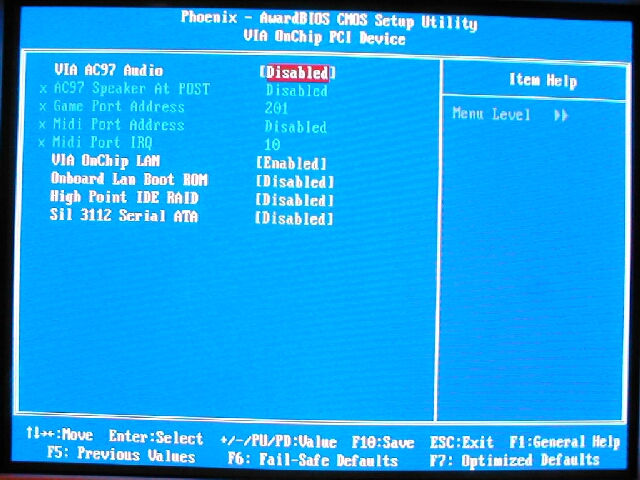
The Integrated Peripherals menu has all of the settings for the onboard peripherals. From the top level of the menu you can enable/disable the USB settings and set the first display device to AGP or PCI. Within the VIA OnChip PCI Device menu there are the options for the onboard LAN, and sound along with the ability to enable/disable the IDE RAID and the SATA functions which I would suggest you do if you are not using them to speed up boot time.
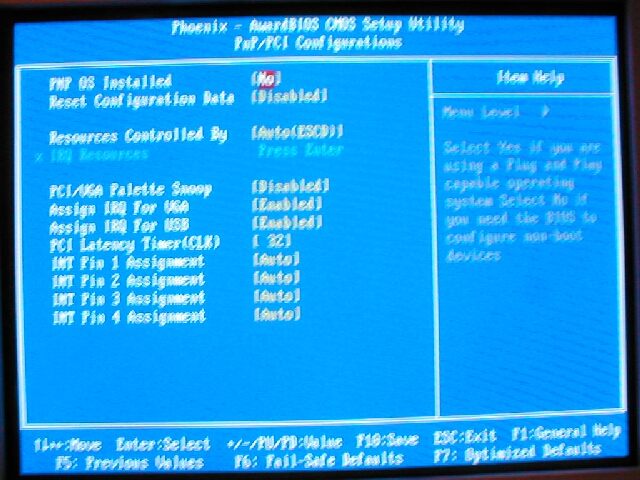
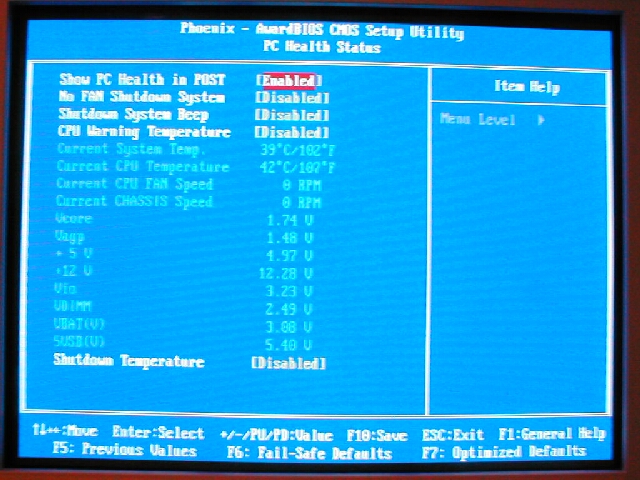
The PNP/PCI Configurations section is just that, you can choose some of your PNP and PCI options here. You can select IRQ settings and set whether your OS is plug and play compatible. The PC Health Status menu is where you can see temperatures, fan RPM, and voltages of your system. You also have some options, you can have your system warn or shut itself down if the CPU gets too hot. You can also enable and disable the PC Health in the POST, I prefer to keep this on just to make sure everything is good while POSTing.
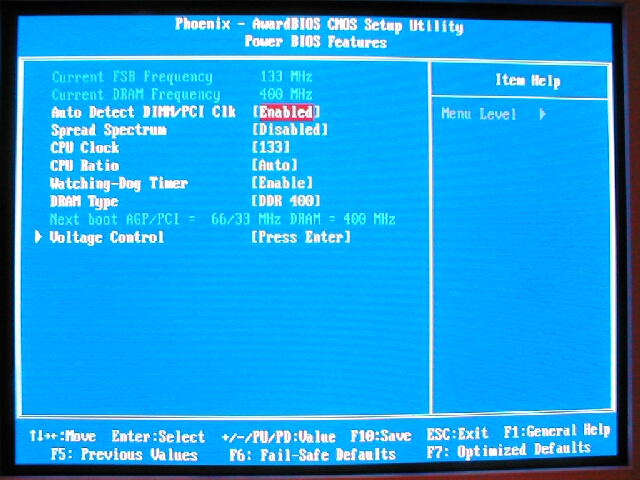
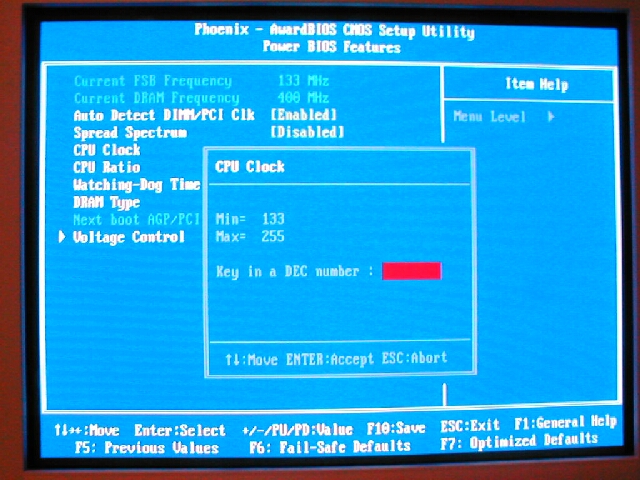
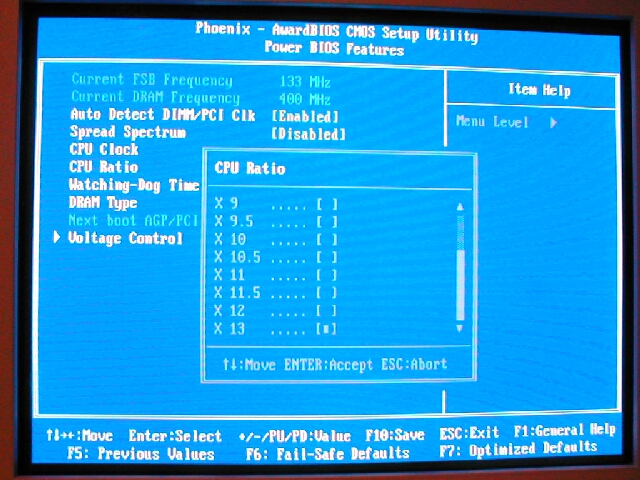
All of the overclocking features are within the Power BIOS Features section of the BIOS. From the top level of this menu you can enable/disable Auto Detect DIMM/PCI Clk, Spread Spectrum, Watch-Dog Timer, set the FSB, multiplier, abd DRAM type. The FSB can go from 133 – 255 which is higher than you will probably be able to reach and the multiplier can be changed from 6-13. The KT400 chipset is able to unlock the new AMD Thoroughbred CPUs via the BIOS without even unlocking the chip itself. This is the coolest thing I have seen in a while because if you have ever tried to unlock a XP or Thoroughbred its not an easy thing to do. The DRAM Type can be set to speed, 266, 333, or 400, I have mine set to 400.
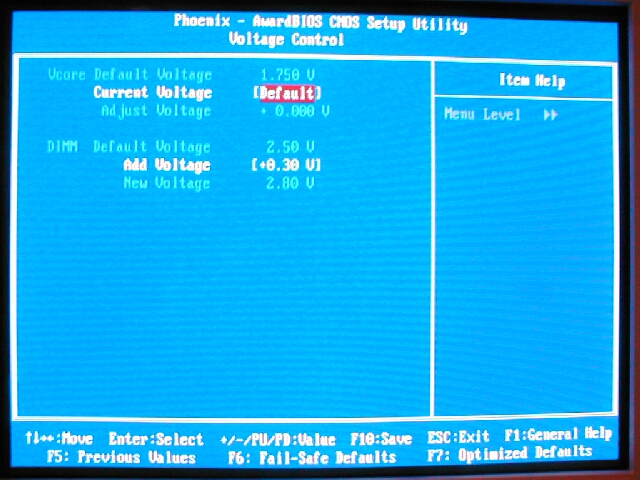
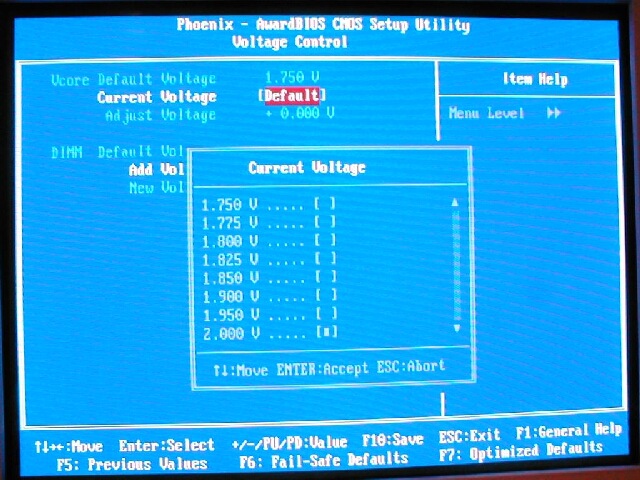
This motherboard also has the ability to adjust the Vcore all the way up to 2.00v which is a lot more than most motherboard without doing a volt MOD. If you are going to go above 1.85v be careful because you will need some good cooling for the high voltage, watercooling or better I would suggest. You are also able to adjust the VDIMM voltage from the default 2.5v all the way up to 3.2v which will be more than enough even while overclocking. Before you crank up the voltage on your memory be sure that it can handle it and do it slowly don’t just go from 2.5v – 3.2v. I really like the fact that these voltage options are available because if you wanna do some serious overclocking you will need the high voltages and you wont even have to do a volt mod like you would have to for the EPoX 8KHA+