

#1. Slo-mo is the key to getting through this game much easier than if you didn’t use it. Early on I would say it’s easy to over-look it with the fights being simple, and even missing the time you have it like I did, but later you can’t get through without it, especially on the creepers and other fast enemies.
#2. Tapping the weapon change button will swap to your last used gun. This is key for balancing not wasting big ammo on small enemies and using your rifle on small groups. It’s just a good tactic when trying to save ammo for your bigger guns, and just in anticipation between fights.
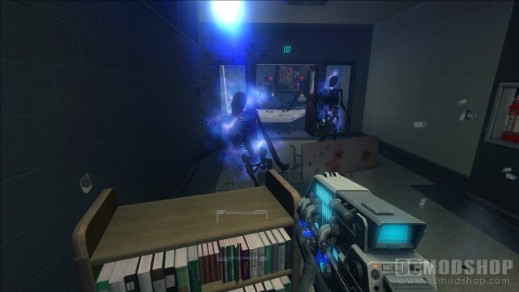
#3. You have four grenade types: frag, flame, shock, and mines. It’s easy to overlook the other three, but mines are power allies. Shocks flush out and stun enemies. Incendiaries also flush out hiding enemies and if not kill them at least takes them out of the fight for a time.
#4. You have four gun slots to carry any four you want. Early on it’s the SMG, Combat Shotgun, and whatever, but once you get an Assault Rifle that is about the only gun you need to keep, or at least get back ASAP. The Missile Launcher is odd because it’s only used a few times, and after it can be dropped or used up. The Laser gun is okay for the assassins. The Flame Cannon is trash and doesn’t get ammo beyond the early stages. The Pulse gun is the best, so use it sparingly for big groups. The Sniper Rifle is one gun I feel can be used to great effect as a close combat gun. Either shotgun can be held at any time. The Hammerhead is nice, but does not get much ammo late into the game. Finally, leave the pistol alone unless desperate.
#5. Melee is much weaker than I remember, but you still have jump and kick to great effect. It’s just not used as much, especially with slo-mo and strong guns being very effective. Still, you can kick as you see fit.
#6. Of course some standard tips. Collect ammo after fights and reload whenever you can.
#7. Armor is key to not using your med kits. When you find one it’s a good idea to move around a bit to see if there are enemies, and if so pick up the armor after the fight.
#8. The flashlight is only needed like twice for 5 seconds. Along with this you can anticipate scary moments when your screen flickers, and usually just moving faster speeds you through the creepiness. Although during the ghosts scenes it’s a good idea to move with haste while also taking out the ones that charge at you.
#9. A quick tip for mashing melee, just put the controller on your knee and tap the button like a jack-hammer with you index finger.
#10. Aside from the rate of fire you can change while selecting a gun, you can also either hold the fire button to lay out sustained fire or tap to fire in bursts. Burst fire while help get hits on an enemy’s head, but with moving enemies it’s probably better to just go slo-mo and hold the trigger on an enemy until dead.
#11. An enemy isn’t dead until he drops his gun. One time a dude fell and played dead. So if an enemy has not dropped his gun, keep firing at him.


