
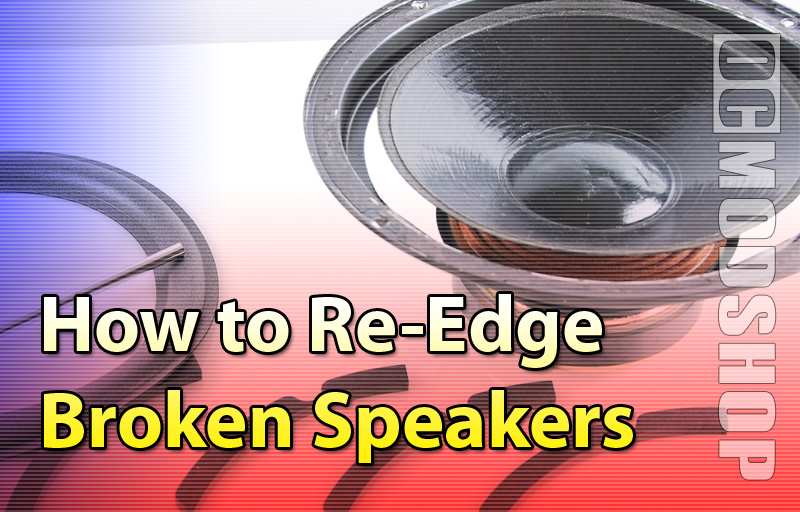
Step 1: Locate the replacement parts. I found my re-edge kit at Orange County Speaker. There are several other vendors, which I’m sure you can find by hitting up Google with “speaker re-edge kit” or “speaker repair“. The kit comes with two sets of foam surrounds, gasgets, glue, and an application brush. Oh, and you’ll want to take a screwdriver to your speaker and remove the damaged driver assembly. Make note of the positive and negative leads (if they aren’t already marked).
Step 2: Remove the previous foam and gaskets. Before you can repair your speaker, you must remove all previous foam and glue from the paper cone and metal housing. For this you will need a utility knife, chisel, or some other metal tool. First scrape off all of the remaining foam from the paper cone (you’ll have a naked ring around the edge). Then use your knife and scrape off the gaskets and foam. You really have to go deep, until you hit the metal. Then work your knife around until you remove the entire gasket. Don’t be timid. As long as you don’t rip or puncture the paper cone then all will be well in the end. You may have a little bit of glue that you can’t get off but this is ok.
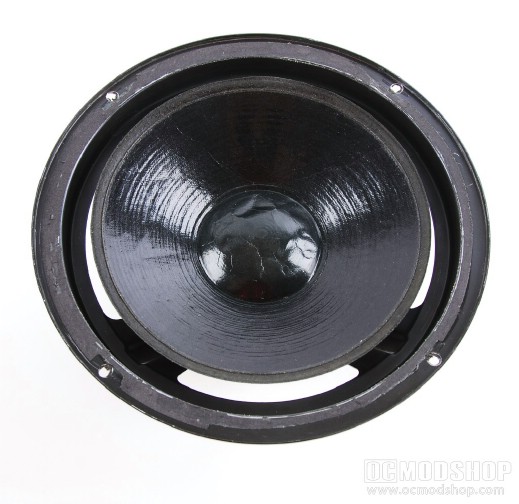
Here is my 10-inch driver after it has been prepped. Since kids have messed with it, the center dust cover was pressed in as well. I just used a vacuum hose attachment to pull it out again.
Step 3: Place the new foam. I’d recommend doing a “dry run” before putting any glue down. Place the foam around the speaker cone and frame to size it. See if you have to trim the foam at all, but it should fit if you chose the appropriate kit for your cones. Most speakers have the foam glued to the top of the cone, but some are glued behind the cone. You’ll want to glue your foam surrounds wherever you have exposed paper.
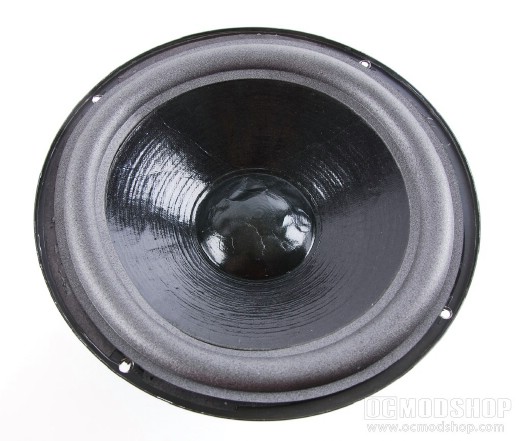
Place the foam to ensure a proper fit
The next steps are to glue the foam surround to the cone and frame, but do not do this at the same time. If you mess up, or if there are pockets where something didn’t glue down right then you’ll have a heck of a time fixing it. Glue the cone first, wait for it to dry thoroughly, and then glue the frame. I’ll explain why later.
On the next page we resume with Step 4…


1 comment
Nice article. I'd recommend using a polyurethane glue, such as Elmer's http: http://www.amazon.com Elmers-Ultimate-Polyurethane-8-Ounces-P9416 dp B000MVOX3C. Available at almost every hardware store, Walmart, Home Depot, Lowe's, etc.
Comments are closed.