

There is a lot to the inside of the case, as well. Upon first opening the side panel, the user is greeted with several standard cables, including the front panel motherboard connectors, standard USB 2.0 internal headers, a blue USB 3.0 cable, and four different fan leads. Three of the fans use large 4-pin Molex connectors as their power source, while the rear 80mm fan has a normal 3-pin fan lead.
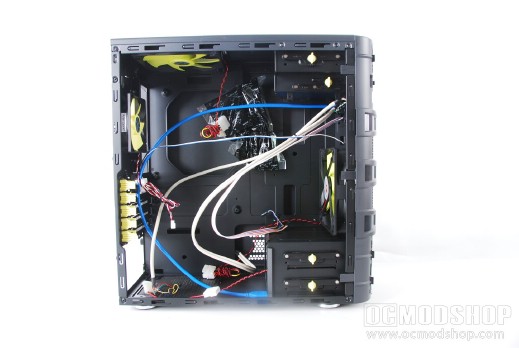
I cannot stress enough how much I loathe Molex fan headers. I can understand that case manufacturers try to make everything accessible, but most computer users (not just enthusiasts) have enough fan headers on their motherboards. Molex connectors are messy and cannot be easily managed (especially the “pass-through” connectors supplied on these fans). A good compromise would have been to use 3-pin fan headers, but include a Molex adapter. If a user really wants these many fans in their system, then they usually use a fan bus of some kind. Whenever I see a Molex header, I either replace the fan, or re-wire the header. It’s really a pitty, because the fans included with the Dragon Slayer case have a nice look to them.
Interior features
Aside from my personal dislike for the fan headers, there are many other things to like about the interior. Being a smaller case, there is not a full-length column of drive cages in the front. Instead, there are three drive bays at the top and two at the bottom. At the top is a forward-facing 5.25″ and 3.5″ drive bay (most likely for use with an optical drive and card reader (or you could mount 2 laptop or SSD drives in a single floppy bay like we’ve done with this). Below the floppy drive cage are prongs to internally attach a 2.5″ solid-state (SSD) drive.
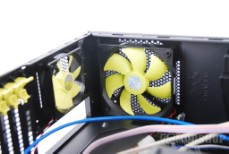
There is a lot of open room in the center front of the case, and is a perfect place to mount and route cables, In this desolate area is a pre-installed 120mm fan, which can provide additional positive pressure to your case’s airflow strategy.
The bottom cage
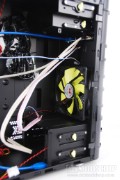
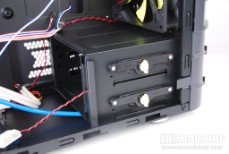
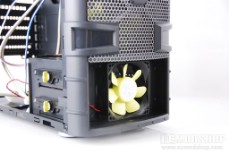
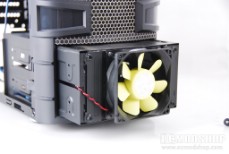
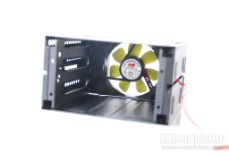
The bottom front of the case has a dual 5.25″ drive cage. This cage has an interior sub-cage with a 60mm fan, intended to blow air across your hard drives. This sub-cage is held in place with two tooless mounting mechanisms, whose knobs are easily identified with their bright neon-yellow color. The fan’s cable is smartly routed through a groove in the cage. The cage can be easily removed from the front by removing the bottom two panel covers. Using this method, you could choose to install one or more optical drives in this lower section, which is a change of pace for most PC installations.
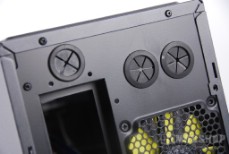
The rear of the interior has the three self-closing gaskets we mentioned on the previous page, which can be helpful with cables that need access to the rear of your computer. There are also two gaskets for use with watercooling equipment, for those who have external reservoirs.
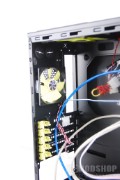
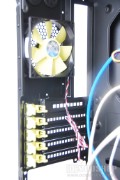
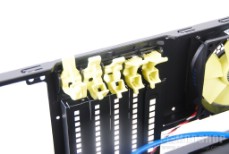
The case employs are tooless card-mounting mechanism, whose levers are are made of bright neon yellow plastic for easy identification. These mechanisms work better than other “tooless” designs I’ve seen, as they are easily gripped, latch securely and do not come loose.
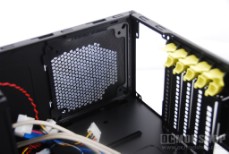
A power supply can be mounted in the bottom rear of this case. There is an air intake vent which accomodates the airflow of modern PSU design (like the Thermaltake TR RX2 reviewed here and Corsair TX 720 reviewed here).
On the next page we render our conclusion…


