
Run behind your ship, go a little bit to the left, and then turn right. You’ll see a Missile Expansion across the gap. Then head to the Cargo Hub room and then the Maintenance Station on your map.
Shoot the missile door and go through to get a Missile Expansion, then go back to the Cargo Hub, turn left, and weld the panel. Go through the door you just unlocked, and go into the open morph ball tunnel in the wall to your left. Avoid the pistons, and continue on to get a Missile Expansion. Go through the door and follow the hallway down and you’ll come to a gap on your left with a missile door. Go through the door get the Lore and leave.
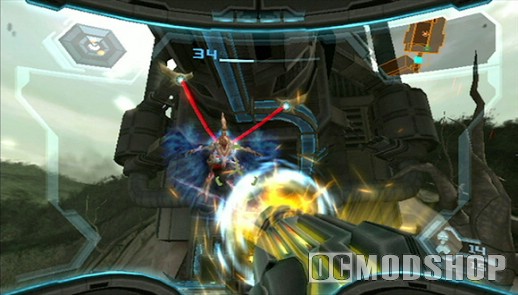
Continue along until you come to a door and go through it Take out any enemies that show up with a missile or beam shot. Call in your ship and fly to Cargo Dock A. When you land you’ll find the Spider Ball tack here. Follow it and you’ll get a Missile Expansion, then fly to Cargo Dock B and go through the door.
You cannot go right, so go left, and jump into the morph ball tunnel in the wall. Follow it around, then go through the door on your left. In this room you have to face a Metroid Hatcher, which for some strange reason gets its own health bar at the top of the screen.
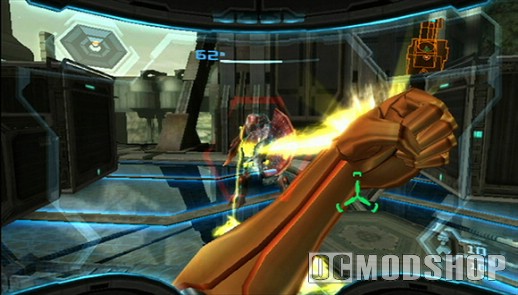
Shoot all of the tentacles of the Metroid Hatcher until they retract and then shoot the creature in the mouth. Then yank one of its tentacles with your grapple beam. You can also turn on your X-ray visor and shoot the glowing red core.
Once it is defeated, take the morph ball tunnel entrance to your right, and follow it around to an Energy Cell, which you can just pull out of the wall. Head back to your ship and fly to Bryyo, choosing Cliffside Airdock as your landing site. Your final destination on Bryyo will the the Fallf of Fire room. Go to the bottom of the shaft and then jump up for a Missile Expansion. Then take the door to the next room.
Make your way up to the half pipe by following the platforms around the edge of the room, then boost up it on the right to get a Missile Expansion. Then go through the orange door. Destroy any enemies and then follow the hallway and use the morph ball tunnel to the next door and go through it. Call your ship in to pick up the statue head and then freeze the streams of fuel to make your way to another Missile Expansion.
Then go through the hole in the back of the room to get another Missile Expansion. Then head over to the room called Hangar Bay, and when you get there, go through the orange door, and the blue one after it. There’s nothing important here so just follow the hallway to the next door.
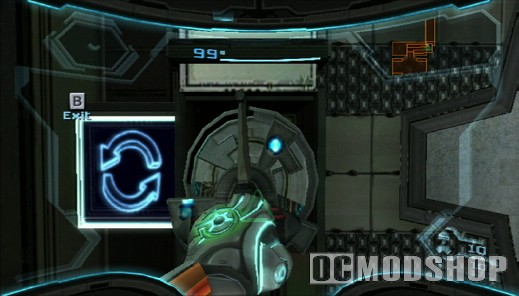
There are three statues here that you must activate. One has a meltable plate on his chest, so melt it, then bomb the slot to open a door. Go through that door, then call in your ship to drop the massive head it is carrying. Get the Ship Missile Expansion, then go back into the room with the three statues. The next statue needs to be activated with the grapple voltage, then ride the spider ball rails to a Missile Expansion.
When you drop down, you will be in front of a statue with an ice missile plate on his chest. Shoot the plate and then activate the bomb slot to freeze the fuel gel so you can stand on them. Climb up the ice and then go through the door. Enter the morph ball tunnel and bomb all of the yellow crystals and make your way to the top left corner of this maze (to fine another Missile Expansion).
Then exit the tunnels to the bottom right, and when you emerge, go through the door. Shoot the red targets, and then go back through the maze to the room with the three statues. When you get there, go through the orange door to the room where you dropped the big head. Go through the blue door here. Spin the spinner, then use the green panels to wall jump up to an Energy Tank. Then head to the nearest landing platform, which should be Hangar Bay, call your ship, and fly to Thorn Jungle Airdock.
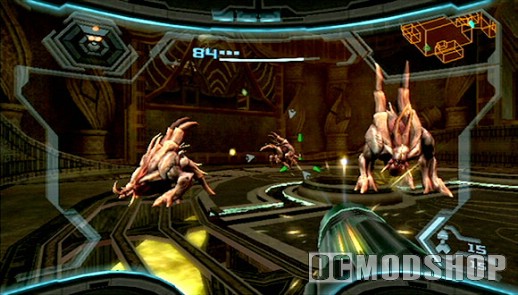
Go through the first door, then follow the hallway to the second door. Go through that, and use the half-pipe to get up to its left side for a Missile Expansion. Then head to the room called “North Jungle Court“. When you get there, turn on your command visor, and call your ship in to pick up the big thing with blue cylinders on it to your right as you enter the room. Go through the door you just uncovered, and use the spinner to activate another bridge. Cross the room, and head for the room called “Hidden Court”. There tell your ship to lower down the thing it is carrying at the top left of the room when your back is to the half-pipe. Then make your way to the Energy Cell that just appeared and take it. Then head for nearest landing pad, again Hangar Bay, call in your ship, and fly to Fiery Airdock.
When you land, make your way to Temple of Bryyo. When you get there, deal with the enemies, and there will be a small Phazite panel on the far side of the room. Turn on your X-ray visor and shoot the glowing buttons behind the panel. Go into the hole you just opened and take the path through the Fuel Gel maze: Right, Left, Left, Left. Do this correctly and you’ll get yet another Missile Expansion.
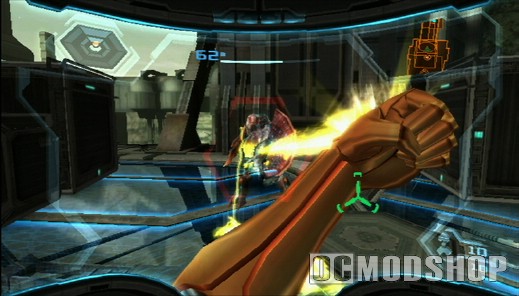
Then go through the portal that brought you to the screw attack, in the room called “Warp site Alpha“. After you warp to the icy area, make your way to the room called “Tower“. Get to the bottom, then ride the spider ball tracks up. Follow them around, and you will get an Energy Tank. After this, head back to your ship, and fly to the Pirate Homeworld, Research Facility. Your first destination will be called “Scrapvault“. Make your way back to the suspended morph ball tunnel with the grab ledge and go in. follow the maze around to a half pipe, then go up its left side to a spider ball track, then use the platforms below it to get to a Ship Missile Expansion. Then leave the maze and go through the orange door at the top of the room. Here, shoot through the Phazite panels to your left and right, and then wall jump upwards. Shoot the glowing column with three missiles to get a Ship Missile Expansion.
Your next destination is called “Metroid Creche” on the map, so go there. Here you will see a boost ball switch in the floor, so activate it, then bomb the slot in the ceiling that the spinner threw you up to. Then go to the next spinner that appears, and repeat the process. A Metroid Hatcher will appear, so turn on your x-ray visor and shoot it with the nova beam. Then go to the last spinner and activate it.
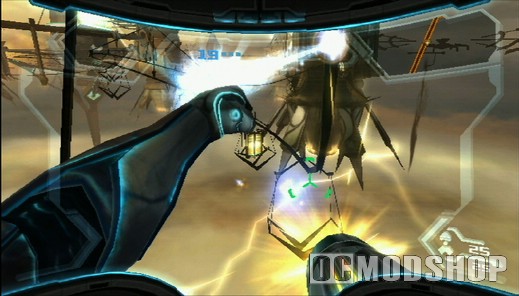
Follow the tunnels around, and bomb any slots you come to. Then use the spinner again. This time, when you see a spider ball track above you, jump up to it and follow it around. Follow the combination of spider ball track and tunnels until you get to an Energy Tank. Then make your way up the wall-jump walls to the door on the ledge in this room. Go through the door and save in the save room, then activate the train and ride it. When you get to the other end of the track, get out, and go through the door. Bomb the slot, then make your way down the nearest landing platform, which is Landing Site Bravo, and call in your ship to fly to the Valhalla.
The Valhalla, some expansions and access codes
As soon as you land, go to the right to get the last Energy Cell. It is the glowing thing in the rubble. You now have all nine cells. Now go plug one into the slot by the door to power it up the switch so you can go through. Use the switch, go through the door, and in the next room, scan the suicide bats on the ceiling, preferably before they attack you.
Then cross the gap, shoot the trooper corpse that is blocking the switch, then press it and go through the door. It might be disrespect to the dead, but you’re trying to save the galaxy here, so deal with it. Destroy all of the enemies in this room, then destroy the crate in the far right corner of the room to uncover a door. Go through it, then melt the metal to your right and put energy cells in the two slots.
Kill the enemies that show up, then go up the ramp and make your way to the door. Go through it, and get the Missile Expansion. Then go back to the room that had all the metroids, and jump the platforms and catwalks to make your way to the door at the top of the room. Go through that, and shoot the cracked glass with missiles, then go through to the next door. Go into the next room, and turn right. Go through the door, and shoot the cracked walls ahead with missiles.
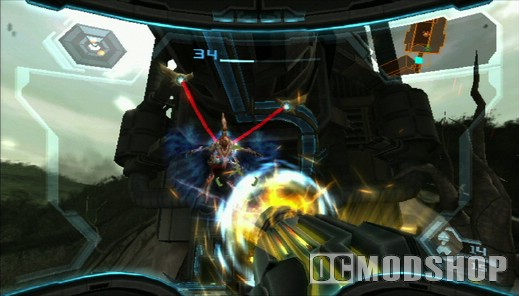
Deal with the enemies that show up, and then go yank the panel at the far end of the room, then go into the hole in morph ball form. Follow the tunnels around to get a Missile Expansion. Then leave this room, and follow the hallway to the door at the other end and go through it. Yank the panel ahead of you, then put an energy cell in the slot. Press the switch that just activated, then ride the elevator up. Go into morph ball form and go to the glowing square in the floor, then jump up to the morph ball tunnel. Follow it around and down to get the last Missile Expansion in the game.
Then follow the maze out and go through the door. Go into your morph ball form, go under the debris, and through the door. Teach the metroids here the meaning of Pain, and then put an energy cell in the slot to your immediate right and go through the door. Go through the door on your right to get the last Energy Tank in the game. Then leave, and go through the blue door on your left. Go right here, and follow the hallway to a barrier that wants four missiles. Take it our, then go through the door ahead.
Follow the hallway, and blast the door on your left with a missile. Drop down, and after dealing with the enemies, rip the panels off of the shorter column with your grapple beam, and put energy cells in the slots. Find the hole at the base of this column, and go in it in morph ball form. Follow the tunnel to the last Ship Missile Expansion in the game. Then bomb the barrier in front of you, and continue along the tunnel.
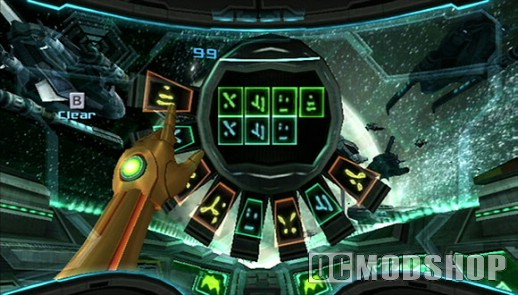
When you emerge, turn around, and go through the door. Ride the elevator up, and go through the door at the top. Go through the door to your immediate right, and then go through the green door you see at the far end of this room. Deal with the enemies here, then go through the next door.
Rather than putting energy cells in the slots here, which you can’t yet, follow the ramps and catwalks and platforms to a part of the room where you can see something orange glowing in the wall. Shoot it with a missile. Now go back down and put cells in the slots. A Metroid Hatcher will appear, so kill it, then make your way to the top of the room. Go through the door, then deal with the metroids.
Go through the next door, and scan the small pad next to the dead trooper to get an access code. Put it into the panel beside you. After the message finishes, go to the grapple voltage switch to your right and activate it. Then activate the switch, and you’ll get the code. Fly back to the Pirate Homeworld, command centre landing pad.
Pirate Homeworld one last time, and Phaaze
Once you land, head to the room with the portal to the leviathan, it’s marked with a question mark on your map, then go into the portal when you get there. Walk forward and interact with the switch. Then go to your ship, and fly to the rendezvous point. Skip all of the cinematics if you like, and then land on the planet. When you do, an interesting thing will happen. You’ll be permanently stuck in Hypermode.
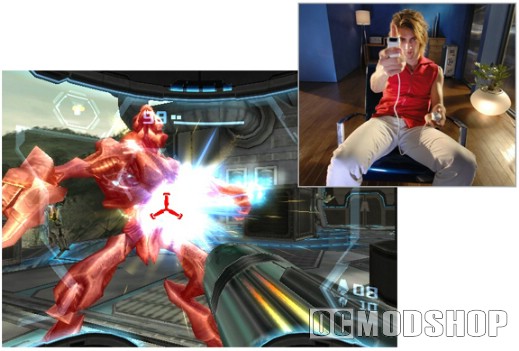
You have to bleed off Phazon by using hyper attacks, or you can collect the black and blue orbs floating around. If the bar at the top of your screen fills up, you die. There are no directional decisions here, so follow the really long passageways until you get to the boss fight. One thing worthy of note is that that Phazon puffers can actually absorb the Phazon corruption growing within you. When you get to the Leviathan womb, don’t step on the bottom part of the floor. It will switch sides often, so be sure to jump around to save time.
Boss fight Dark Samus and Mother Brain Dark Samus
will shoot a variety of projectiles at you, and at times will be invulnerable. This first stage is your basic dodge-and-shoot. After about half health she will make clones. Scan them all, the fake ones will be called dark echo. When they float up in the air, shoot them all, otherwise Dark Samus will heal. After you defeat Dark Samus, Mother Brain will show up and absorb her into herself. She has a couple of attacks. One is a beam, and one allows her to clone Dark Samus and send her out.
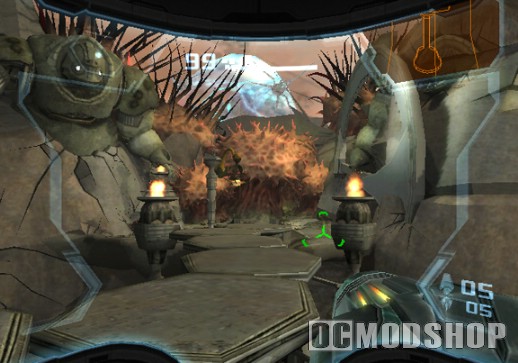
Dodge the beam, and the Dark Samuses can be taken out in two shots. Shoot the ends of the blue tentacles, as well as the red thing that peeks out occasionally, to make them retract, then shoot the glowing yellow spots that appear. If you get them, it will be stunned and will fall down and you can yank the plate off to expose its core. Shoot at that, and it will take damage, so shoot at it a lot.
Eventually its spine will blow up, and you’ll face a floating brain. Shoot at the thing that pops out under it, and it will be stunned. Then shoot at the back part that is glowing pink and blue. You can shoot that part at any time, but it usually won’t let you behind it, so wait until it is stunned. It has a couple of new attacks, one where it lands and spins insanely around the room, and one where it fires off wild laser beams. If you don’t shoot the thing that sticks out beneath it, it will be a massive bomb, so be sure you do shoot it. Do this enough and it will die.
You’ve now lived through the third and final game in the Metroid Prime series. You’re now cooler than all of your friends.



2 comments
this game amazing, walktrough SUCKEY
yeah this walkthrough has things placed in the wrong places in order of when to do them
Comments are closed.