
After the cutscene and map briefing, go straight ahead. Shoot the targets to open the door and go straight. The nearest door leads to the grapple lasso, so open it. You’ll need to shoot a glowing red target. Grab the Grapple Laso.
Scan the terminal and test the switch, and then go up the elevator. Go through the door into the hallway and turn right. Pull the panel to your right with your new lasso and then activate the switch. Morph into a ball and enter the hole that just opened up. Follow the maze around and get a Missile Expansion. Make your way out by bombing the block to your right.
Continue along the corridor and take out any nasties along the way. Use your new lasso to rip the blast plates off the doors. In the next room you will be faced with more hover drones, so take them out and head left. Grapple the debris away and go through the hole as a Ball.
Go to the right (the door on the left is barred). Get the Energy Tank in morph ball form, then get past the pistons on the other side to go through the door. Go through this hallway and take out the enemies, then go through the missile door on the right and get the map for the area. Go around a confusing pathway away from the entrace door and take out any enemies (especially those mines on the floor).
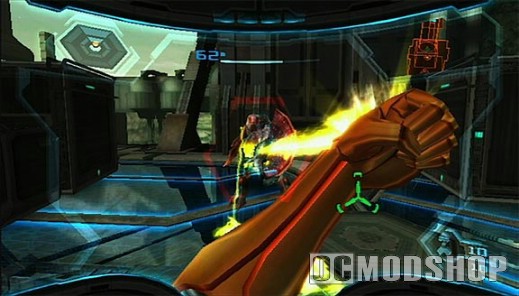
Take out your first Flying and Shield Troopers in the next room (missiles when they hold still, beams when they’re moving around). You can grapple the shields off the Shield troopers, and shoot the vent off the front of the dropship. After this fight is a cutscene where Rundus totally kicks ass on four dropships. You are now able to use the Command Visor to call in your ship.
Go through the doors that just opened and head through the hallway into the generator room. Take out the enemies and shoot the glowing colored light on the door and the next one. If you do them quickly, the panel will deactivate so the door can open. Go through the door to meet up with a few bomb-happy pirates.
Jump to the platform in the middle and shoot all of the robots flying around. Then jump onto the other platoform and destroy the debris and then use the switch. Go back to the entrance and activate the newly lit panel.
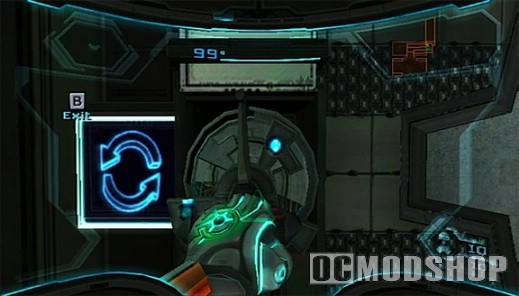
After the next cutscene, go back to your ship and save. Now fly back to the original landing area and head into the Cargo Hub (indicated on your map). Once you go far enough a new cutscene will trigger. Ghor will come out with a powersuit and totally p0wn a Berserker Lord. Do into the newly opened door.
Shoot the glowing yellow bits at the end of the cables attached to the door and then grapple the breast plate off and go through. Go through the hall and shoot past the troopers into the next room. You’ll have to morph into a ball to get past the big glass wall, and there’s conveniently a hole and some tunnelling to the right. Stay as a sphere in the next room to bomb the little back plate and enter the tunnels. Folllow the tunnels around and bomb Ridley (that big black pterodactyl trying to bite your ass).
Go left and save in the next room. Go the the end of the hall and open the next door (doing the same ol’ door-opening ritual). After the cutscene go to the other end of the room and flip the switch. Enter the morph-ball tunnel you just opened with the switch and place a bomb, which will jet you up.
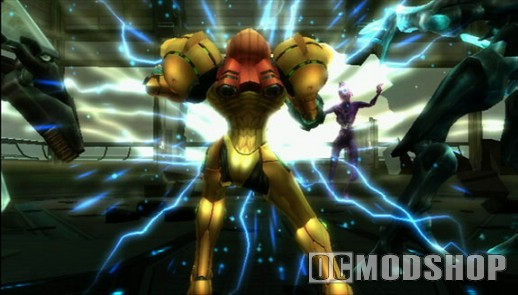
Work your way around and activate all three bomb slots. After the first one there is a fork, so go left first and then right. After all three bomb slots have been activated keep on going through the tunnels and you will eventually end up near the top of a room with a very steep ramp.
Place a bomb here to get blasted up, and then go around the column and bomb the slot you come to. After the next cutscene get ready to fight the screaming bastard, Meta Ridley.
Meta Ridley (that screaming bastard)
You’ll be falling down a shaft with a counter at the bottom showing how far you have to go. You can be on top shooting down at Ridley, or underneath shooting up at him, or the two of you side by side. Whichever angle you choose, shoot any part that glows red, then his mouth.
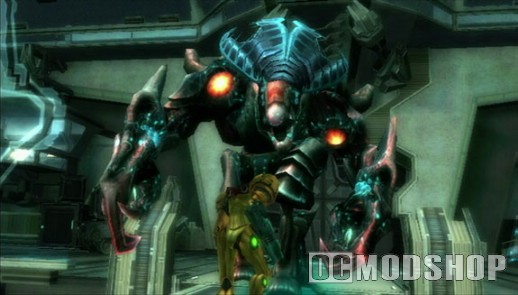
You can steer your fall somewhat, so avoid the debris that Ridley throws at you. You can’t lock on with missiles, so don’t bother. Use fully charged shots when you can, and try to kill him before the counter runs out. After you stop that incessant screeching you are rewarded with a cutscene of the complete bad-assness of Samus.
Hit the switch to your far left, and then leave. Go down the hall, shooting all the enemies you please and then Save. Continue on until you get back to the Cargo Hub. Takt the right fork and head through the door at the end. Once you activate the panel and get on the elevator, scan Rundus, Ghor, and Gandrayda.



2 comments
this game amazing, walktrough SUCKEY
yeah this walkthrough has things placed in the wrong places in order of when to do them
Comments are closed.