
Take out the enemies and follow the hallway to the next door, which, just for variety, you should spray-paint “The Hunter wuz Hurr” on before going through it. Drop down and turn left. As for timing this jump, start when the thing is closed, not open. Turn left, and go through the door. Go through the orange door at the other end of this hall, then jump towards the green ledge above you. You will automatically morph into a ball, so follow the tunnels to the other end, and go through the door. Screw attack around the platforms until you get to the door at the other end of this massive expanse, and go through it.
Follow the hallway until it forks, then take the right fork, go through the orange door, and save. Go back out, turn right, and go through the door. You can’t shoot the plate ahead of you, so go through the door to your right, activate the elevator, and ride it up. Turn behind you, and note the location of the Energy Tank. The next time you pass it, you will be able to get it. Go through the door at the other end of this short passageway. Follow this hallway and turn where appropriate until you get to a door with a spinner to the right of it.
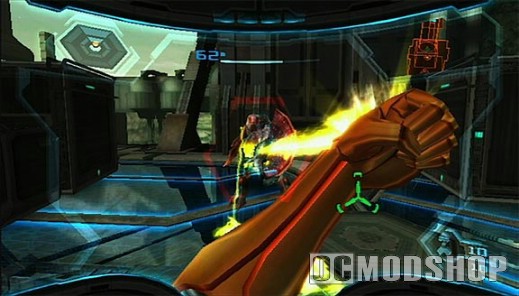
Use the spinner, then go through the opening and keep following the passageway until you get to a door. Go through it. Activate the elevator ahead of you, ride it up, and go through the door at the top. Follow this passageway, and rather than turning right into the big gap, go into the morph ball tunnel between the two metroid tanks.
Go to the right here, and bomb the cracked floor. When you drop down, follow the passageway around until you come to a cracked panel in the floor on your left and bomb that. Bomb the next panel and follow the passageway around until you get to an upgrade in a tank. Grapple the panel to your right and pull the Energy Cell out of the wall (you’ll need this for the Fetch Quest later). The energy field protecting the tank should be deactivated, so blast it and get the Seeker Missile. Use the new missile to open the door ahead by targeting all 5 yellow dots at once.

Follow the passageway around to the morph ball tunnel and go through it. Follow the passageway around, and get ready to face your first metroids. The best way to deal with these guys is to freeze them when they fly at you. The beat way to get them to do that is to anger them by shooting them repeatedly with your beam. If they look transparent, they are phased out of reality, and you can’t hurt them. When they fly towards you, they never are, so take advantage of that. After they are frozen, they are easily shattered with a couple of beam shots.
Shoot the multi-missile target, then follow the passageway to a door. Go through it, then ride the elevator down. Go through the door ahead of you, follow the passageway, and deal with any metroids you see. The door you activated with the spinner won’t budge, so find a plate that you have to use the seeker missiles on. Go through it once you do.
Follow the passageway, and get paste the four metroids. Through the next door is the Energy Tank. Blast it open and get the thing. Then go to the elevator and ride it down. Go through the door ahead, then turn right and blast the barrier.
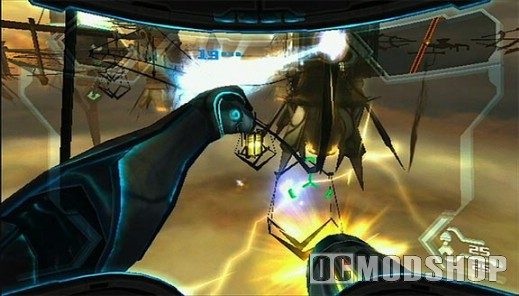
Go to the other side and ride the elevator up. Go through the door at the top, take out the pirate, then go through the next door. Ride the zipline to the next door, go through, and go through the next door that wants a missile. First, take out the four yellow dots in front of you, all at once. Turn left and go into the morph ball tunnel to get a Missile Expansion. Then go back and take out the cables on the wall, all at once. Ride the elevator down.
Out in the centre is the next bomb component, but to get it, you need to take out all of the cables at the top. Do these four at a time, two times, every 90 degrees around it. The component should be free now, so call in your ship to get it. Head to the place called “Skytram East” on your map. Once you are at the other end of the tram, head for the last bomb component. It is marked on your map. Be sure to use the any save rooms along the way.
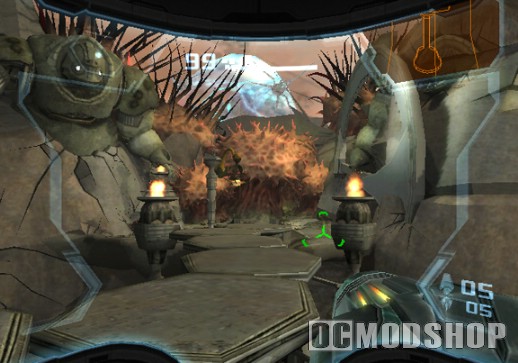
Once you head outside from the aurora unit building, there will be a cannon to your right. Take out the cables around it, and jump in. You are now at the bomb component. Head to the right, and above you you should see a multi-missile target. Shoot it, then call your ship in to get the last component. Then head left, and take the cannon back to the Aurora unit pod. Go to the save room there, then head to the location that the game marked on your map.
Once you get there, call your ship in and tell it to unload its cargo. Then go back to the aurora unit chamber, and talk to the Aurora unit. Accept the new mission, and make your way back to where the ship placed the bomb. After the cinematic of the cables being severed, head to the centre of this platform.
Now you are told to defend the platform from Pirates. The best way to do that is to use your radar to find them, then shoot them until they stop moving. Your main target should be the ships, because they’re the only ones with sufficient firepower to cause trouble. Take out the pirates only if you don’t have a ship to target or if they’re really getting to be a nuisance.
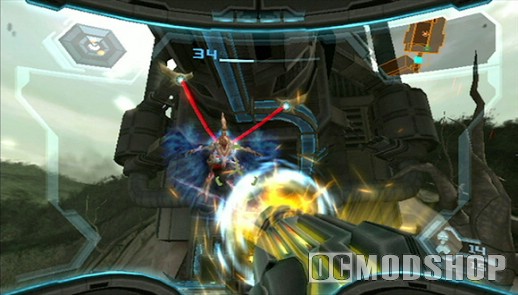
Once you fight them off long enough, you will have to go to the centre of the platform to drop the spire. There is a panel you can do this with. Then turn around, and go to the escape pod. Press the panel to find out that the thing needs repair. Go to the repair tunnel that opened, then follow the tunnel down. When you emerge, shoo the meltable metal. There are three panels that need welding, and you need to grapple-yank panels to get at two of them.
Weld them all, then make tracks back to the pod and press the panel again. It would really suck if you got caught in the nuclear explosion, understand? The escape pod will land in a room I told you would be used later, and it is later now. Go down the elevator, then through the door, then through the door across from you. Take the elevator down, call in your ship, and save. Then fly to the seed, which should now be an allowed landing point on your map. Once you land at the seed, jump the platforms to the door, then go through. The barriers here now have shields that need to be hit at five different points by five missiles at once, so do so. Once you get to the door, go through it, drop down, and get ready for the boss fight.
Helios Eww Boss
This boss is surrounded by wee bats, and he’ll start rolling at you with the bats forming giant sphere around him, so shoot at the metal core in the centre. Once it goes bang and the bats disperse, he’ll have a number of attacks.
He’ll get the bats to shoot lasers at you, so shoot them when they glow blue. He will also get them flying in a ring around him, then go in random directions to try to crush you. Dodge that. When the bats appear as 5 glowing orange points around him, and the rest are in a ring, shoot all five glowing points at once, then shoot him until he opens, then Phazon beam him.
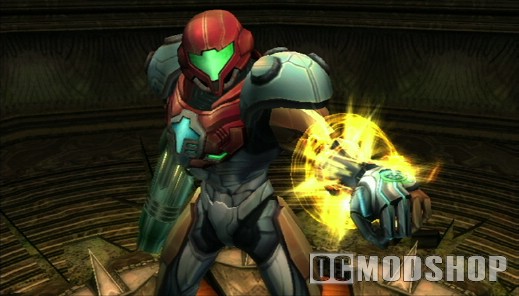
When you get him past half health, he will change tactics on you. He will turn the bats into arms and legs, with glowing orange points where they meet him. Nail those all at once with missiles to get him free to shoot at again. The best time to get the arm ones is when he is getting ready to throw a purple energy ball at you, and the leg ones will glow brighter when you should shoot them. Sometimes leaving him with only one leg will be enough to get him to open up so you can shoot him. Do this enough, and he will die. Note how he goes boom. -End boss fight-
Go to the centre of the arena to acquire the Hyper Missile. Luckily for you, this thing feeds off of regular missile ammo, so you only have to manage one type. Shoot the things that popped out of the walls with your new weapon. Then the seed core will pop out of the ceiling, so press A to nail it. You will then be in orbit, so after the briefing, fly to the Pirate Homeworld.
Pirate Homeworld
Head for the door here and go through. Take out the enemies, follow the hall, and go through the next door. Here, take the middle route, since it is the only one you can get at right now. Press the top button on the panel to your left, and get off the elevator when it is finished. Go left, since going right means acid rain. Acid rain here looks like white droplets falling down.
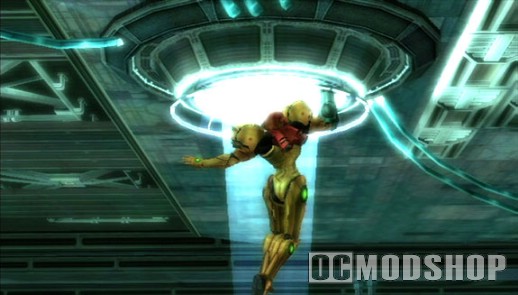
Go through the orange door. The game will show you where you need to go, so go there. There is a safe route through the acid rain, you just need to find it. When you get there, jump up to the green ledge on your left, and then head left through the morph ball tunnels. There will be a Missile Expansion, which can be gotten by going through the left branch the first time the tunnels fork. Once you get it, take the route you didn’t the first time.
Once you emerge, activate the switch in front of you. It turns out to be an Energy Cell, so ignore it until later. Go through the morph ball tunnel that just opened, then through the one that is no longer obstructed by spinning fans. Once you emerge, go through the hall to your right, and take out any enemies along the way.
Drop through the hole in the floor, and keep following the hall and shooting baddies until you get to a grapple target. Yank it, then get into morph ball form and go through those tunnels. You just covered up one, but you couldn’t have done anything there anyway. Once you ride down an elevator and end up under a floor patrolled by space pirates, go to the right and follow that pathway first to get a Missile Expansion. Then go back and head the other way to get to a glowing orange tube. Ride the elevator in it to leave.
Follow the tunnels, and when you emerge, shoot all five missile targets off of the ceiling at once to get the X-ray Visor. Activate it, then turn the switch, which you can now see properly. Shoot the blue tank that is on the conveyor belt that just appeared when it is right above the tunnel to take the blast plate off so you can go through. Morph into ball form and go into the tunnel. Once you emerge, go through the blue door on your left. In the next room, there is a Missile Expansion. Then turn on your x-ray visor and shoot the pulsing targets as they appear. Now you can freely traverse this room at will.
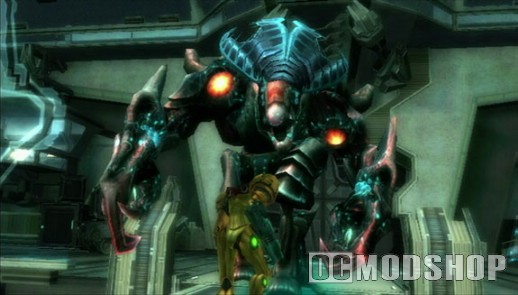
Turn around, go back, and use the switch on your left to activate an elevator. Hop into that, and ride it up. Go through the door at the top and go up to the glass window. There is nothing else to do in this room except get the lore, so leave and take the elevator down. When you get out, take out the pirates, then go through the door that was behind them. Morph into a ball, and go into the hologram. Then go through the door once the room finishes spinning.
This time press the bottom button on the elevator control panel to go all the way down. Turn right, and use your x-ray visor to deactivate the switch. Go through the gap that just got uncovered, and get the local map. Now head back to your ship, save, and fly to the landing zone called “Research Facility”. Once you land, go through the door that isn’t blocked by a force field, activate the elevator, and ride it up.
Scan the wall to your left to find a panel that says it is structurally weak. Shoot it with a fully charged beam to exploit this, then morph into a ball and go in. when you emerge from the tunnel, turn right, and shoot the small glowing circle through the slit.
Now go through the morph ball tunnel, turn left, and go through the door. Follow the big open hall around until you get to a platform. Then jump the system of platforms until you get to the massive dead thing in the middle of the room. Walk through it, and carry on jumping the platforms until you get to a suspended morph ball tunnel with a green ledge. Jump to it, and go into the tunnel. Eventually you will end up in something of a maze, with bomb slots everywhere.
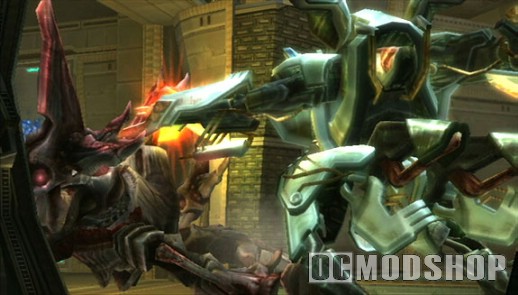
Every time you see one, bomb it, and work your way upwards. Eventually you will see an Energy Tank, which can be acquired with a simple double morph ball jump using the bombs. Eventually one of your bomb slots will open up a hole in the wall, so go into it. Follow the tunnelling until you are once again outside with the big dead thing.
When you emerge from those tunnels, you will come upon a panel that needs welding, so weld it, then activate the switch between them. Then go back into the tunnel, and when you get to the maze, work your way to the right until you get to a half-pipe, and keep going right. You will then come upon a bomb slot, so activate that, then head back to the left to the hole you just opened. Go into that, and you will get out into the big room again.
Once you are spat out, immediately get out of morph ball form and hold still. Some security robots will show up, and you should shoot the glowing beacons on the walls. A couple of very nasty pirates will appear, so kill them both. Once you do that, make your way up the platforms, and then screw attack to one that is far from you, then turn to your right, and there will be a Missile Expansion. Jump over to the green ledge and get it. Make your way to the orange door on your map and go through.
When you are in this room, put on your x-ray visor and try not to touch the red beams. The best way is to go under them as a ball. If you do touch the beams, pirates will show up and commit attempted murder. I say attempted because under my tutelage you should be such a badass by now that you can handle them semi-conscious. They can still hurt you though, and that would not be pleasant, now would it? If they do show, deal with them, then follow the hallway to the next room.
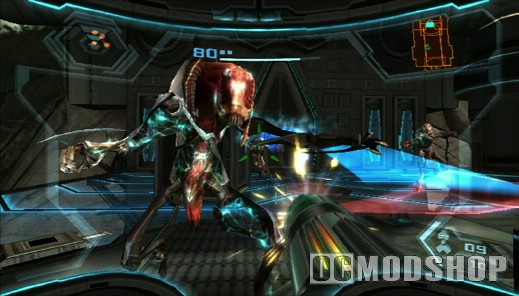
More pirates will show up, so again show them who is boss, and then go to the lock the cut-scene showed you. This one needs the x-ray visor, and is a lot like the twisting locks from before. Unlock it, then go into the elevator you just activated. To your right there will be a panel that needs welding, and to the left is an Energy Cell in the wall. Weld the panel, then take the cell, and head back to the elevator and ride it up. Oh, crap, there are loose metroids.
After they are all dead, one of the busted tanks will contain a Missile Expansion. Get that, then go into the morph ball hole in the big central column. Once you get up, go through the ice missile door on the right first. There will be a cracked octagonal panel at ground level, so bomb it, then go in. When you get to a part of the floor with a circle and an L-shaped tunnel, go to the centre and use your boost ball until the disc turns through 90 degrees.
Go to the right and get a Missile Expansion. Then go back down and spin the thing again until you can go towards the left part of the screen. When you emerge from the tunnel, right where you entered as a matter of fact, head to the door, since there is acid rain the other way.
Head to the orange door above and in front of you, and go through. There will be four glowing yellow circles, so multi-missile them, then screw attack up between the two walls and all the way forward when you get to the top. Go to the door to the left. After the game finishes showing you something you can’t get yet, go through the other door in this room, then face the pirates that are shooting at the GF trooper. After he tells you to activate the levers, go to the opposite side of the console he is facing, and follow his directions. Once the elevator is activated, ride it up, and get ready for the boss fight.

Corrupted Gandrayda Boss
She will basically mimic past bosses and other enemies, so if you remember how you defeated them, you shouldn’t have too much trouble. I’ve seen her do each of the following: Berserker Lord, flying trooper, a swarm of bats, Corrupted Rundus, Corrupted Ghor, and eventually you.
When she turns into you, she will really be fond of using the boost ball, as well as an effing huge beam, so dodge those as best you can, and keep shooting at her. She will also do annoying acrobatics around the room, just shoot her with your beam or preferably hypermode then, she moves too quickly and erratically for missiles. She will sometimes jump and latch onto you, so just shake the remote and nunchuck to get her off of you. At the last quarter of her health bar, she will switch between being invisible and being visible but jamming your x-ray visor, so use the right visor at the right time. After a lot of what is probably the most annoying boss fight in this game, she will die. -End boss fight-
Go to the upgrade canister to get the Grapple Voltage. Use your new toy on the switch to the right of the door to take down the force field. Go through that door, then follow the hall down, and scan the green symbol, then activate the switch. Go into the train that just showed up, and activate that switch.
When you emerge from the train, go through the door, and you will find yourself very close to your ship. Sap the force field with your grapple beam, then go to your ship and save. The game will tell you that there is a Chozo artefact, namely the spider ball, in Sky Town, so fly there. It doesn’t matter what landing pad you choose, but for the purposes of this walkthrough, I am going to land at Main Docking Bay.



2 comments
this game amazing, walktrough SUCKEY
yeah this walkthrough has things placed in the wrong places in order of when to do them
Comments are closed.