
Head for the Ballista Storage room on your map. Take note of the flying robots: they can be killed by overloading them with your new grapple beam or you can suck the life out of them with it.
When you get to the Construction Bay you can activate a morph ball elevator up to the next door by using the Grapple voltage on the switch to the left. Once you get to Ballista Storage, you’ll have to face another steam lord, but this time you can just melt all of the robot soldiers, then turn on the x-ray visor to track him and kill him.
Overload the two fans, then go in the hole between them to get an Energy Cell. ide the elevator back up, and head to the Powerworks.
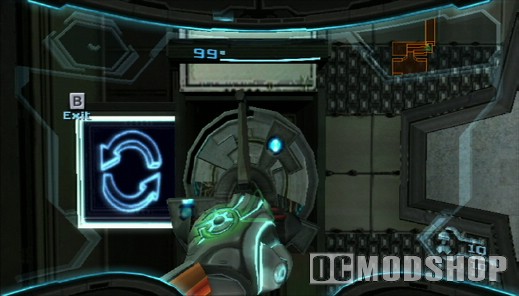
When you go through the door with the bird, head above it in the room shaped like a ring, there will be a gate that needs power, so use your Grapple Voltage on it, then take the zip-line. The thing will break, so screw attack to the door in front of you. Go through it, then drain the shield in front of you using the socket to the left of it. Then go into the morph ball tunnel.
When you emerge, go through the door on your right, and shoot the four orange circles simultaneously. Go into the morph ball tunnel you just uncovered, and when you emerge, scan everything in the room. There will be a gear on the floor that needs to be jerked upwards, so get onto the platform behind you and do so. While it is in the air, shoot it with a missile. The column in the middle of the room will open up, allowing you to get the Spider Ball.
Drop through the hole in the floor, then keep going down and then morph into a ball and go through the hole at the base of the wall on your left. Follow the spider ball tracks around, making sure to dodge the flame jets, then go to the other set you come to. There will actually be two, so take the horizontal one first, and follow it around to get a Missile Expansion. Take it back, then take the vertical track upwards until you emerge where you came into this room, then leave. Head for your ship, we have some more maps to get on a different part of the planet. On the way there, remember that the zip-line that got you here was broken, so you’ll have to screw attack to your right, then take the spider ball track.
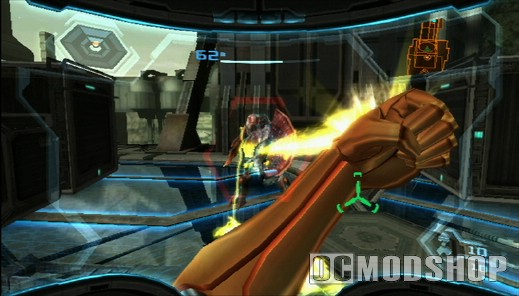
When you come to a split with a ring above it, get up to the ring to get an Energy Tank. Then continue along the track. When you get off of the track, screw attack towards the door nearest you, and continue to your ship. When you get to the room called “Hoverplat Docking Site”, take the spider ball tracks in the middle of the path to the other side to get a Ship Missile Expansion.
In the next room, where you first fought the steam lord, there is a morph ball maze at the top of the room, which will bring you to a spider ball track leading to a Missile Expansion, so get it, then continue back to your ship. When you get there, fly to Landing Site B. Once there, there is really only one place you need to go, and that is the “Chozo Observatory”. Once you get there, go into the other morph ball track near the top of the room, the one you need the spider ball for, and bomb every slot you see. Then go into the other one and bomb the slots that you couldn’t last time.
Go through the orange door at the top of this room. Follow the hallway until you get to the next door, then turn around. Screw attack to the ledge you can see at the other end of the hall, then turn left, go straight, then turn left, go a bit more, and you will be facing a Missile Expansion. Screw attack over to it, then go through the orange door you came in by.
Go now to the room called “Concourse Ventilation“. At the bottom of this tall room, on the outside, there will be a spider ball track. Follow it upward to get to a Missile Expansion. Then head back to your ship and fly to Main Docking Bay. From that landing pad, head for the room called “Skybridge Hera“. To get the expansion here, which is a Missile Expansion, by the way, you need to go into morph ball form and go behind the middle pillar. There will be a hole in it, so jump in, then jump up to get the upgrade. Then head to the place called “Construction Bay“.
To get to the white dot on top of the curving structure with the grapple points beneath it, you need to head to the top door, then screw attack over to the top of the previously mentioned structure. You will be rewarded with a Missile Expansion. Now head back to your ship, and fly to the Pirate Homeworld, specifically the landing pad called “Research Facility“. Congratulations, you are almost finished with Elysia, and you no longer have any reason to come back here, except for the map room once more.
Pirate Homeworld
Once you land, head over to “Transit Station 1-A“, which happens to be the door behind your ship. Go into the train, and ride it to the other end of the line. Then get out, go through the door, and ride the elevator down. Once you are at the bottom, exit this room via the door, then follow the hallway around to a spider ball track. Follow it upwards, then follow the tunnelling around and down. When you drop down, go into the tunnelling to your right. There will be two spinners here, so rotate the sections of the column until they look like this
| |_ | _ | | |
Then go up, and follow the tunnels around until you get to a switch. Press it, and you will get the Hazard Shield. You are now entitled to walk in fuel gel and acid rain without getting damaged! Yay! A couple of flying pirates will appear, so kill them, then go through the holes the pirates made, and press the switch the cut-scene showed you.
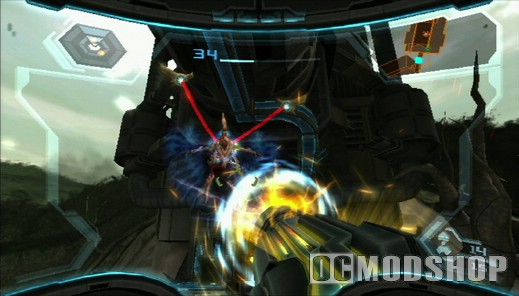
More pirates will show up, so kill them, then make your way to where the doors opened. Take the spider ball track back to the spinners, and this time reconfigure the column so it looks like this
_| |_ | _| _| |
Then ride it up to get a Missile Expansion. Then reconfigure it to the shape that got you to the hazard shield and go up, then out. Head back to your ship, then fly to the other part of this planet, Command Centre.
Make your way to the room called “Command Courtyard” on your map. On the way, in the room with the elevator with the three buttons there is a terminal that can be powered up with your Grapple Voltage. Do that, then go through the door that opens. The chamber will jerk downwards, so step back out and shoot the cable at the top of it, then jump forward to get a Missile Expansion. Then continue to the Transit Station. The best way there is to ride the elevator up by pressing the top button, then going out the door to your left. Drain the force field using the terminal to the left, then go through the door after dealing with the baddies.
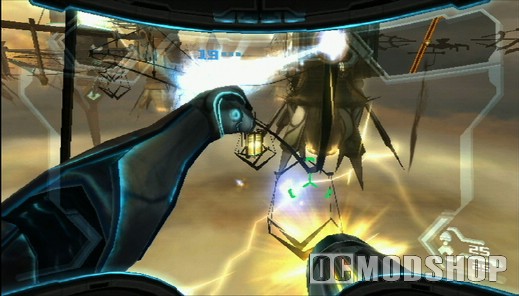
Take out the threats in the next room as well, then enter the morph ball tunnel that will open up. When you emerge, drain the force field ahead for future use, then go up the spider ball track. When you get to the top, you will be in another train station. Activate the train, then ride it to a new area. The door to your left is a save station, the one to your right will allow you to continue through this area. Save first, then go through the other door.
Take out the pirates here, then go into the gap in the wall and follow it around. There is a switch here, so press it. A drill will come down, then you will have two options on the panel. Try them both to make this room more navigable. Leave this control room, then go right. Jump up the stars that were cut into the wall to get a Missile Expansion. Then go to the half pipe on the other side and use it to get up. Go through the door, then grapple the plate in front of you, and take the spider ball track up.
Go to either the left or the right, it doesn’t matter which one first as long as you do both, and use the spinners to free up the elevator. It will descend very quickly, leaving a massive hole in the floor. Go down that, then through the door you find.
There will be a nasty ship taking out parts of the bridge around here, so follow the bridges around while they still work, and go through the door at the top. If the ground around you turns red, get the heck out of there beause you’re being targeted. Once you are through the door at the top, dodge the mining beams and jump to the grab ledge. Jump to the next grab ledge, then go through the door. Follow this hall around to an elevator switch, then press that, and ride the elevator down.
Horde of Enemies
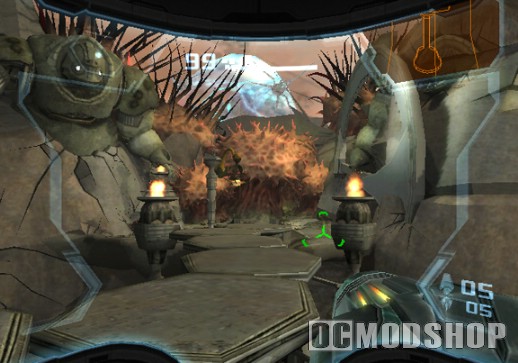
Deal with the horde of enemies until the pillars in the room retract. Be sure to leave one alive so you can jam the machine. The thing in the center of the romo starts sucking everything in, so shoot the pirates clinging to the floor and they’ll lost their grip and get sucked in. Four glowing beacons will show up in the ceiling, so shoot them. Be sure to use the pillars around the room for cover if you need to. The fight will end once you’ve taken out all of the glowing beacons.
Go to the object that just dropped the Nova Beam. It can shoot through walls made of Phazite, such as the one blocking the exit. Turn on your x-ray visor and shoot the glowing points and then activate the switch and ride the elevator up.
Across from you is a Phazite wall, so shoot the glowing button on the other side of it and use the switch and go through the door. Ahead is a piece of machinery made of Phazite, and appears as though it is jammed. Turn on your x-ray visor and shoot at the glowing sphere inside to unjam it. A hole will show up in the floor, so drop down and go through the green door at the end of one of the tunnels.
Turn right and get the Energy Cell out of the wall, then go back through the door you used to enter. Get out of the hole using the grab ledge and then take the door out of here. Follow the hall around and turn left to get a green door. Go through the green door and use your x-ray visor on the wall to your right.
Shoot the glowing red points one at a time, and the wall will retract, revealing a Missile Expansion. Grab it and kill the metroid. Leave and follow the hall to a blue door and go through it. Shoot all of the molten metal on the platform, as well as the Phazon tanks and then call in your ship.
Fly to Elysia, Landing Site B.



2 comments
this game amazing, walktrough SUCKEY
yeah this walkthrough has things placed in the wrong places in order of when to do them
Comments are closed.