There appears to be a standard amount of room in this case, which means it will get rather cramped rather quickly, especially if you plan on using any watercooling rig. Because of this, it’s best to install hardware in a progressive manner, starting with the motherboard. But first, go ahead and remove the bottom 3.5″ drive cage (or both if you have more than 4 hard drives). It’s also a good idea to pre-install your CPU, heatsink, and RAM, as you will have limited room once inside the case.
Install the I/O shield for your motherboard, and map out which motherboard standoffs your motherboard will require. Screw in these brass standoffs Once the motherboard is secured to the chassis, you can connect up the fan leads (unless you plan on using a fan bus). Now is the time to connect up the motherboard’s leads, such as Power, Power LED, HD LED, Reset, etc.
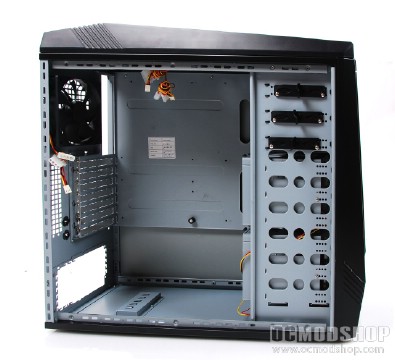
Hard drive installation is pretty straightforward. The case comes with some plastic slide rails which require absolutely no screws. Just fit the rails into your drive’s screw holes and slide into the cage until you hear a click. The rails support the bottom of the drive, and can easily fall off until completely inserted, so slipping the drive in is a two-handed operation. Then just insert the drive cage back into position and lock.
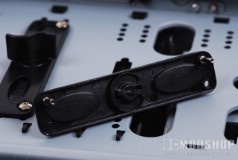
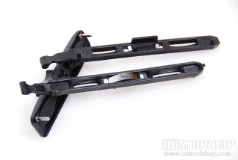
5.25″ device installation isn’t so cut-and dried. The plastic mounting mechanisms seem like they would save time at first, but are actually quite useless. You can only secure your device from the left side (the side of the windowed panel). The right side of the case has cut off access to the holes on the drive column, save for a few holes near the back of the bay to fit your screwdriver through. If you’re using an optical drive, then this may be all that you need, but you won’t be able to quickly remove your drive, as you have a physical screw that prevents movement. Either you have the drive half-supported by the plastic mechanism, or really locked in with a screw. You’re best off just using case screws and forgetting the locking mechanism.
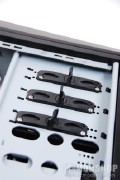
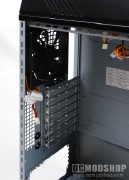
You’re in for some frustration if you have other 5.25″ devices, like a fanbus, sound card front panel LCD or VFD display. Many of these devices aren’t long enough to reach the second set of screw holes, and you can only access the second set of screw holes from the right side of the case. So, in effect, you can only secure your front-panel devices from one side. Usually front-panel devices have buttons to press, and the right side of these panels will sink into the case when they’re pressed because they just aren’t secured.
Now that your drives are installed, you can mount up the power supply. Just place it in the bottom of the case, and secure with case screws. I recommend modular PSUs for just about any PC installation, especially in cramped quarters. If you use a modular power supply, then you won’t have a nest of unused cables sitting in the bottom of your case, so you only use what you need.
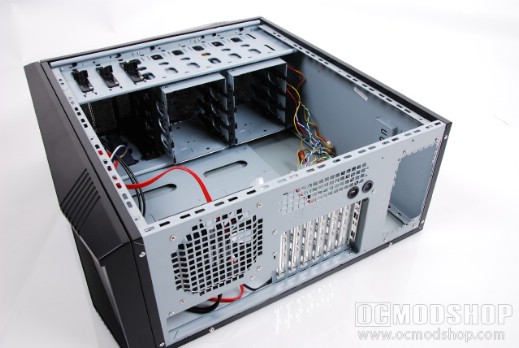
The drive column has room between it and the back of the case, which makes it a perfect area to hide or route cables through the case. That way, you can get data and power cables where they need to go without creating a messy rat’s nest.
At this point you can connect up data cables, and watercooling equipment, if desired. The top of the case is a perfect area to install a radiator like the Thermaltake TMG2, Swiftech MCR220, or Asetek Dual radiator solution.