Changing the LEDs in the CDROM and floppy drive is a little more difficult but with some patients and by taking your time you should be able to do it with no problem. I will be starting with the floppy drive, first remove the faceplate from the drive and put it aside. The back of my floppy drive has 2 brass colored screws which hold the back cover onto the drive.
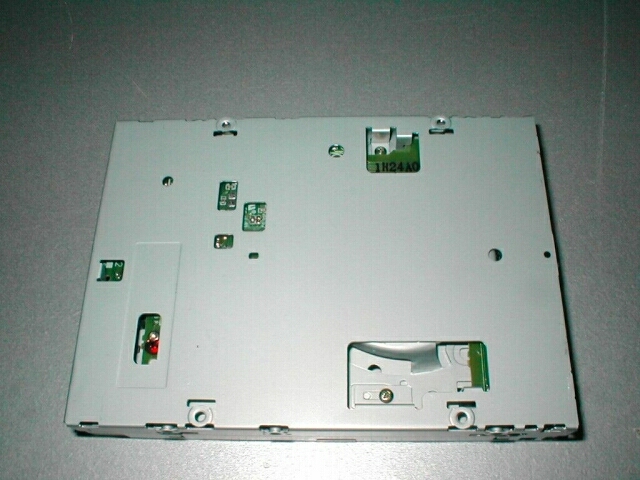 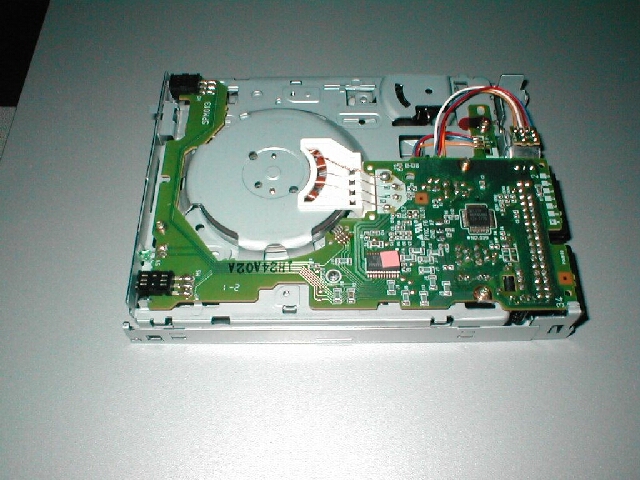 |
I removed the 2 screws from the back of the drive and removed the back of the drive. This particular floppy drive has the PCB mounted to the drive, I tried to remove the screws to get to the LED better but they would not budge. Depending on how your particular floppy drive is designed will determine where you go from here. Just because it was different than I thought it would be does not mean I gave up and scratched the project.
After accessing the situation I decided to cut a piece out of the metal which was around the LED so that I could get to it easier. After I had cut the piece of metal away from around the LED I desoldered the stock LED. To desolder the LED you will want to touch the tip of the soldering iron to the solder point on the drive and while touching the solder point with the soldering iron pull on the LED until it comes out. Because of how the LED is designed I was not able to solder the new LED on like the stock one was, what I did was flipped the polarity of the LED and I soldered it onto the top of the PCB. I flipped the polarity of the LED because if I had not, when I soldered the new one on the polarity would have been wrong.
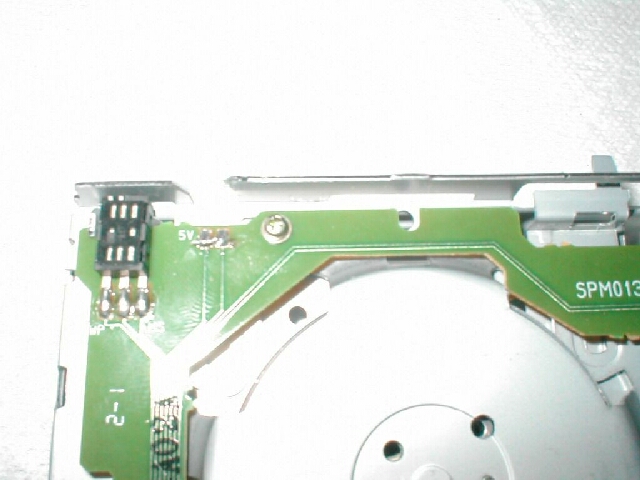
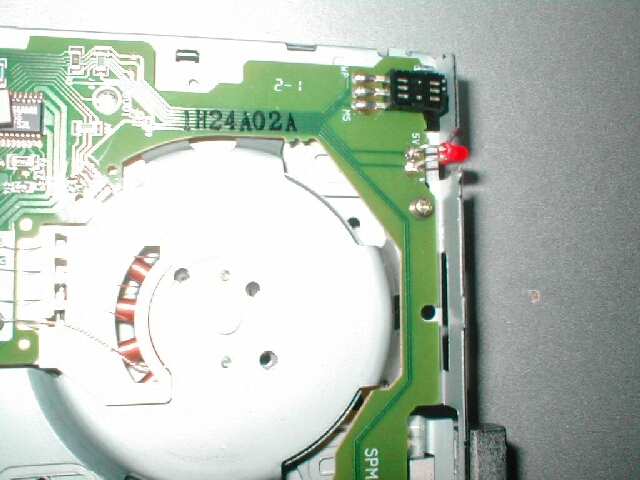
After the new LED is installed I would leave it apart and go test it to make sure it is working properly, if it is, replace the faceplate and reinstall the drive into your case. If it does not work check to make sure that you did not cross any of the soldering points and make sure that the polarity of the LED is correct.
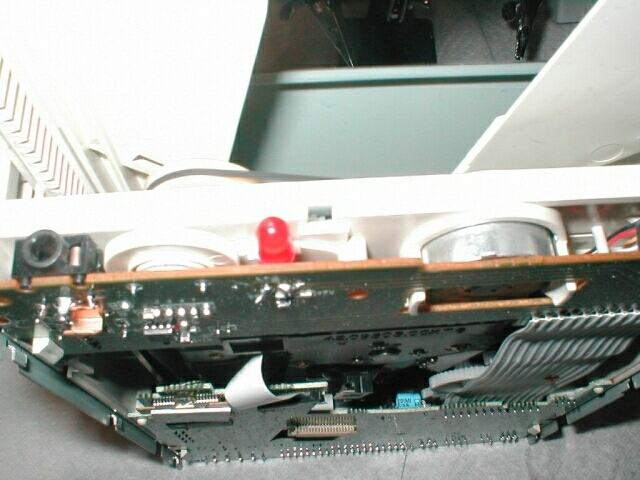
On to the CDROM, the procedure is essentially the same as that of the floppy drive. The first thing to do is remove the back cover of the CDROM drive and check to see how it is designed. The LED on this particular CDROM drive is again under the PCB, but this time I am able to move the PCB by unclipping a clip on each side of it. I will be able to get to this green LED easily.
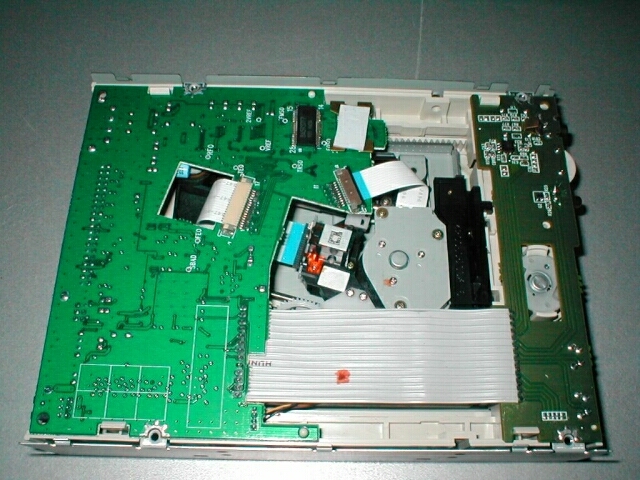
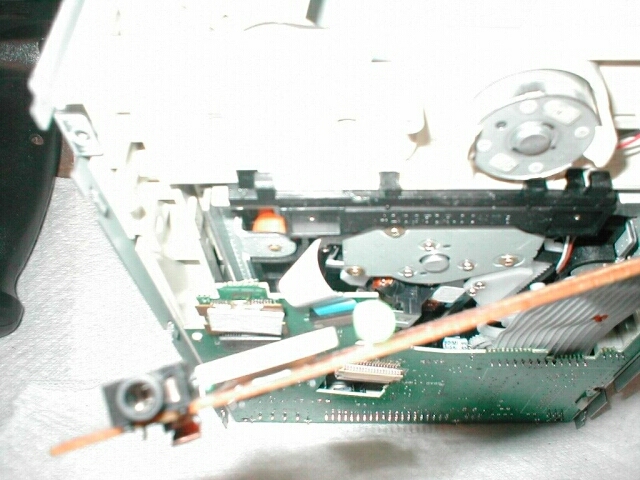
Like you did with the floppy drive you will want to desolder the existing LED by placing the point of your soldering iron onto the solder point and pulling on the LED. When you have the LED removed from the CDROM drive you will need to adjust the LED so that it will be in the correct position when you solder it back in to place. Solder the new LED into place and make sure that it will be in the right position so that when you put the faceplate back into place it will go back into the hole. Again go inside and test out the CDROM drive to make sure the new LED works, if it does not troubleshoot as you did with the floppy. If it works then reattach the faceplate to the and reinstall the CDROM into your computer.
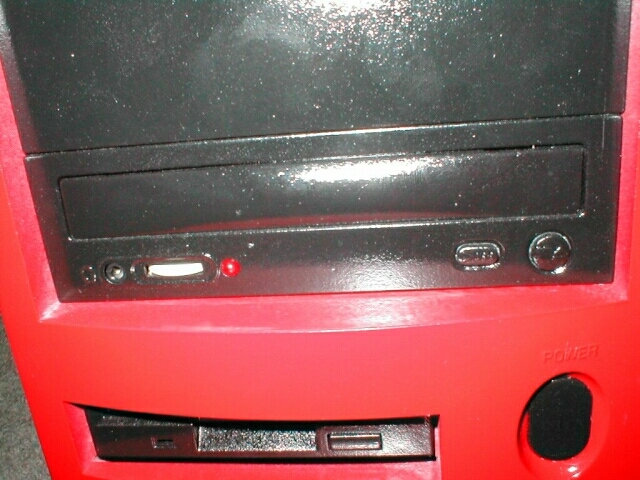
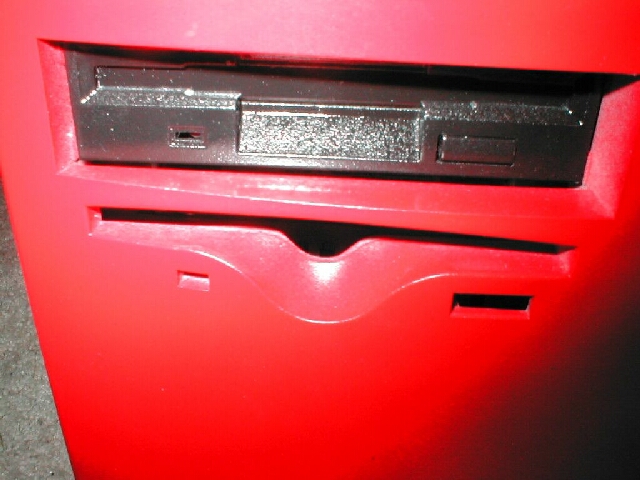
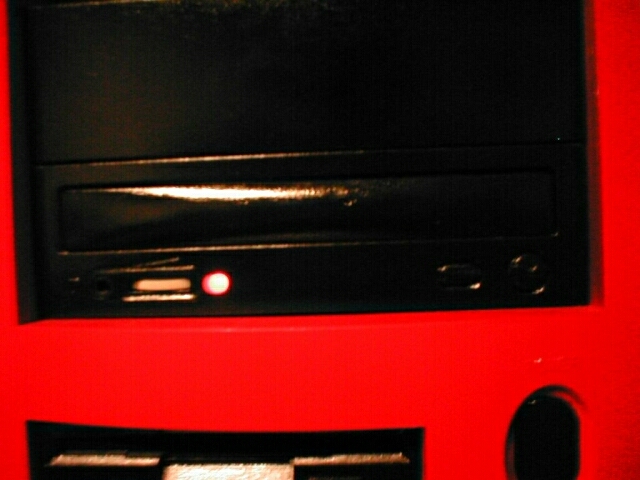
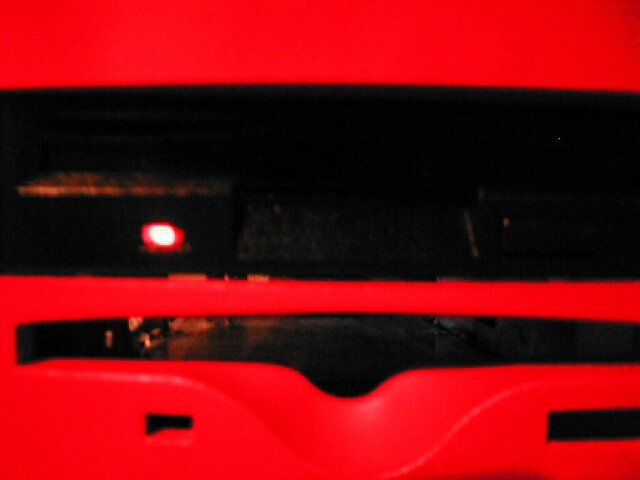
Now that you have everything reinstalled into your case you can sit back and enjoy your finished work. Here are pictures of my girlfriend’s case, CDROM, and floppy LEDs in action. All of them look better in person of course, it’s hard to get a good picture of LEDs with a digital camera.
Conclusion:
You can use any color LEDs that you want, blue look really good but are expensive. Hopefully this guide has giving you the basics on how to change LEDs, if you have a CDRW, DVD, Zip, or any other drives that you want to change the LEDs on the procedure should be the same. Remember that each case and drive is different and you may not be able to follow this guide to the letter, but you should have the idea. I think that by changing the LEDs to match your case color makes the overall appearance much better than if you had a bunch of different ugly colors. If you have any questions, comments, or suggestions feel free to E-mail me or head over to the OCmodshop forums and chat about it.