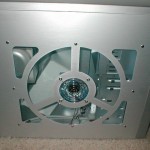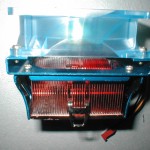
Now that you have your case and window all cut it’s time to put it all together. I had some extra molding left over from the side window I did so I will be using that. The molding I have has a built in locking strip but is a little thicker than most molding you will find. This molding is a lot thicker than most but I liked it, but most online stores don’t have it. I am not going to lie to you, you are going to get frustrated when installing your window because its no easy task. Its frustrating because its a tight fit and you will have the window and molding slip and come out and have to start over a few times I’m sure. If you get it on quickly then you are just better at it than I am LOL.
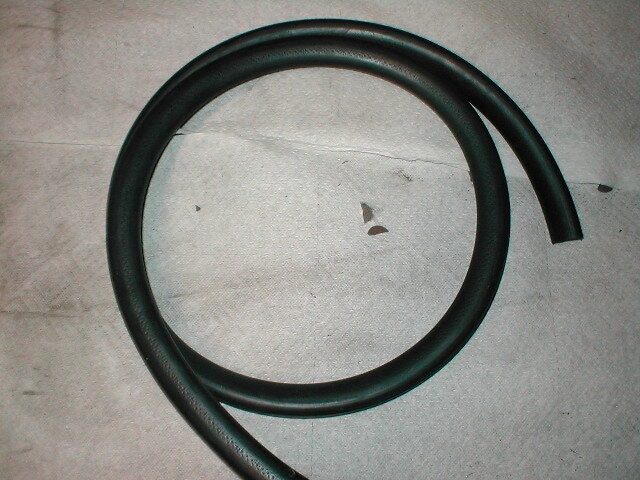 First attach the molding to the case with the smaller opening on the molding and cut it off so that it fits on there without any gaps and without overlapping. Once you have the molding in place take your window and peel up about an inch of the protective sheet all the way around it. The reason you don’t want to take all the protective sheet off is so that you don’t scratch up the window before you get it in. The easiest way I found to do this top window is to slide in one of the rounded corners and work my way around it in a clockwise direction. After a few tries I finally got it in and could relax for a minute.
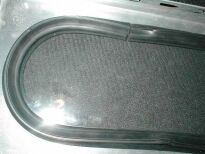
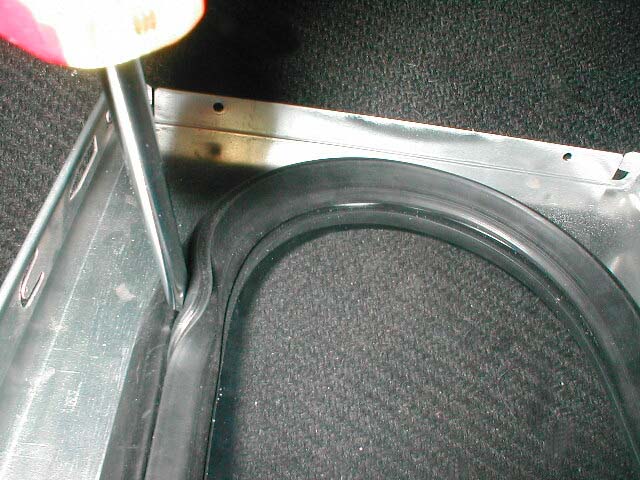
With the window installed to the molding the only thing left was to do the locking strip. I went ahead and took off the protective sheet but I would advice you to leave it on till you are totally done. The easiest way to get this particular locking strip into place was to use a screwdriver. I pushed a piece of the strip in then moved around the entire perimeter of the window. The best way to do this I found was once you get the molding started, put the screwdriver in and turn it 180 degrees counterclockwise while pushing it in as you go. The reason this makes it easier is because the flat head of the screwdriver is bending the locking strip so you can easily push it in rather than trying to push it strait down.
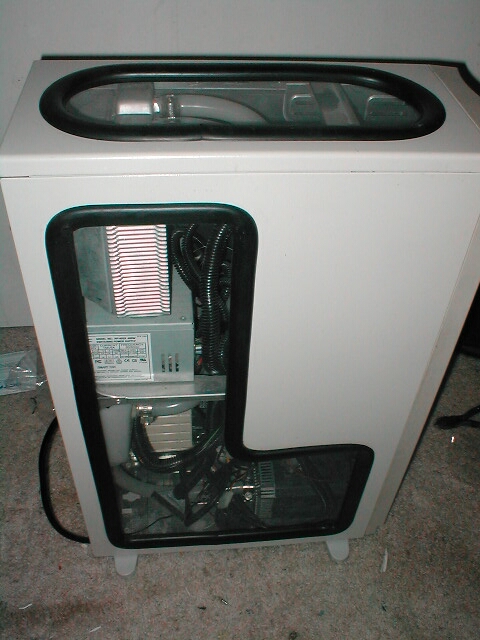
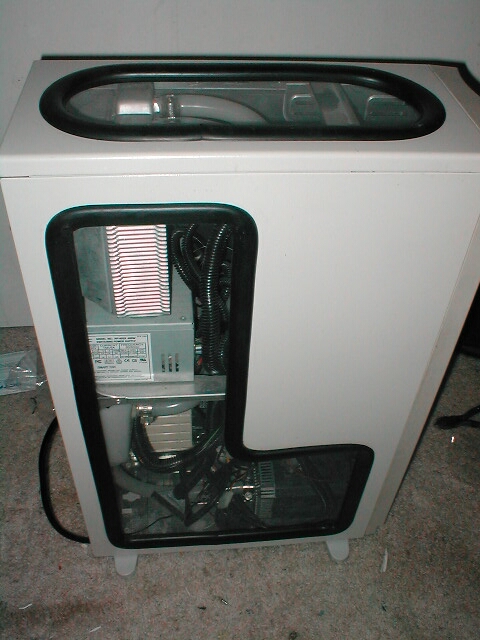 After getting all of the locking strip into place I was done, I took a little break to relax and then got some glass cleaner to clean off the smudges that my fingers left on the window. After cleaning it off I installed it back into my case and was very happy with the results. You can see my radiator in the picture along with my live drive that I had installed. If you were to put a cold cathode in the top of the case it would look even cooler. Another thing you could do is use a UV cold cathode with some water dye for your water in your watercooling system.
Conclusion
I hope this guide will help you on your case mod journey and give you ideas of what you could do. My design was very basic and easy to do but it doesn’t have to be. Depending on your imagination and skills you can do almost anything as far as a window goes. Just be sure that you do a good amount of planning before you actually start cutting. You can buy molding, arcylic, and a window molding tool from Cutting Edge Case Mods. Molding is $1.30 a foot, the acyrlic peices that you can use to make your own design range from $8-10 depending on the size that you want, and the installation tool for the molding is $1.50. They also have many premade windows and window kits.