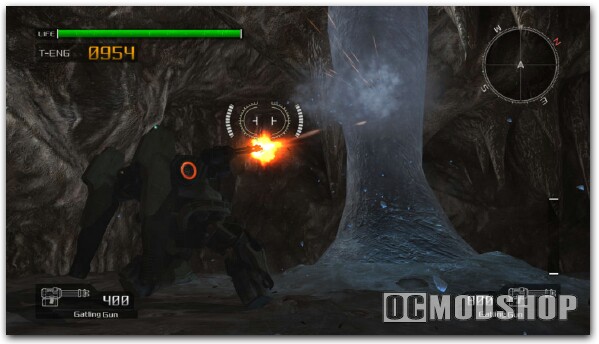
Achievements: -Mission 02 cleared (10)
-“Storm” Explorer (10)
Begin by anchoring yourself onto the nearby rooftop; and to the first Data Pad. Be ready for action, your first Arkid encounter will be 8 Dongos all ready to maw you down.
Note the earlier tactics for defeating a Dongo and apply here. I suggest sneaking around and attacking the tail, but you may find that a lot harder in this situation; so be sure to side step as often as you can and keep an eye on at least 2 Dongos at a time.
If you grab the shotgun you may want to sidestep the Dongo, anchor to it, and blast the tail. Difficult at first, but you’ll quickly get the hang of it, and upon so be able to remove all 8 with less difficulty.
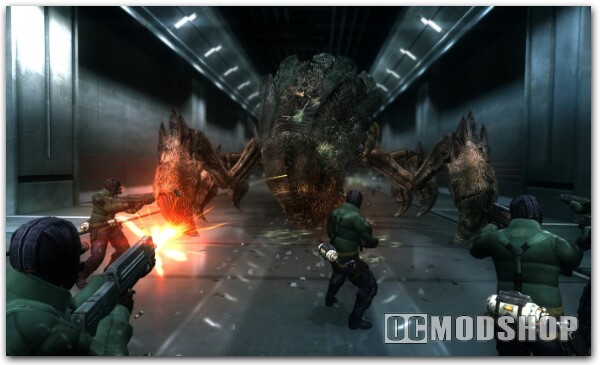 Head across the field and to the next Data Pad. At the first archway you’ll see another Dongo, work you magic and continue.
Well out of the frying pan into the fire, you now have 6 more Dongos in the field ahead of you. No worries, 6 is nothing to the 8 you just took out. Besides, once you kill them, and get to the Data Post be ready for another battle with a Chryatis.
There will be a Gatlin Gun near the VS, grab it, and take out the Chryatis. Up ahead and after the second Chryatis battle, shoot the thermal energy pads to blow through the slimy wall and then through this opening. As you exit the path swarms of Trilid will be coming at you.
Just keep moving down the street for another Chryatis battle. Near the Data Post you’ll have to blow shoot out the door to enter the location ahead. Get in the VS and move out. You’ll run into another Chryatis, and Crimson Pirates ahead, so be ready.
As soon as you start heading down the western street be careful of the Chryatis, and the rocket wielding snow pirate who’s up in the tower at the streets southern point. After you cleared the Chryatis and all Crimson Pirates, activate the next Data Pad.
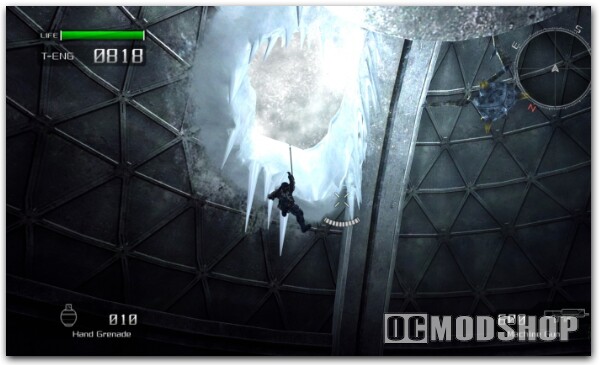
You’ll need to anchor up to the broken ledge of the nearby building(nearby the Data Post that is), just be careful as there are likely a few more Crimson Pirates hiding up there. Moving left anchor up to the next floor. Keep moving in this pattern until you reach the top. At the top anchor next to the bridge. On the bridge you’ll only encounter Crimson Pirates. Just blow through them all, and get to the VS up ahead. The VS is the Evax; a nice little suit that will transform into a snowmobile (Hit “Y”).
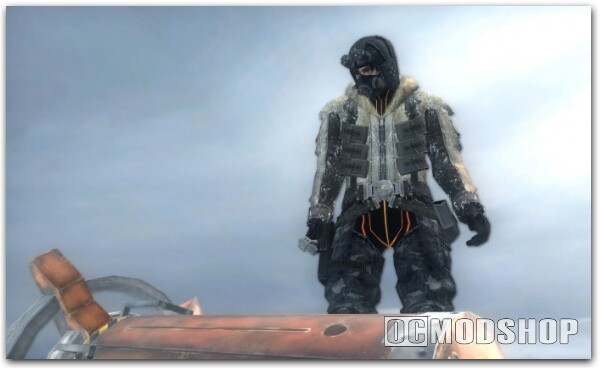
Up ahead to the right before an overturned trailer, is a lump of snow and buried underneath is a shotgun. Climb up on the arched trailers to get a view of the Crimson Pirate ambush ahead. Just take them out and move ahead safely. Grab the Rifle before you move ahead. Use the Rifle to take out all the Crimson Pirate in the distance. A Drio-CC will sneak up on you, run back to the bridge for cover, and take it out with a rocket launcher, or hit it with grenades. Activate the Data Pad, and move ahead.
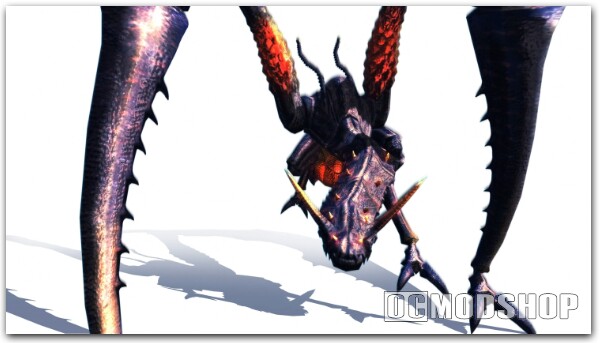
Make this fight a bit easier, Anchor to the catwalk inside the tunnel, and snipe the Crimson Pirates, on the catwalk, and in the tunnel. Activate the Data Post at the end of the tunnel. Move to the corridor on the right, and head out.
The fortess is guarded by snow pirates, turntables and a Drio-CC. Stay put, and snipe out all defenses. Including the Drio-CC pilot. Head to the building on your left, and remove the Crimson Pirates that will emerge from here. There are 3 Data Post you may want to take control of in this part of the map. The first is in the outpost building to the left. The Second in the building to the right, the 3rd is right on the steps to the gate. Grab a VS and make your way up the gate, bombarding the Crimson Pirate defenses.
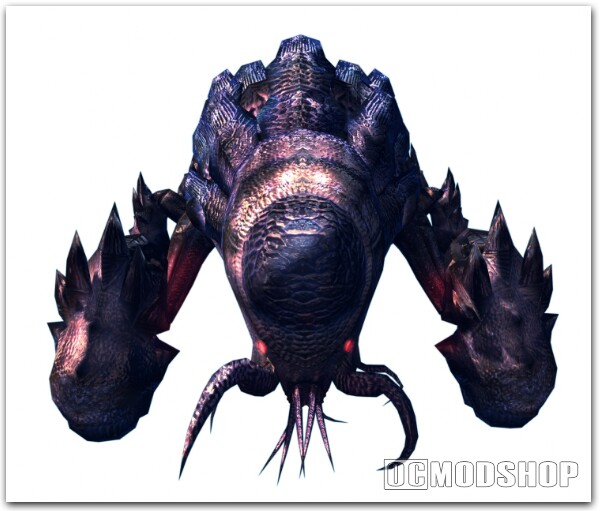
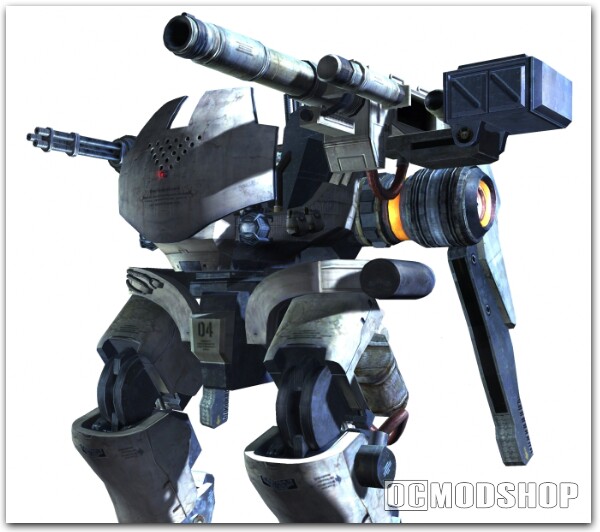
When you enter the Crimson Unity fortress, you’ll be on foot, and encounter the Faze-CC. Just charge through and get into the Drio. You’ll encounter some Crimson Pirates too but they won’t be a worry once you’re in the VS, just step on them.
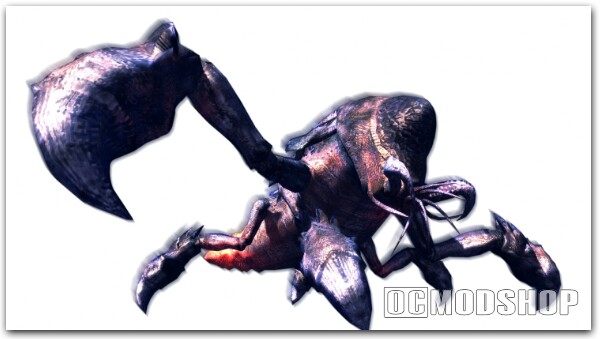
Battle the Faze-CC:
The Faze-CC will attack you with both a Gatlin Gun, and Rocket Launcher. While the Gatlin Gun will only break you down over time the Rocket Launcher will finish off your VS quick, so be sure to avoid it at all costs.
First take out the two Drio-CCs that will be helping the Faze-CC. Once these two are removed the Faze-CC battle is a bit easier. Use the Sliding Dash to avoid the Faze’s jumping capabilities. If you can slide past it, hover and get some distance the rocket launchers will prove most effective. If not just keep side stepping/sliding from the attacks and just keep hitting it with the Gatlin Gun(s).
Target Marks: Target spells “Storm”
-S- After passing through the first arch, look to the left for a machine gun, and northeast for a few windows on the structure. “S” is in the second window.
-O- When you are anchoring between floors of the ruined building, look to the east corner for windows. Near the top floor is a window with “O” in it.
-T- Fall into the ditch on the train bridge. Looking south, “T” is behind a row of rebar.
-M- At the end of the train tunnel look west, and “M” is hiding on the tunnels rocky ledge.
-R- In the large building to the left of the Crimson Pirate fortress, go upstairs, and behind the boxes is “R”.