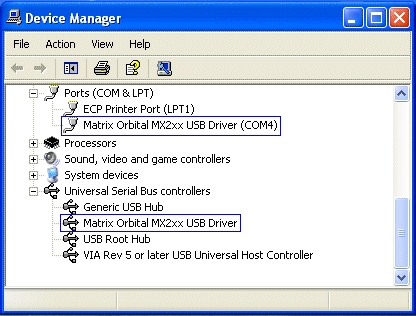
Before installing the software the display will need drivers which can be found on the CDROM. As long as you have a basic understanding of how to install hardware this shouldnt be a problem at all. With the USB connection plugged in Windows 2000 and Windows XP will automatically find it and prompt you for the drivers. Complete the installation of the drivers and they will show up in your device manager.
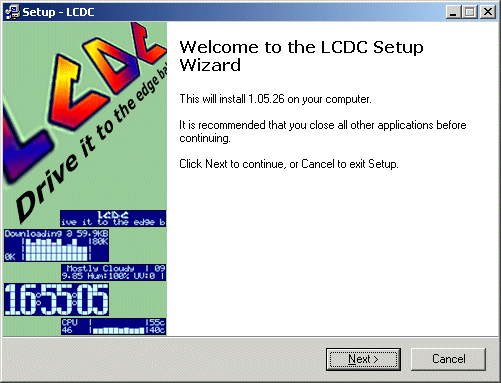
LCDC v1.05.26 is provided so you can fully utilize the display. When you run the setup file it will walk you through the installation and when it is done you should launch it.
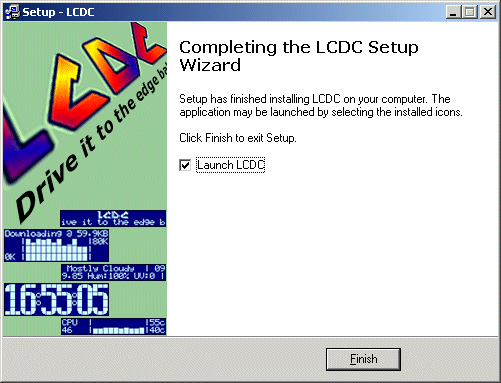
When the installation finishes it will detect to see if it can find certain programs that it can work with such as Trillian and Winamp. It will then ask you to select the screen type you have, in this case the MX3.
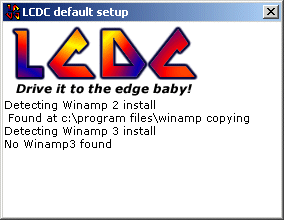
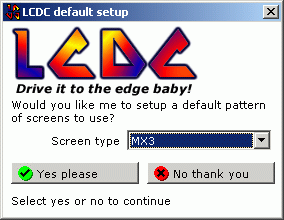
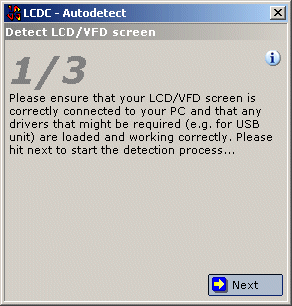
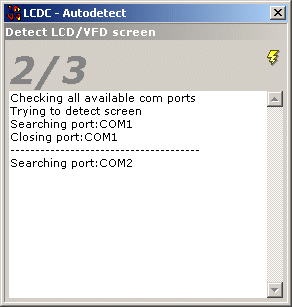
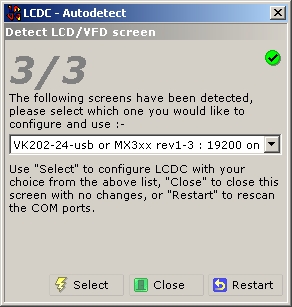
After you select the screen type another dialog box will pop up saying “LCDC needs to be configured with the screen type and connection information. Would you like me to try and auto detect the screen and configure it for you?” If you click Ok it will bring you to a auto detection section. When you click next it will search your ports to find the display and will then let you select the correct one. In this case there is only once to choose from since only one display is being used.
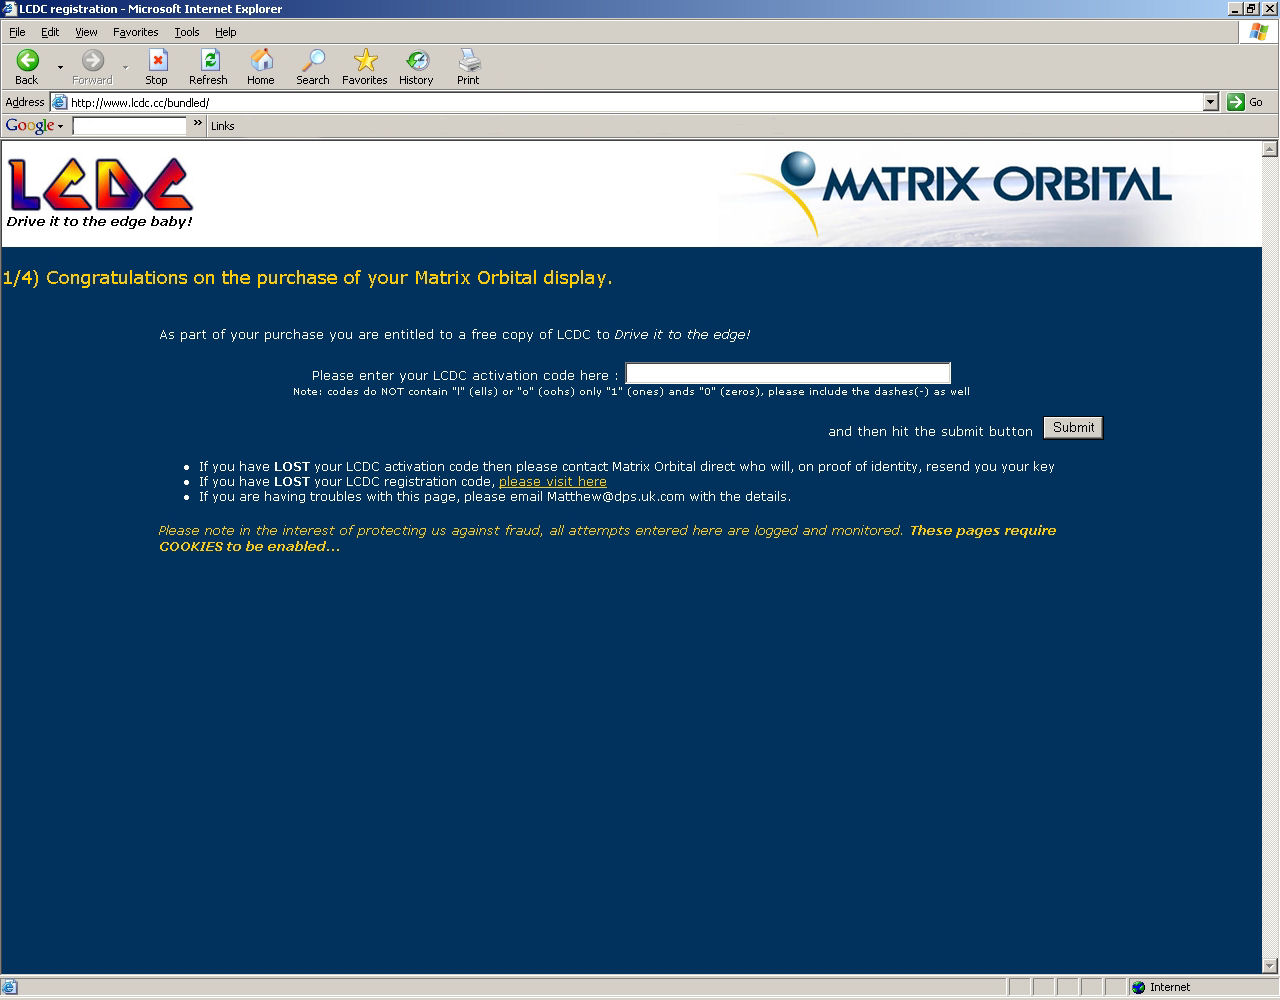
With LCDC installed and the screen configuration complete you will want to register the program. You need to go to http://www.lcdc.cc/bundled and enter the key on the CD into the field on the website. It will then get some information from you and when you finish it will email you the actual registration name and key to use. Now you can run LCDC and click “Enter Key”.
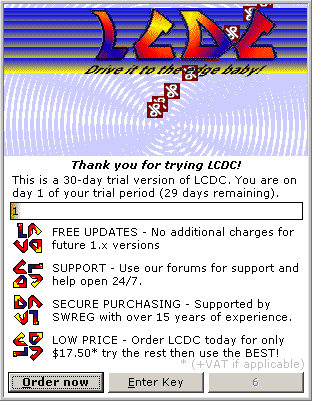
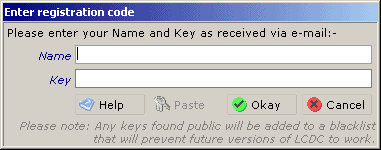
Enter the information from the email you got into the fields and click Okay. LCDC is now registered however I would recommend upgrading the program to the newest version which is currently v1.06.30 and can be found here http://www.lcdc.cc/downloads.htm.
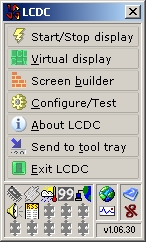
Now rather than going into everything with LCDC I am going to focus on the VFD and let you discover the program. There are so many options, configuration, and plugins for you to utilize your VFD it could be a full article in itself. Also feel free to download an evaluation copy of the software, you can play around with it even if you don’t yet own a display. One thing that I do touch on before we leave the subject of LCDC is the temperature probes, or dallas 1-wire device as LCDC likes to call them.
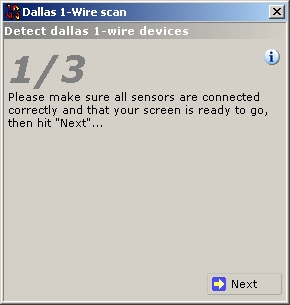
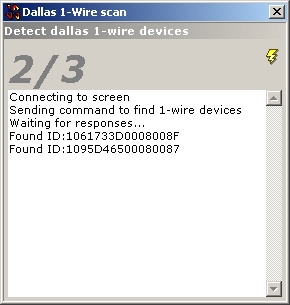
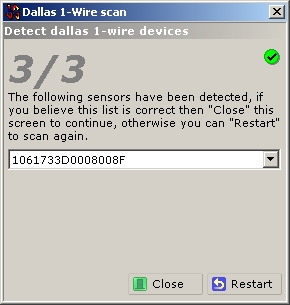
With the temperature probes installed you can go into the “Configure/Test” menu and go to the Dallas one wire section and scan the interface. This will detect any temperature probes that you have plugged into your VFD.
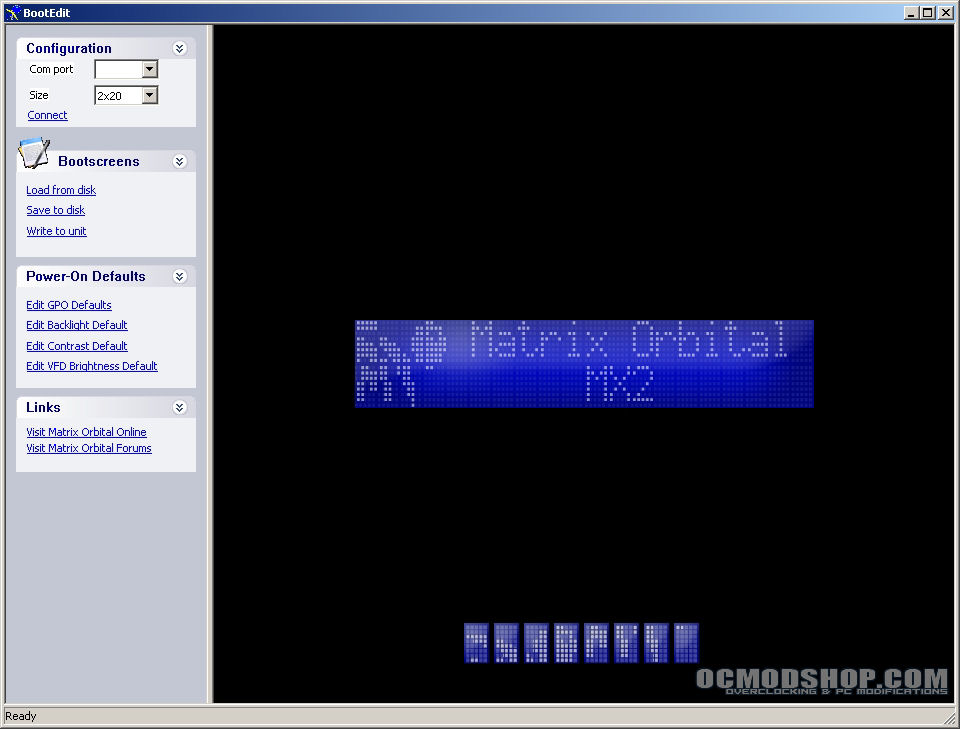
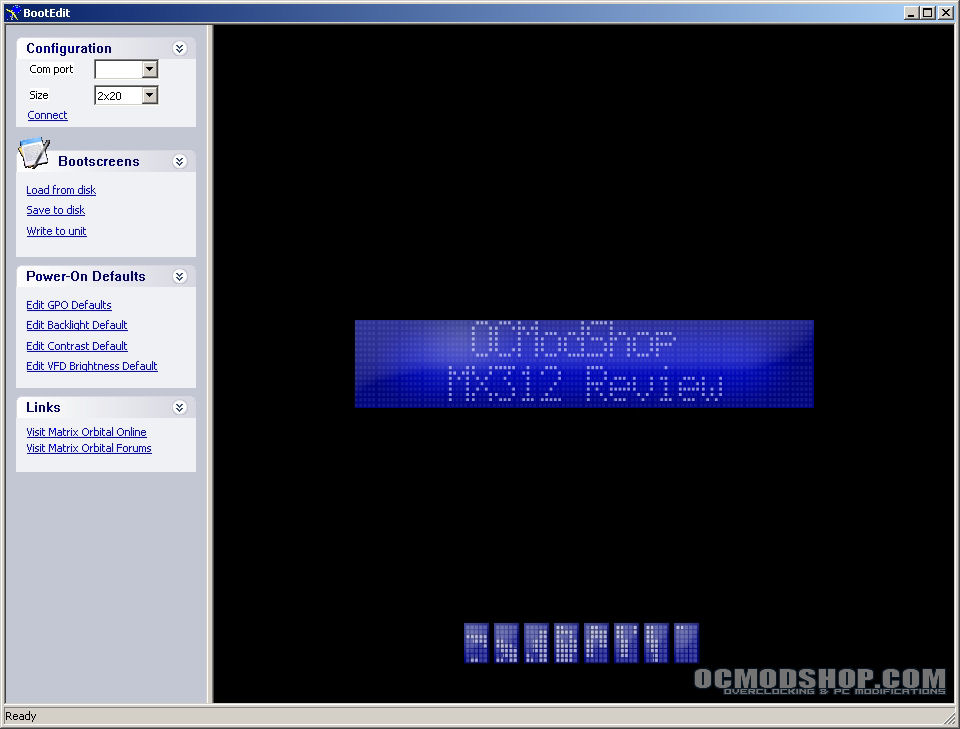
One final thing that I wanted to touch on that is included on the CD is a program called BootEdit. This program allows you to change the boot screen that is displayed when the unit receives power. You can also edit the default GPO (General Purpose Outputs), backlight, contrast, and brightness. Now to be honest I was not able to get this program to work, I was able to connect to the unit but when I wrote to it nothing happened. I talked with Matrix Orbital and they told me how the program was supposed to work but I was still unsuccessful in changing anything.