

Start off by using the ammo crates near you to get a sniper rifle and a put on a good scope. When you start moving up, enemies appear all over. Just send your team to cover, you take cover somewhere else, and just make your way up, same as you did at the garage. Just take your time and move your team ahead of you, it’s really that simple and your shooting is optional. Make your way to the steps on the left and follow the walkway to the open doors, but watch up high for enemies to appear on the bridge in the center and through the windows. Clear them out and go through the doors. Make your way to the bridge, watch for an enemy on the roof, and cross the bridge.
Once your reach the checkpoint, you will notice a room you must enter that has three points of entry. Ignore the one door on the left and look through both on the right side. Stack your team on the bottom door, tag the one enemy you see patrolling, and then you go to the door above, but DON’T snake it or else the enemies will move. Just take cover by the closed door, looke down to see the tagged target move, send in your team when the red marker is all the way left, and after you hear your team start attacking, that is your cue to open the door. You will stay behind cover and shoot whoever you see, most likely just one target behind a thin cubicle wall. Move your team to the other side of the bottom level and that should be it.
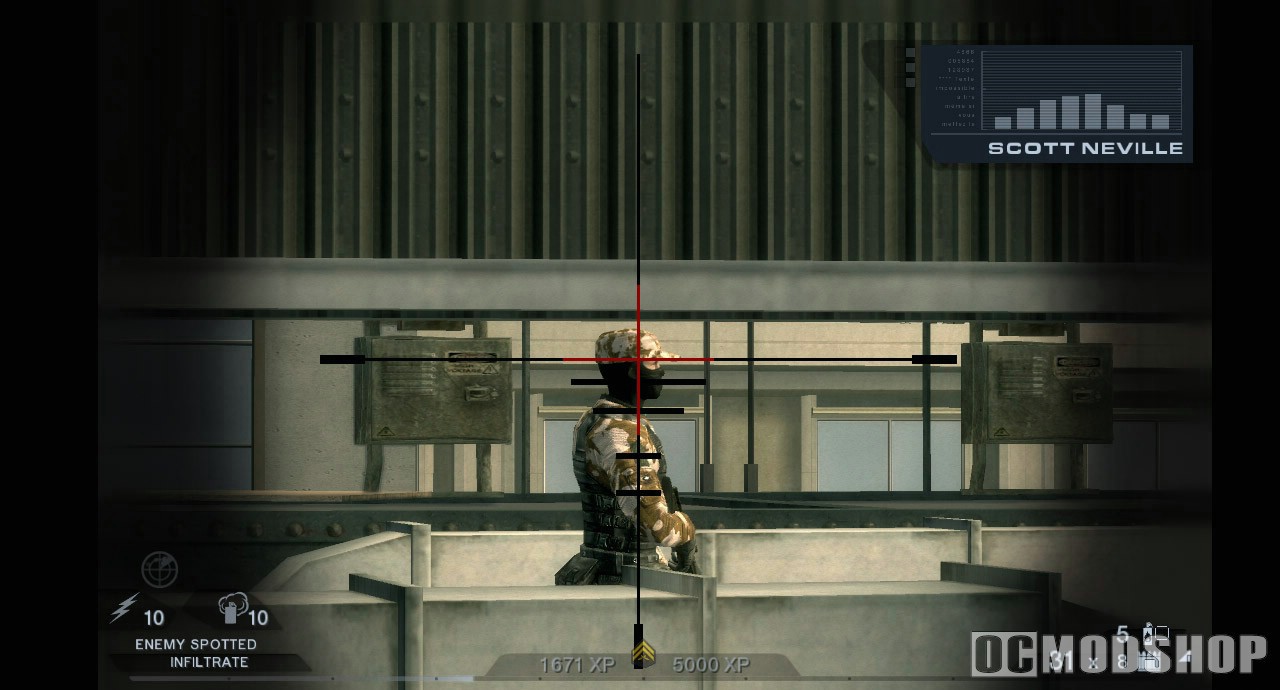
Go through the door to run into an ammo crate, so just refill and keep the sniper rifle you got. Go through the first door near the crates and then snake the closed door to see two enemies talking under some steps. Tag both and stack your team on this door. Now, you can go all the way around and up the stair case to get to the roof, but you can’t see anyone. So instead of going up the stairs on the other side, just snake the door up the small steps that has the sign “Workstations” above it, and you should see one patrolling guard. Wait for him to be walking away from you, then send in your team, and after you hear gunfire, that is your cue to bust in and take him out, if your team doesn’t kill him first.
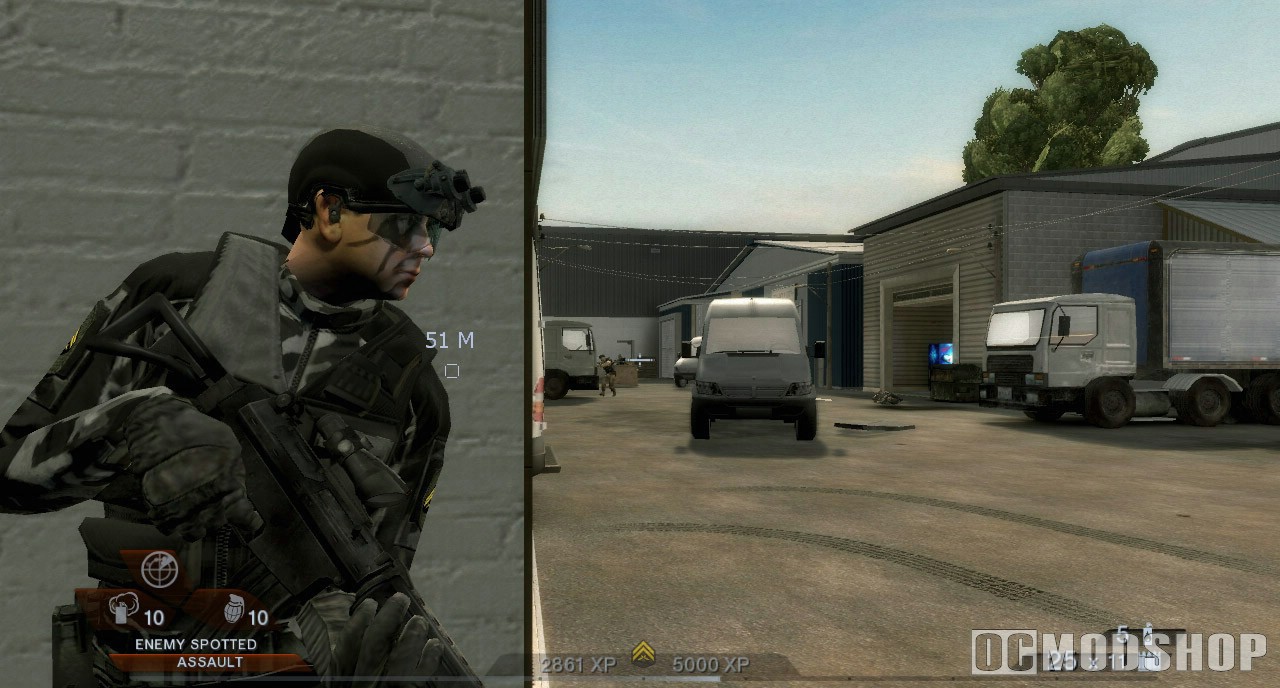
Now, you can send your team toward the middle of this library and this will spawn all the enemies to show up. From there you can got the roof and start sniping if you wish, or just stay with your team and snipe from down here; you don’t even have to snipe at all, just use your gun to blast enemies. The only guys you may need to snipe are the riot shield enemies, or just blast at their feet with any gun. Just stay behind cover, move your team to the center, and soon you will hear talking over the radio. After the fight, just go to the other side of the room and through the doorway.
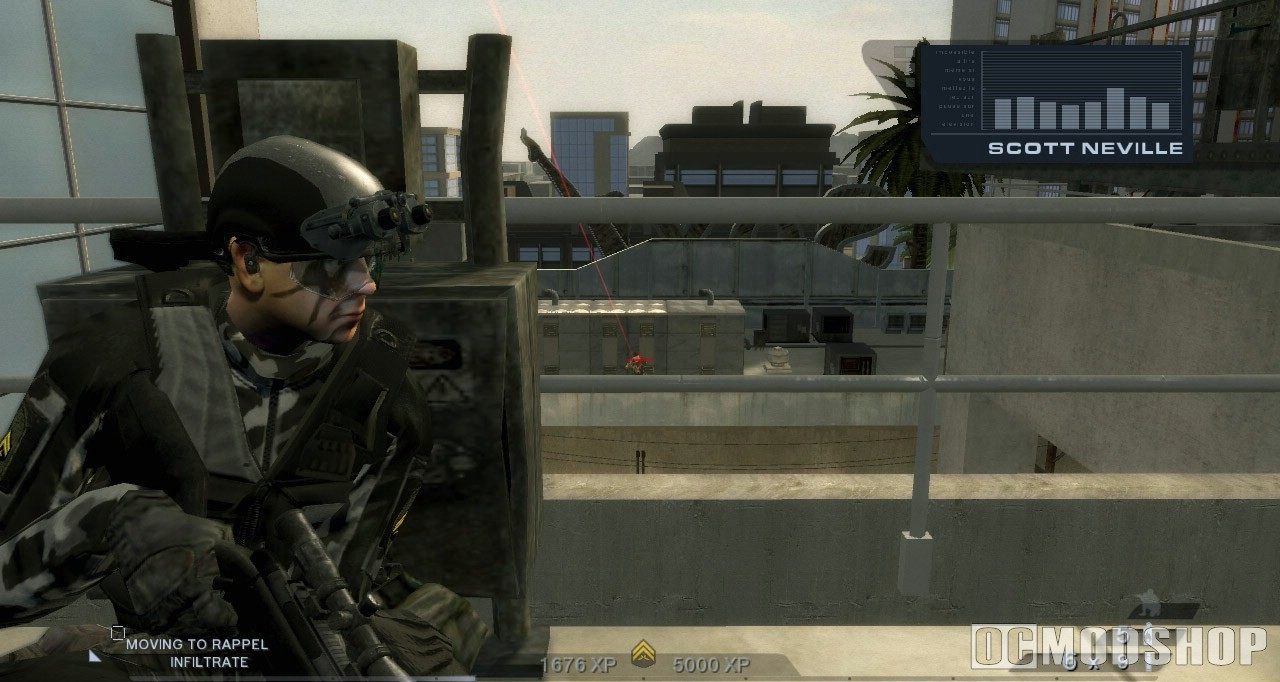
Act 3: Chase
Go to the end of this building for an ammo point, and use it to at least refill your ammo. Then just go out the doors for a quick scene. Go right and take cover behind the railing wall as you take out the few enemies. Before you step into the parking lot, you should know that once you do enemies will spawn, so you shouldn’t go too far into the cars. If you’ll notice there are two plantars near the place where you took cover and they face the little booth in the lot. You should set your team behind the one on the left, then you step into the parking lot so that enemies spawn and the destination marker moves, and then you take cover behind the plantar on the right. If done correctly, you can snipe the snipers on the roof without them seeing you, and you can even hit some of the other enemies on the ground. And for moving through the lot, just send your team up and up until you are convinced all the enemies are dead.
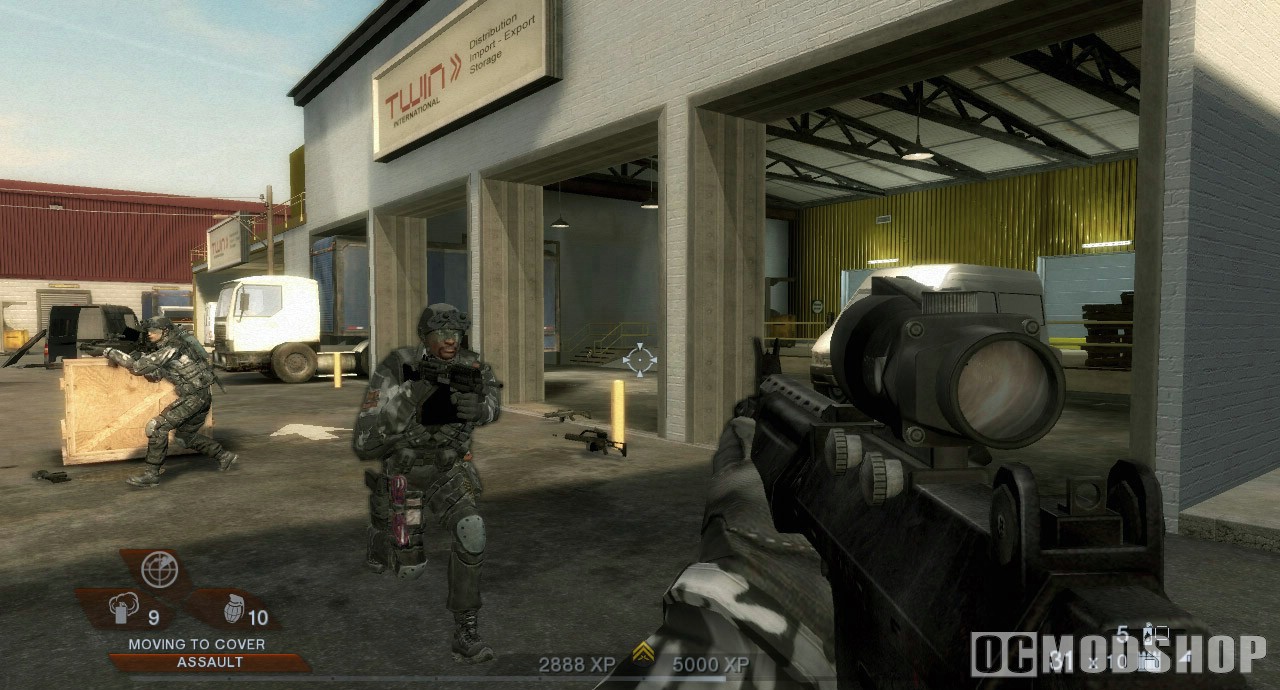
Take the alleyway on the side and you will run into Miguel, but don’t follow him through the fence doorway as there are enemies waiting for you. Just toss a frag through the door, or some smoke if you feel like doing that, and then pick off enemies from the cover of the doorway. Go through and move your team ahead of you in case of surviving terrorists. Go around the next fence to be in someone else’s backyard for another quick fight, and then again in the next backyard. Then you’ll need to toss a few frags into the alley full of construction equipment, use the little cover provided, and pick off the enemies in your way.
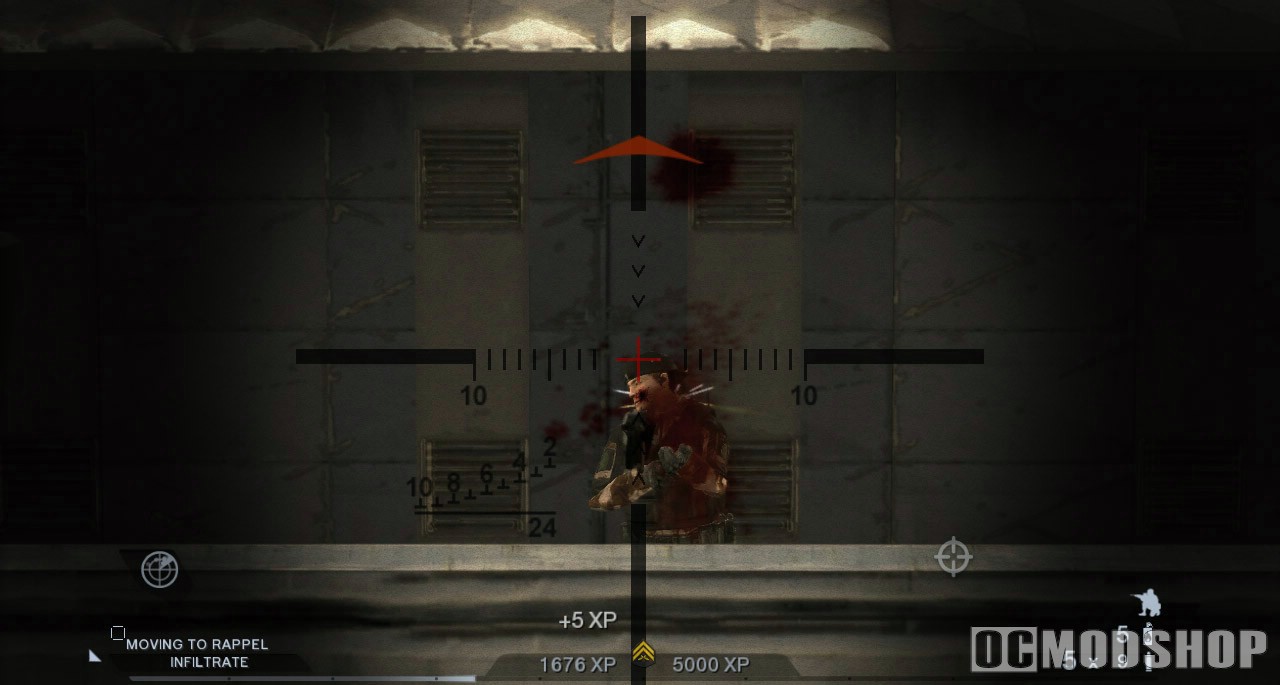
When you reach the checkpoint right before the junkyard, be ready for an enemy up high. Not much cover throughout this mess of a place, but if you keep moving your team in front of you, as you’ve been doing all along, you should have no problems. Don’t move anywhere unless you team has been there first, which is the rule all the time. Take the limited cover where you can, watch out for the enemies up high when you get close to Miguel, and then approach him to end this act. Oh yeah, and watch out for when he pulls the gun (you are supposed to kill him).


2 comments
Well, you need to transfer those controls to PS3. Those are the controls for the XBox 360
SR-25 SD – the worst sniper rifle available, so avoid.
Its silenced & Fast, so its not useless! good for silenced missions for some free kills!
Comments are closed.