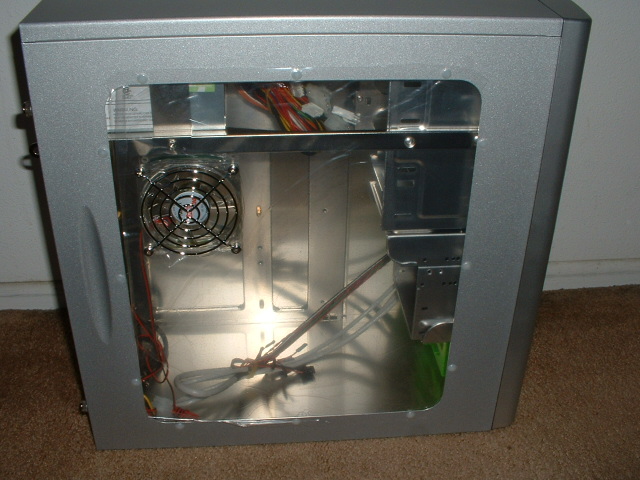
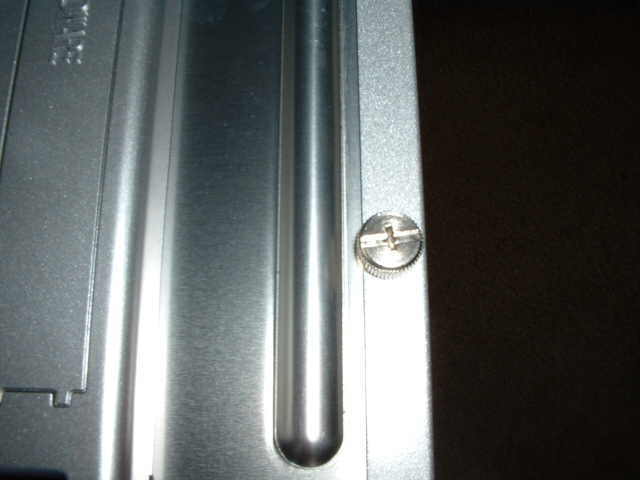
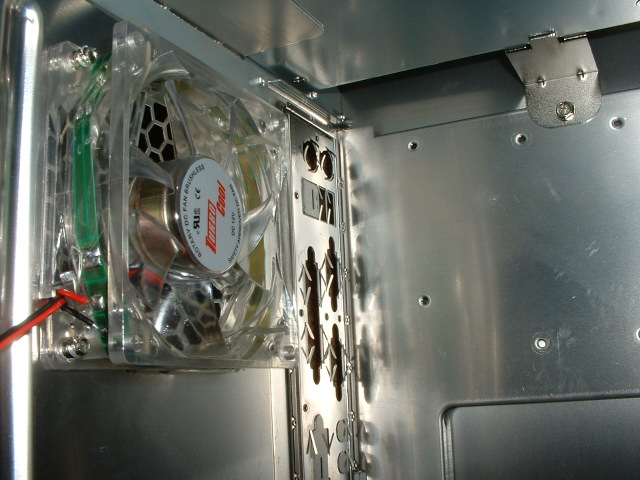
The side panels have two thumbscrews each which is really nice because thumbscrews are much better and faster than a regular screw. With the door off you can see a little better view of what’s going on inside of the case. All of the edges are very smooth and I couldn’t really find a sharp edge. The jumpers for the USB, firewire, LEDs, and buttons are rubber banded together and the cable for the power supply is attached to the case so it doesn’t move around too much. There is a tri color LED fan mounted to the back of the case along with a 350w power supply at the top which we will see more of on the next page.
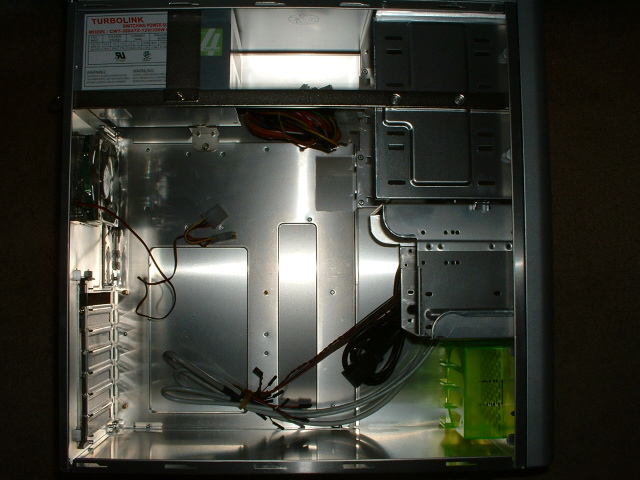
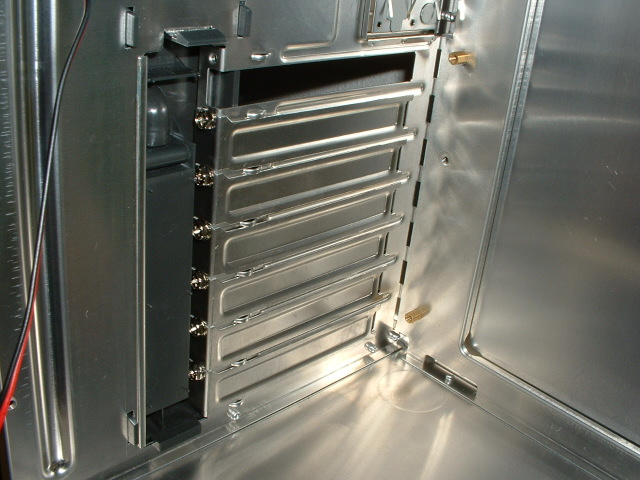
The inside back of the case is pretty standard as far as cases go. The fan on the back of the case is 80mm and will be good for pulling hot air out of the case. The expansion slots are nice because the have reusable covers rather than the kind that you punch out then have to throw away. This is a small feature but one that is nice so that you don’t have to buy extras.
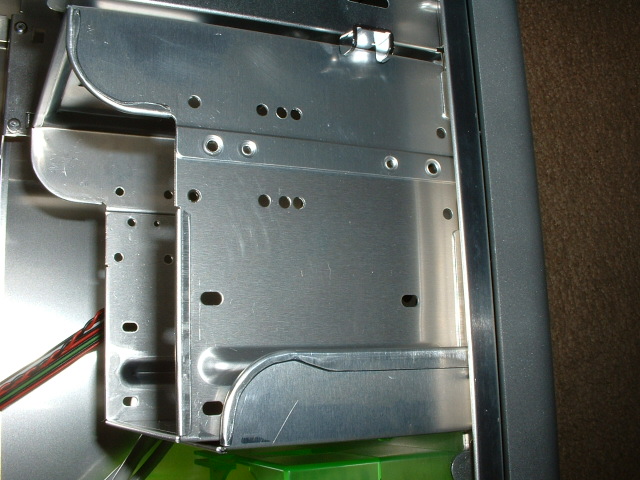
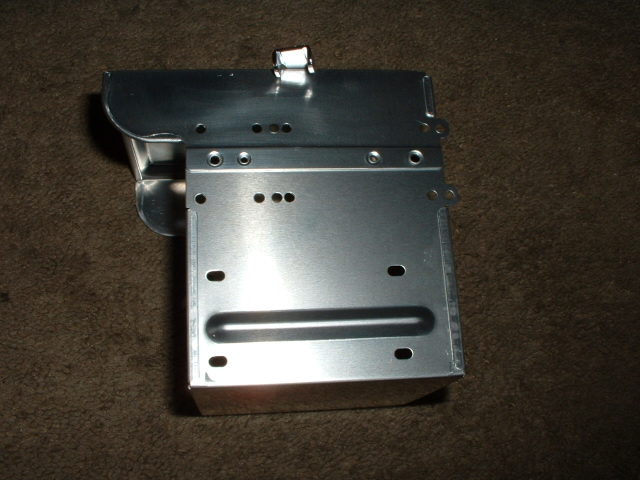
One feature that is really nice about this case is that the hard drive cage can be easily removed. On the cage there is a little lever, when you pull the lever back you can just slide out the cage. The reason this is a really nice feature is that it makes it really easy to install your hard drives or any other 3.5″ drive. This cage doesn’t come with a slot for an 80mm fan like other cases do however it could probably be added easily if you wanted to.
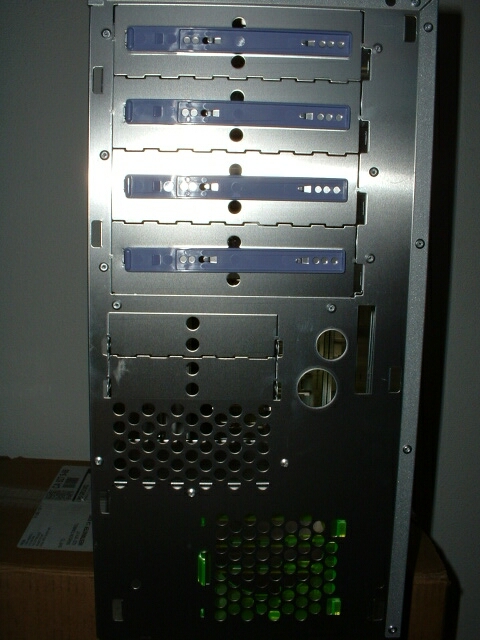
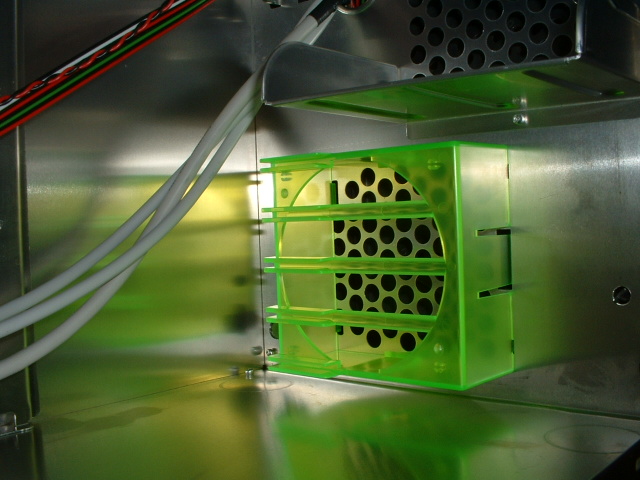
On the inside front of the case there is a florescent green 80mm fan holder which is used to pull cool air into your case. The good thing about this intake is that it will be able to pull in a lot of air because the bezel and chassis doesn’t restrict airflow. If you wanted to you could even add a bigger fan which would probably be better. The bezel of this case comes off really easy and doesn’t require any tools. There are 3 clips on each side which you just have to push back and it will come right off.
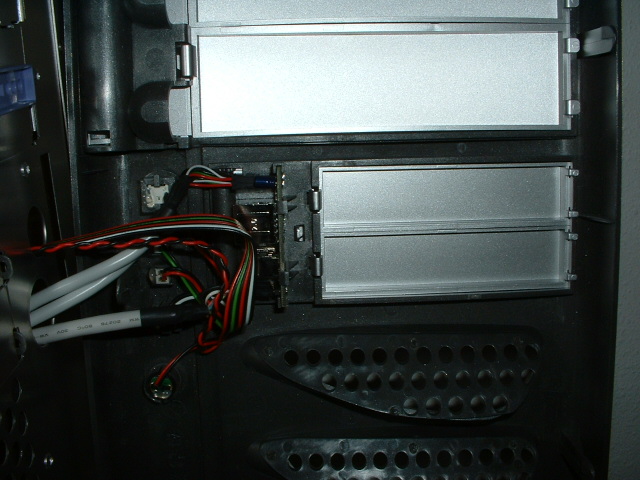
I pulled the bezel off the case and was a little surprised to find another cool feature because I didn’t expect it. Attached to the 5.25″ bay shields are four purple plastic rails. These rails are very cool because what you do is attach them to your CDROM drive or any other 5.25″ drive and can simply slide it in through the front of the case. So with these rails and the fact that the bay covers can be removed from the outside it makes it really easy to install new drives.