
Room 09;
The following test is impossible. You know, you pick up a block here, and try to drag it through the fizzler and stick it on the button, but the block just keeps getting fried! No matter how many times you try to drag it through! Obviously there is no way to complete this test. Well, not without portals at least. (Did you think you were getting away from room 09 without shooting a single portal? FAT CHANCE! Ha ha.)
The “Fizzler” concept rarely comes into play. It is in this room where the ‘Emancipation Grill’ (known to the Development Team as a Fizzler) is introduced. Trying to take an item (such as a box or camera), through the glowy blue particle field will destroy that object. The only objects that can pass through unscathed are yourself, and your portal gun.
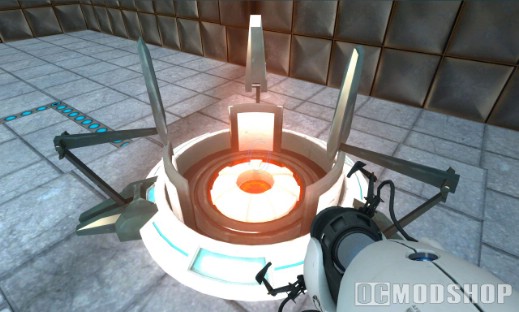
Anyhow… To beat room 09, place a portal where you can get to it, easily. Grab the cube, and take it up onto the platform with you, near the orange portal. What an interesting viewpoint! You can see right through the window into the other room! Why… There’s concrete in that room! And concrete… Is good for making portals! Shoot a portal into that room, grab the box, step through, and you’re home free. Box+Button=Win!
Crazy Emancipation Grill. I think I lost a few teeth going through that time.
Room 10;
[1 Camera]
There’s a lot of flinging in this puzzle, and there’s also… a hidden camera! Can you find it? No? Aww. It’s right there though! Look up. And to the left. Aha! Now, just walking through a portal won’t get you onto the staircase. But, if you employ the force of gravity, there should be enough power to send you through. Shoot a portal on the ground, jump in, and you’ll “fling” yourself to the stairs. It might also work if you get a good head start or jump through.
In the next room, notice the portal on the extended platforms above you. To get over the gap, you’ll need to fling yourself hard… And that’s why the pit is so deep! You’re going to have to shoot a portal while you’re falling. So, look straight down, step off the precipice, and shoot! The blue portal opens up, and you “Fall” forward over the chasm.

One more room. This one has multiple levels. As you walk to the ledge, the panels behind you will extend. There’s an orange portal at the bottom of the pit. If you don’t have funneling turned on, now’s a good time as it might be hard to hit the portal otherwise. When the panels behind you stop, shoot them. Now, jump into the orange portal at the bottom of the pit. You’ll fling out to the second level, and the panels will extend even further. Again, shoot them, and jump into the same orange portal. You will probably come out upside down, DO A BARREL ROLL, and land on your feet. This is because Chell is a cat. Secretly.
Room 11;
[1 Camera]… Keep an eye out for it!
You start in a room overlooking the main chamber. There’s no way into the chamber at the moment, and GLaDOS will let you know that the floor is dangerous. Looking down, you should see a gun that is shooting orange portals onto different surfaces.
Wait, a gun that shoots ORANGE portals? OMG! Why… That’s a whole new game! Don’t get too excited. Just shoot a blue portal on a wall, and wait for a destination that has solid ground to walk on. Every third portal fired will be in a small alcove. Step through. Notice the button on your left. Walk up and press it. The door across the chamber opens, but there is no way to get to it. Not in the three seconds they give you, anyhow. So shoot a portal through that door.
When the orange portals come around again, step through into YIKES! There are Energy Pellets in here! Well, there was a receptor outside, wasn’t there? Yeah. The portal gun only hit three walls because the fourth one had a Receptor. So, Shoot a blue portal at the black mark on the wall. Eventually, the pellet will hit the receptor. You can peek through the portal to check its progress. Once it does, the conveyor will start up. When the orange portal comes around to the conveyor, jump through the blue portal… This is where the good music starts. And you’ll soon see why.
{Left-Click to place a Blue portal} {Right-Click to place an Orange portal}
Grab the Fully Powered Aperture Science Handheld Portal Device. A button podium will rise from the acid. Press it and shoot a blue portal through the door above. Ride the conveyor back across the acid, shoot an orange portal at the wall. Step through. Congrats! Your first orange portal!
Room 12;
There are a lot of shiny steel walls here. The basic idea is the same as room 10 though. Simply place one portal on the outcropped panels, and shoot the other one into the bottom of the pit as you fall.
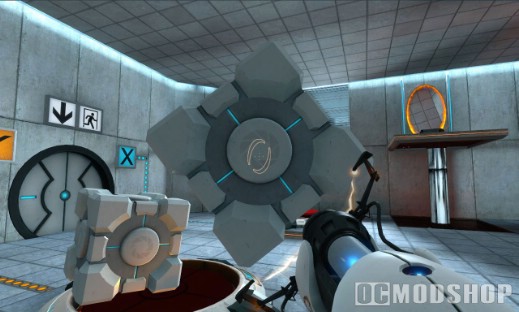
On level 2, there is a higher set of outcropped panels. Jump into the pit here, and it will fling you to level 3. Once there, two things will happen. First, a cube will drop on a higher platform behind you. Second, a panel in front of you will extend, and angle itself upwards. I’m sure you can guess what you need to do. That’s right. Put a portal on the angled panel, and jump into the pit again. Now you can grab a box from the fourth platform, jump down to the third, and put that box on the button.
Jump down into the pit again (without any new portals) to get back up to the platform where you got the box. GLaDOS will malfunction? But now you can leave the level.
[NOTE: The next six puzzles have many different ways to win. Here, I will give the most accepted (and probably lengthiest) solutions for each puzzle.)
Room 13;
[3 Cameras]
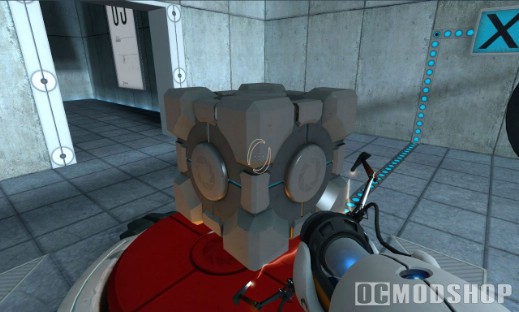
Enter the room, and notice a camera on the wall to your left. There is also a box on a grating. Though you can technically jump off the button to grab the box, that is difficult to do, and takes many tries. So place a portal above the grating, and one where you can get to it. Grab the box, jump down, and put the box on the button. The door above will open. Shoot a portal through the door, grab the cube, and go through the portal. Make sure to get the camera here.
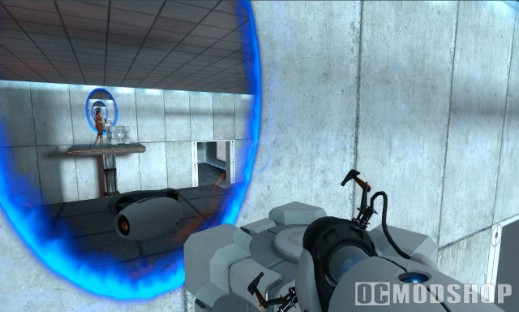
In this room, there are two button platforms. One high near the wall, and one low away from the wall. There is also an energy pellet emitter and receptor, and a box on an unpowered conveyor. To power the conveyor, shoot a portal at the black mark, and another portal at the orange glow on the ceiling. Now, fire a portal off to the concrete area on the ceiling above the conveyor, and one portal on a wall that you can reach to step through. Grab the box from the conveyor, and jump off. Now, place one portal above a button, and drop a box on top of it. Place a portal above the other button, and drop a box onto that one as well. The door will then open and you can go through to find another camera!
That’s it for level 13… for now!
Room 14;
Nowadays, I always breeze through room 14 using the two-portal technique. But I’ll give you a break and describe it the right way. First, walk down the hall. Turn left. Stairs will rise here leading you to… a Receptor? There’s no emitter in sight! Hmm… Oh, hey, there’s also a box up here! Grab that sucker.
What? You can’t reach it? No sweat. Place a portal on the floor next to it. Now, where can we build up some velocity. Let’s backtrack… Hey, the stairs are gone! This is perfect! Shoot the other portal at the bottom of this pit. Drop into it, and you’ll find you fling yourself upwards fast enough to get yourself on top of the box’s pedestal. Grab the box, and jump down. And jump down the stairs. Now head for the button. Hmm… That didn’t bring the lift down, but it did open a door. Lets go through there.
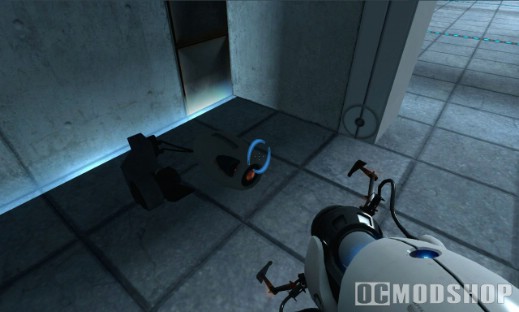
Hmm, there are some lifts inside some acid? But why bother. Put a portal at the end of the room, and send yourself through. Now here’s something interesting. The Energy Pellet Emitter! Put a portal somewhere where you’re not going to be hit by the Energy Pellet. Then put the other portal on the black mark. Keep track of which is which, because you don’t want to come back here.
Now, if you want to skip the acid again, you’ll have to go through the portal, so be aware of the energy pellet at all times. Once you get back to the main room, put the correct portal on the glowy orange part of the ceiling, and the lift will descend. You’re home free!
Room 15;
[5 Cameras]
I don’t know why they say there are only 20 tests here. Some of these are multi-layered. And some are multiple choice! So in this room;
Put a portal on the outcropped panel above you. Shoot the camera off the wall. (It’s in the hallway.) Put a portal near the middle of the checkerboard pattern on the floor, and fall through. You should fall through it twice, and fling yourself through the large fizzler. Once you’re past that, shoot the camera from the upper right off of the wall.
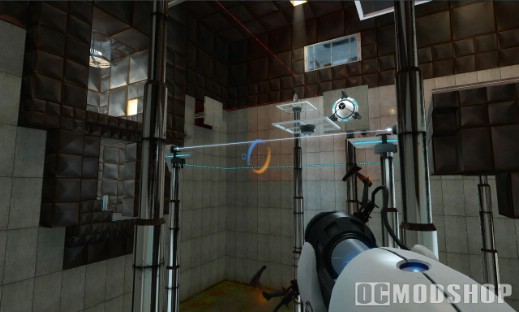
The next room requires speed and timing. There are two large fizzlers (these erase your portals, btw…) and an emitter as well as a receptor. How you do this one; First off, leave the camera on the wall, as it helps you to tell which panels are on which sides. Now, before stepping through a fizzler at all, shoot a portal at the black mark, and another one on the panels to the other side of the camera. The energy pellet should travel through. Run through the fizzler by the receptor, and place a portal on the wall where the pellet leaves a black mark. Place the other one on the orange glowy part on the ceiling. Once the pellet hits the receptor, the lift will descend. Take a moment to shoot the camera off the wall, then step aboard the lift, and go up into the next room.
This one’s tricky. You know a portal goes on the outcropped cement, but you can’t reach the checkerboard pattern on your good graces alone. So step into the room to your left, shoot the camera off the wall, and jump into the pit. Shoot the ground before you hit it, and you’ll fling out of the portal with enough force to reach the checkerboard. Shoot *another* portal at the checkerboard and you’ll fling out with enough force to clear the fizzler.
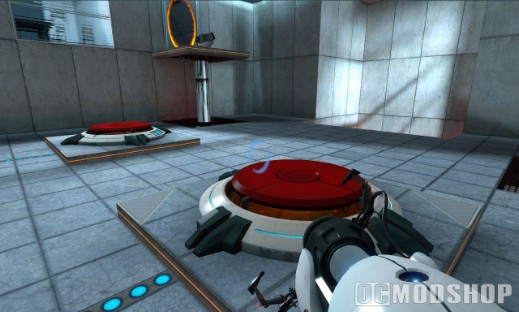
On this side of the fizzler, you have an outcropped panel and a checkerboard that’s easy to reach. You need to be on the other side, so do the fling thing and get over there. This side of the room is symmetrical. Where the flat part of the wall has a black mark, put one portal. Put the other portal on the opposite side, and the Energy Pellet should bounce off of one angled panel, go through the portal, bounce off the other angled panel, and go straight to the Receptor.
Do the fling thing again, to get yourself back over the wall, and then go right… WHOA BOY HOWDY! Something’s not right with this tunnel! I’m not sure the folks at Aperture Science Inc like you very much. Anyway, here is a good place to test your portalling skill. Place one portal near the end of the hallway, by the arrow sign. Place another on the wall next to you. Step halfway through the portal and look for a conveyor. When one comes along, step out onto it, and place a portal at the end of THAT hallway. You have two options here; You can be impatient like me, and try to jump back through the portal you were standing in, but that’s risky if there’s no conveyor there. You could do the other impatient thing, and keep placing the other portal along the wall until the conveyor you’re waiting for actually shows up, or you can do the smart (but patient) thing, and ride the conveyor all the way back to the end of the tunnel where you put your first portal on the wall. Whatever you do, keep doing this until you can portal yourself into the final room of this level.
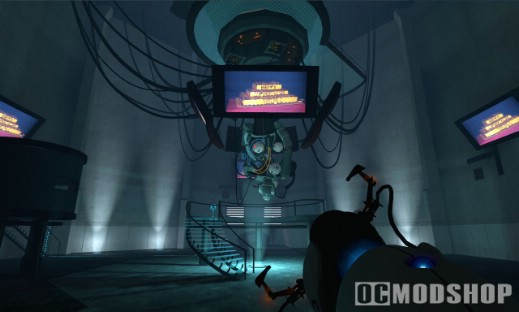
For the final room; The Receptor here is behind two doors. You need to redirect an Energy Pellet, and then open both doors in order to activate the lift. The easiest way to do this is with portals. So portal yourself up into one of the rooms on the side. (…or take the lift. Spoil sport!) Each of these rooms has a button podium, which opens one of the doors. From up here, first place a portal on the black mark on the floor, and then one on the outcropped ledge.
Watch out, here, because if you don’t place these portals right, the Pellet might ricochet off the Emitter, and then you might be in trouble when the Pellet comes after you! So when you have those portals placed right, do the following; Wait until the Pellet travels down through the portal. Place a portal in the far button podium chamber. Place a portal in your podium chamber. Hit your podium button. Step through the portal. Hit the other podium button.
If you timed it right, the Receptor should activate, and the lift to the exit should come down! Congrats! Oh, and don’t forget the camera right above the entrance to this room!
