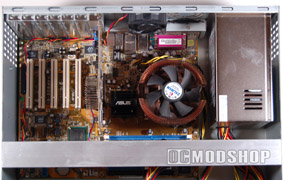
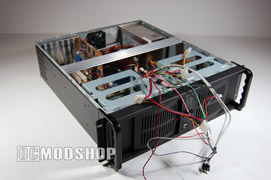
The case is rather easy to get into. The top of the case is secured with two black screws on the left and right sides, and one thumbscrew in the back. We removed the side screws so that we can easily get into the case with the one large back thumbscrew. After the screws are removed, the top slides off easily.
The D-300 has lots of room for installation. We were pleased to see this case has a removable motherboard tray, which we unscrewed for mounting. After the appropriate stand-off screw mounts were installed we realized that the motherboard tray must be attached to the case via screws, which would be under the installed motherboard. This renders the “removable motherboard tray” feature useless, as the tray must be screwed to the case before mounting said motherboard. Installation of the motherboard still wasn’t that bad, as there is plenty of room in this case.
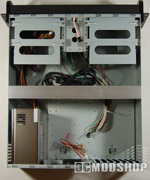
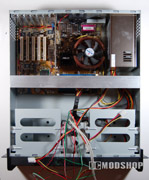
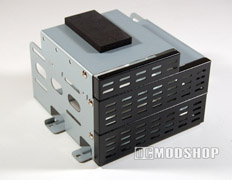
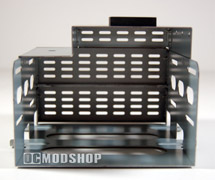
The drives were installed next. There are two identical drive cages, each with 2x 5.25” bays on the top and 1x 3.5” bay on the bottom. A bit of black foam is glued underneath the 3.5” bay to support and cushion the drive cage. Each drive cage is attached from the top using four thumbscrews, which are easily removed. For our server layout, we decided the drives should be installed in the left cage, and our DVD and floppy drive should be installed in the right cage.
The drive cages offer no hot-swap capability and no drive clip-rails were included. Each drive must be installed in the traditional manner, with screws. We decided to take advantage of the extra room afforded by this case and install our hard drives in the 5.25” bays. This requires an extra mounting adapter kit, but the extra airflow around the drive makes the extra effort pay off.
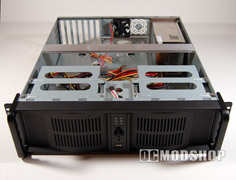
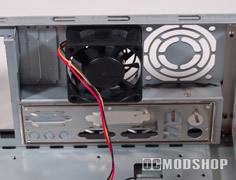
The right drive cage holds our optical and floppy drives, which require that the bay covers for these drives be removed. The steel drive bay covers are painted black, and are installed with screws. It was a pain to remove the covers, but there was no way they were going to be damaged, chipped, or otherwise come to the same fate as cheap plastic bay covers. Our DVD drive was installed in the top-most drive bay, and floppy in the lower-most 3.5” drive bay, using standard case screws.
After all drives were mounted in the drive cages, we placed them back into the server, aligned the cage holes with the chassis’ mounting pegs and screwed the cages back into position.
The power supply’s cables were long enough to reach all the components easily, and have enough slack to route and tuck them out of the way properly. There is also a little room between the power supply and the case to tuck away unused power connectors.