
DHCP server configuration
This screen lets you specify if you want to enable DHCP. DHCP lets your firewall automatically assign dynamic IP addresses to comptuers on your Green network (each computer on the Orange network must have a static IP address). Be sure that if you enable DHCP, that you disable it on any existing router appliances… I use an old router as my wireless access point, so I turned off DHCP on that device so that it’s not fighting with my firewall.
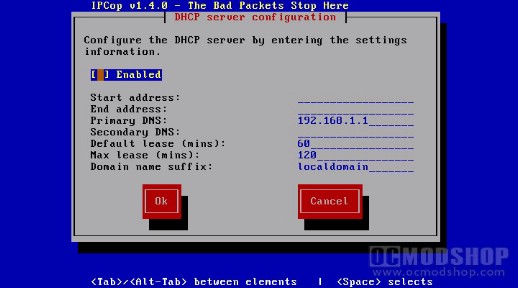
To enable, press the Space bar in the “[ ] Enabled” check box. You can then specify which address range you want to use. If you ever have any devices like an NAS or VOIP modem, then you’ll probably want these on a static IP address on your green network, so give yourself some breathing room. Have the Start Address as “192.168.1.50” and end address as “192.168.1.200”. That way you have 150 available dynamic IP addresses, which is more than enough for even a huge LAN party. You now have 47 static IP addresses available (remember that the firewall is using one of them). You can now assign any static devices to use 192.168.1.2 to 192.168.1.49. Just remember to keep track of the IP addresses you use and write them down so there isn’t a network conflict.
Most people will never need a static device on their Green network, however, so if this confuses you, just don’t worry about it.
Password screens
You are now asked for a password on several different accounts. For security purposes, you should use a different password for each of these screens, but honestly most people use the same password for all of them. Each password should be very strong… meaning that it is at least 8 characters long, contains several numbers and at least one special character. Do NOT use a word that can be looked up in a dictionary. A password phrase might even be a good idea, such as “OC-ModShop1sT3hB3st” or something like that.
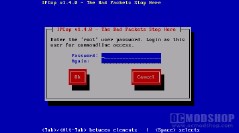
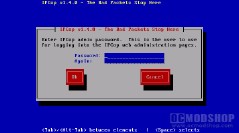
Enter your password in the “Password” and “Again” screen for the “root”, IPcop admin” and “backup” accounts.
Now we need to determine which physical network jacks ports have been assigned each address range. They should be configured in order, but you can’t truly be sure until you do some testing. Once you login to the admin console, you can actually see which MAC address has been assigned to which network, and then you can difinitively mark each network card… but we have to be able to login to the admin console first. Connect up ONE network plug to the first network jack on the router, and try to ping 192.168.1.1, and you should get a response. If not, then try each consecutive port until you get a reply. Once you get a reply, mark this as the GREEN interface. I use white paper labels, and just stick them over the network port, although if you have color-coded stickers, you can do that, too.
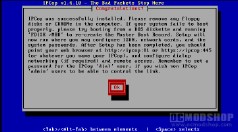
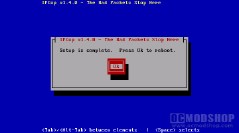
Do this for each seperate network, and use a computer on that seperate segment. In our example, we have a Red + Green + orange network, and we’ve already determined which one is green (internal). Now go to one of your web servers, and see if you can ping 192.168.15.1. If you can, then mark this as the orange network. The only network port that’s left is the Red (internet), so mark that and plug in your internet connection.
You should then instantly be able to get online. Try pointing your browser to http://www.ocmodshop.com for the latest technology news, or try http://www.ocmodshop.com for the latest ramblings, discoveries, and general nerdiness that is the OCMS staff. I guess you could try one of those lesser sites, like msn.com or google or something.
If you can’t get online, well, then you’ll have to login to the firewall to determine what the problem is, anyway, which is where we’re going next.
Now it’s time to configure your firewall, which is done through a browser on the GREEN network. You will not be able to configure your firewall from the orange or red network (not at this point at least). Point your browser to http://192.168.1.1:81 (by default IPcop’s admin console is on port 81).
Now we’ll look at the IPcop web interface and explain what everything does.

5 comments
Yes, parts 5 through 8 have been planned. They will discuss some of the extra options of IPcop.
There will be a part 5 explaining all the features and options of ipcop? Also I think it will be awesome a comparative review between the main firewall os out there like ipcop, ipfire, ipsense, monowall, smoothwall and so on
Thanks for the great work!
Great! I'm looking foward for it! Great job!
Has part 5-8 been released yet, i haven't been able to find it
thanks for the review! love it
are you going to include ideco in your next comparative review? seems like a decent firewall
Comments are closed.