

Achievements:Mission 10 cleared (20)
“Blizzard” Explorer (20)
First things first, grab you Granseed, and move over to the edge of the cliff.
Now just blow everything up. There are some Zebets on the tunnel, so get the. A Godona and a few Neegals. Once clear, move to the street, and head down to the underground tunnel for a Hardballer.
Drop into the tunnel and in this room you’ll encounter a Gorechryatis. There should be a VS weapon or two lying around, picking up the shotgun will finish this fight fast.
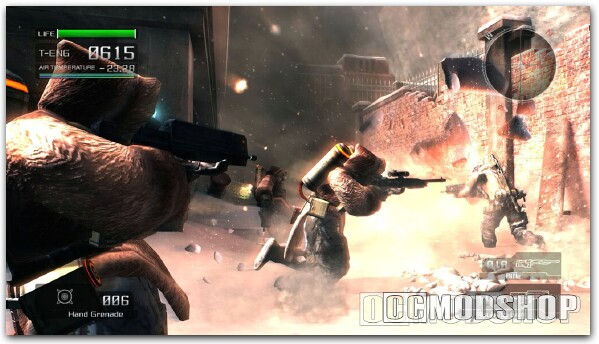
Watch for a few Raibees too as you’ll have to get out and activate the Data Post near the trailer. Collect some ammo, maybe switch to the second Hardballer. When your ready move down the next hole. Ready up for a huge battle. Activate the Data Post, and move ahead.
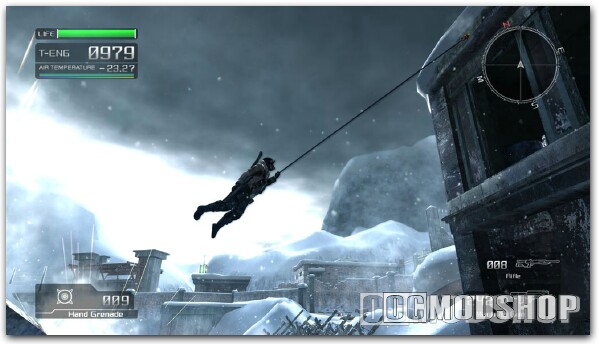
Battle the Saizarod:
The largest Akrid in existence. You’ll have to fight this battle in small stages. First shoot the glowing thorn-shaped hooks, “feelers”.
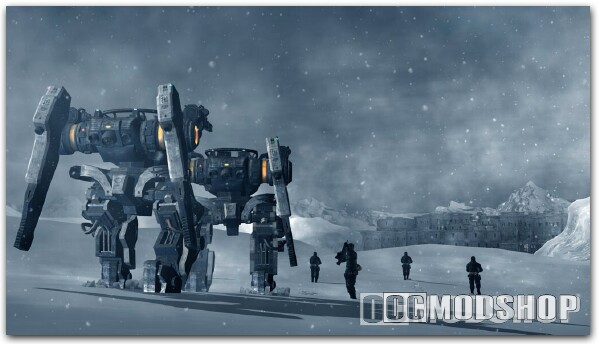
When the Saizarod pulls back into its cave, you’ll have to follow on foot, pull out the best weapon you have and drop in after it, and give it a shot to the exposed spores. When another one grows back, it’s time to move back to the VS.
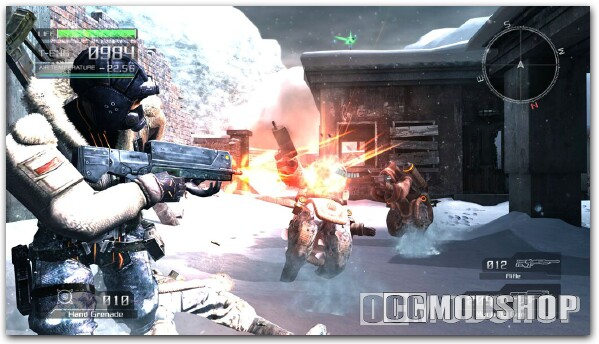
You’ll continue like this until the probing feelers are successfully removed. Which is twice for each feeler.
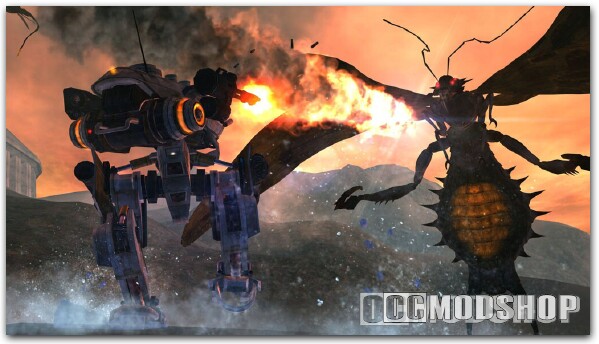
The next part you’ll want to spend a lot of time hovering, to evade the various lava attacks the Saizarod will use on you. There will be a few Trilid and Parajellon flying about, but they’ll be taken out in the crossfire, focus on the Saizarods mouth, every time it opens and a giant tongue-like tentacle extends out. This will be the new weak spot to hit. Charge up the Laser Rifle, and give that a direct hit. The Rocket Launcher of course will work just as well, and better if you have both of these mounted on the same VS.
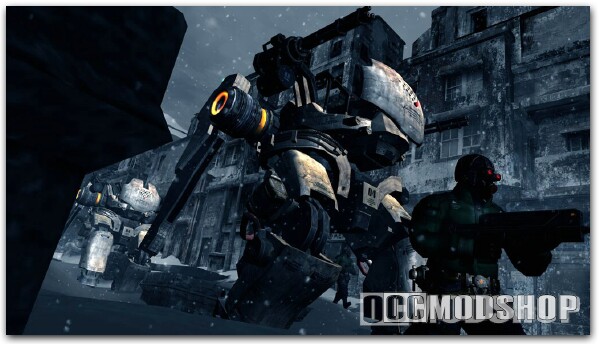
If you get close the Saizarod will spew a stream of lava at you, and this attack will inflict the most damage next to lava bombs it will fire from its mouth. A warning to this latter attack is a gas resonating from the Saizarods mouth.
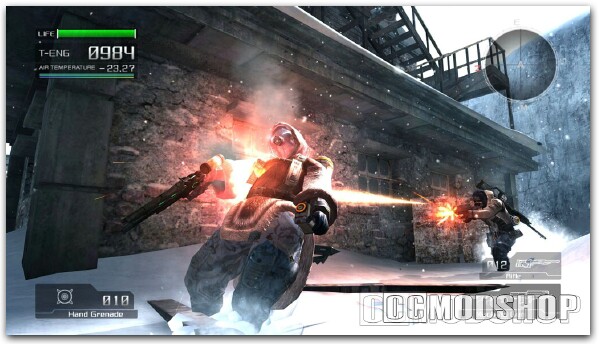
Once the Saizarod falls, you’ll continue the level through the door to its back. Activate the Data Post ahead, and move into the facility. There is another Gorchryatis and more NEVEC soldiers in this hanger.
There are 3 other Data Posts you can activate in this room, on the left side. In the room, you’ll encounter Trilid, NEVEC soldiers, enemy VS, and Genessa. It’s a great time to build up a lotttt of T-Eng, so you may want to take advantage of it before heading out.
Once you’ve turned on the Data Posts, head through the gate to the next hanger. I suggest using a Hardballer when you go into the next room. There will be several vital suits lying around, which you can use at your leisure.
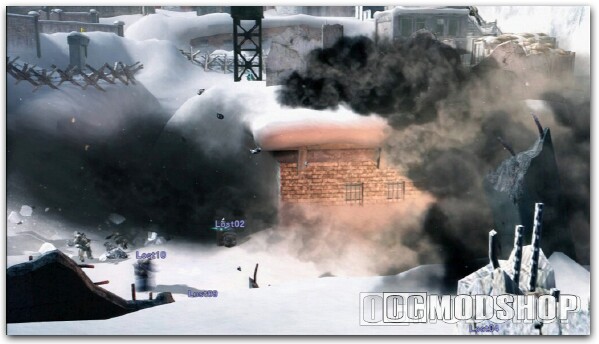
Take out the two enemy VS’s that will jump you as you enter this base. The parking garage for the VS’s makes good cover and you can switch up VS’s if you don’t want the Hardballer to sustain a lot of damage. There is one Hardballer you should switch to before heading to the elevator. On the left side of the facility. Grab it and move ahead.
Battle Bandero’s Heavy Ivan:
Grab an EM Laser upon enter the room (to your left). Bandero will use 3 different attack methods.
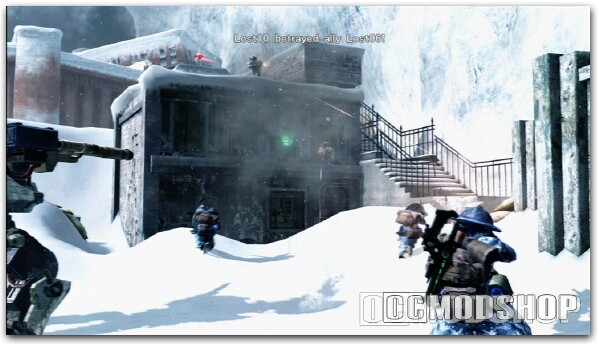
The missiles are nothing to worry a lot about. You can dodge them or blow them up as they come after you. The columns in the facility will offer you plenty of protection. When Bandero’s arms extand he’ll try to grab you and give you a powerful electric shock.
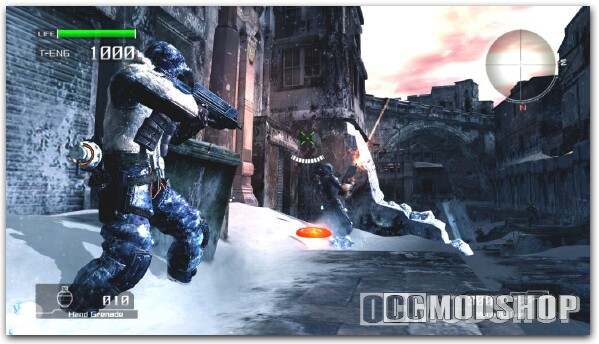
If you travel as he begins the attack, reverse dash, and fire while doing so, he’ll be standing in one spot, make a nice target. One good thing about this battle is how easy it is to recognize Bandero’s attacks. Bandero will also charge up the Heavy Icans sword, and lunge at you, in an impaling attempt. Avoid this as it will inflict incrediable damage.
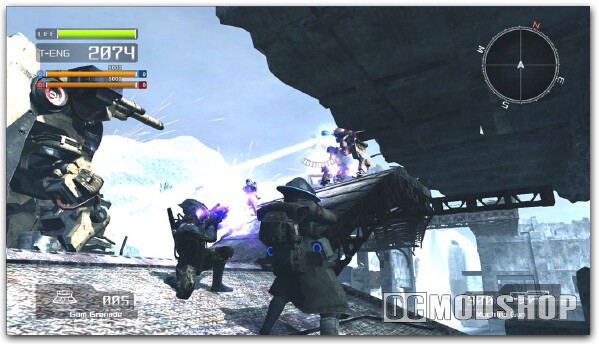
A quick dash should do the trick, and one better you can swing yourself around him, and get in a few good shots on his back. When you run out of Rocket Launcher ammo, use the shotgun. The shotgun is one weapon that will cleanly break through the Ivan’s shielding ability.
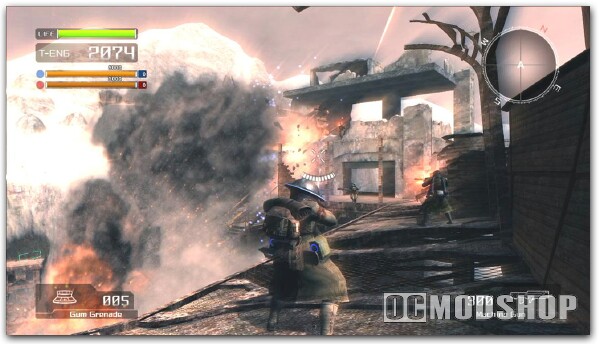
Target Marks: Target spells “Blizzard”
-B- On the road were it’s illuminated by a light look for metal leaning against the wall. “B” is behind the metal
-L- In the area leading to the NEVEC base. Behind a rock in the north-east corner.
-I- In the area with the Gorchryatis blast away the storage bin. “I” is behind them near the Hardballer.
-D- Resting atop a ledge near the “white” building in the area with the Gorchryatis.
-Z- Next to the 4 creates with a Data Post on it in the 1st hanger after Saizarod.
-Z- To the right of the hanger door, across the caution strip.
-R- Look South, “R” is inside the red transport container with a Hardballer inside.


