

Achievements:Mission 11 cleared (30)
“Stardust” explorer (30)
This level is one of the quickest and straightest shoots you’ll venture. (well… until the boss). When you move into the shaft, you’ll encounter several NEVEC VS, and Cyclops’s. However the Yuri is far superior to anything you encounter at this point. While taking out these last NEVEC VS’ keep flying up the shaft, and to the last battle.
Battle Dennis Isengard and the Billion Sword:
When you are outside about to battle this mega-VS, it’s best to put your attention on the elevator for a second, and you’ll see the rotating rings with yellow orbs; shoot the orbs so as the Billon Sword will take on less power. (It helps a little).
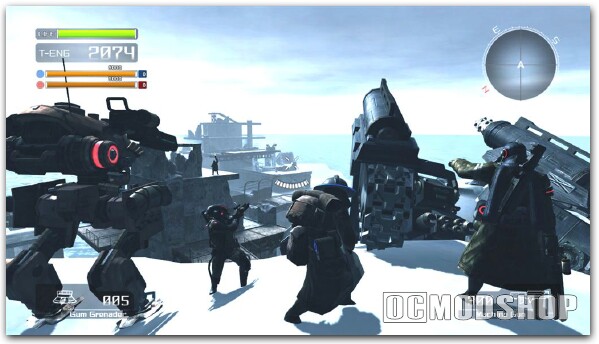 Learn the attacks carefully. During the entire battle you want to be firing the Vulcan Laser, or the EMF blades projectile attack. When the Billion Sword fires the missiles, they are slow so you can dodge them, or shoot them. When it fires a pulsing plasma rounds, these are likewise easy to avoid, simply drift in the same direction as the Billion Sword. When the Billion sword attacks with its Plasma guns, sweeping both vertically and horizontally, you want to back away as far as you can, just outside of their range.
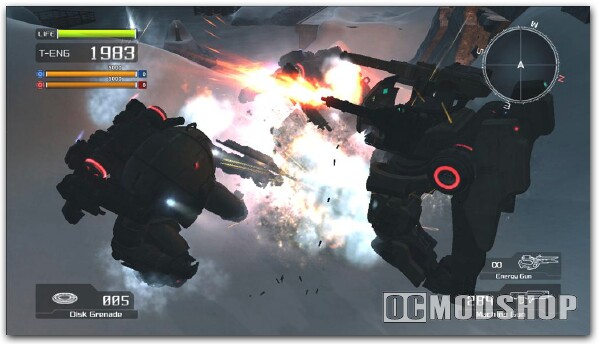
A warning to this attack is a chest high salute of the Billion Swords cannon-like arm. You can break down the Billion Sword piece by piece with the EMF shots, and Vulcan Laser, however if you want to move in for a horizontal swing, the best time is when the it fires several homing lasers. You’ll need to stand still or move backwards as they come at you, wait for them, and then dodge.
Moving as fast as you can, you should be able to give the Billion Sword one good swing. I suggest the Horizontal blade it will allow you pass by the Isenberg easier.
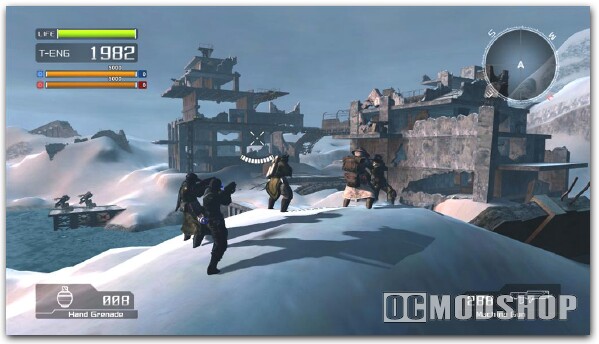 Once the Billion Sword becomes weak it will spin with two extended plasma swords. Keep your distance return to shooting at such a range until they drop. Once they do, you can move in for another swing.
Target Marks: Target spells “Stardust”
-A- When entering the tunnel to the shaft, turn and face the doorway.
-S- When you enter the shaft look at the floor in the center of the room.
-T- While standing on the floor after grabbing S, look under the landing platform from the tunnel you just came out of.
-R- Near the NEVEC logo, under the first ring resting on a platform, while flying up to the next landing.
-D- After getting “R”, “D” is on the next level of the same ring, racing the wall which slants to you.
-U- On a landing like “R” beneath the second ring.
-T- Halfway up the 3rd section of the shaft, hidden against the triangle designed walls. Looking west.
-S- Looking East, this target mark is in the same section as T, about 2 triangles lower.


