

Achievements: – Mission 03 cleared (10)
Worm Hunter (50)
“Mirage” explorer (10)
There are Genessa and Trilid to your left and right, take them out and then activate the Data Post ahead. If you look for the hidden weapon nearby, you can pick up some useful Disk Grenades.
Once you step onto the snow fields, and Undeep will destroy any VS you are operating. So grab some big gun and move out on foot. Look near the Domes for two buried Rocket Launcher. Up near the barricade before the snow fields is a hidden 3rd.

Grab all the ammo from these if you want to get the Worm Hunter medal from taking down the Undeep. Now if you keep close to the edge of the fields, and just run, run and dodge the Undeep, you’ll be able to get across without a battle. If you want some fun, or a medal, walk through, and fight the giant worm then.
-To fight Undeep, you need to blow up each of the 12 thermal spores on its body. There are 6 on the head end, and 6 on the tail end; 3 on each side of each end. If you picked up all the rockets, you should be able to hit these a bit easier, and quicker. Shoot the Undeep just to get its attention first. Don’t move in if it attacks, or tries to swallow you, wait for it to pull back.
Use this time to run in close, and at an angle to avoid its bite. While running in you can blast away at the yellow spores. Or throw a Disk Grenade at them to remove them faster.
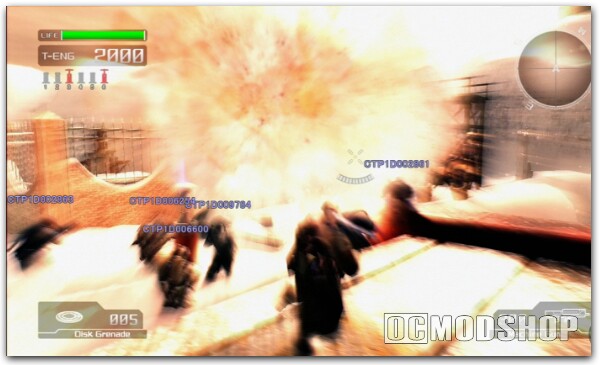
Keep up with this same strategy until you need to take out the spores on the tail end. When you see the tail, sprint away from the bomb-like pellets, it will shoot at you and wait for the tail to stop swinging as much, as it begins to slow its motion you can hit the spores much easier.
Remember you must complete the level to unlock the achievement* Sometimes you’ll get the kill while only taking out a portion of the spores. The field is filled with Undeep, so after killing one, another will appear with full spores, pay not attention to it.
Move on the eastern side of the fields, stay close to the border on your right side, so as to hit each Data Post. Once up to the factory, activate the Data Post and head in. After moving in to check out the interesting new VS’s, a new enemy will jump you.
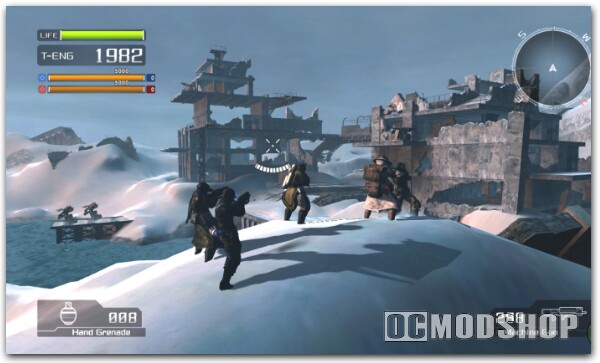
Battle the Firecracker:
A powerful VS, the Firecracker will emit a cloud of smoke to damage your visibility of the battle. Mounted with a Gatlin Gun, Missiles, and a Plasma Laser you’ll need to play your cards right to get through this. Jump in the Drio and ready up. You can hover to avoid the Plasma Laser’s sweeping attack. Use your Sliding-Dash to avoid the Missiles. And just try not to take much damage from the Gatlin Gun; it’s embarrassing. To help limit the Firecrackers mobility, stay inside the factory. Just avoid the Plasma Laser as much as you can, there are several weapons you can attach within the factory. If you can keep your distance the Rocket launcher should prove useful. Over that I suggest Gatlin Guns, Shotgun, or Laser Rifle.

Target Marks: Target spells “Mirage”
-I- Near the beginning of the level to the left is a small dome like building and Genessa. On top of the structures block extension is “I”
-R- once through the barricade, turn left, and “R” is halfway upon the barricades outer side.
-A- Heading straight from “R” alongside the barricade to the cliffs, turn right, and travel alongside the cliff until you come upon “A”
-E- Moving from the barricade exit, to the right, and up to the first two Data Posts, “E” is sitting right next to the second post.
-M- On the same path from “E” move up the next Data Post. “M” is just behind the structure the Data Post rests on.
-G- Is on top of the pip emitting from the factory at the end of the fields. A challenging hit, but moving around the bard-wire fences should give you a good view of it.


