

Achievements: – Mission 04 cleared (10)
“Meteor” Explorer (10)
You’ll need to take out the Genessa and Sepia that infest this region. Clear the location, watch out for the Dongo, and then look to the skies for a fight with the Windega. Focus on the Genessa and Sepia first. Go after the Dongo, but ignore the Windega until you have the Dongo beat, and activate the Data Post. (Just be careful of the Windega’s bombardments. (You can try to get “Moth Hunter” For killing the Windega at this point, but it’s very difficult, you’ll have another opportunity in the game.)
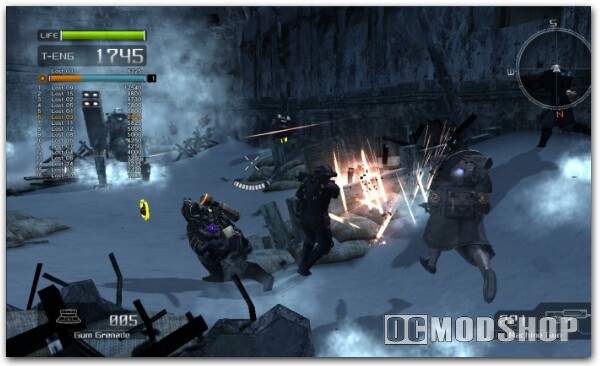
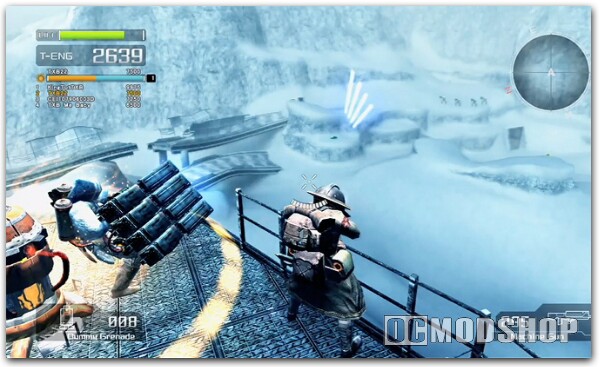
Just beyond the hole you’ll need to drop into is a buried rocket launcher, in the small mountain inset. You may fancy it. But I suggest only using it to shoot from the mouth of the hole, rather than dropping in with it.
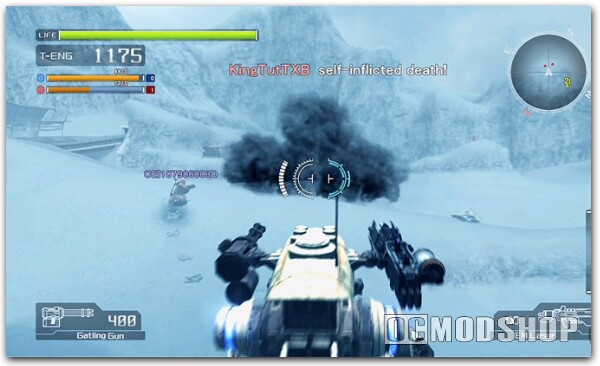 Welcome to an NEVEC base. Just shoot fish in a barrel, keep yourself suspended until you clear out all Genessa and Sepia. (Remember shoot fuel tanks whenever possible to gather more T-Eng, or destroy large swarms of Akrid such as these.) Exit into the hall and continue. Up ahead you’ll encounter “Mountain Pirates”. Grab the nearest VS shoot anything that moves. Other VS will appear from the firefight you are having with Mountain Pirates. You can wipe it out, or shoot the pilot if wait for it. You’ll encounter a few more, but nothing you can’t handle with your strong arsenal. Now take out the Dongos which rolled in. After you’ve made you stand, activated the Data Post, move through the exit. Lower yourself on the side of the cliff, and be careful of Mountain Pirates, Genessa, Trilid, and most of all the pestering Jellon which will float around the cliffs edge. If they get close, they’ll explode and inflict some surprising damage. Just try to blast a few from a distance.
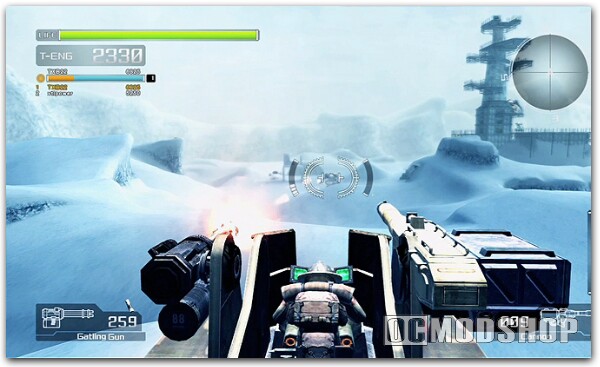
After you move through the clearing and off the cliff, you’ll find yourself inside another building with a Faze waiting for your use. Use the VS’s Double Jump capabilities to climb the tower, landing by landing. Just try to blast the Jellon and Trilid in the area to keep from taking heavy damage. Although a quick run can get you through rather safe. Once up and out of the tower move to the Data Post.
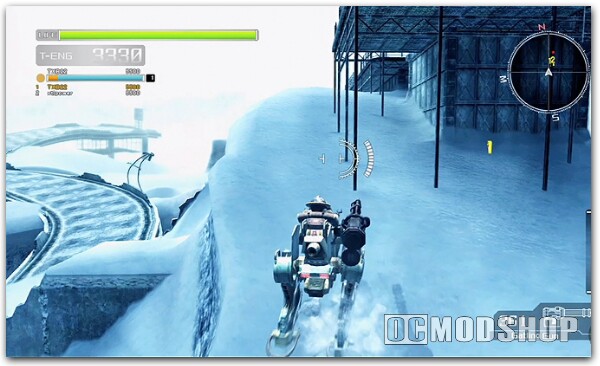
Dig up this new Faze you’ll find near the Data Post, as it will have a Missile Launcher mounted on. Just be sure to dig up the Laser Rifle beyond the Data Post and switch that with the Gatlin Gun. When you’re done all that’s needed up here, scale the rocks and up the Mountain.
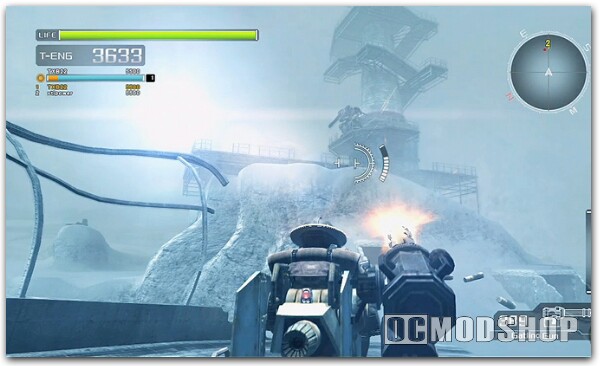
Battle the Raibeon:
Do not confuse the Raibeon with the Windega. You will not unlock the “Moth Hunter” achievement for this battle. Small Raibee will protect the Raibeon in the beginning of the battle, so you’ll have to kill them first. Use the Fazes jump capabilities to avoid the Raibeon’s attack of stinger like projectiles. Side-step the Raibeons bombing attacks, or shoot them as they fly at you and they’ll explode en route. When you see it fly off into the distance be ready to leap and avoid the deadly stinger it will try and impale you with. Make sure you have that Laser Rifle charged, between attacks the Raibeon will pause for a few seconds. Just long enough for you to get it with the Laser Rifle and Missiles as well.
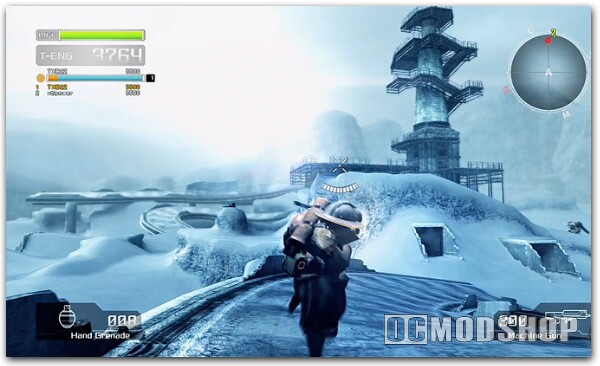
Target Marks: Target spells “Meteor”
-E- After the hole you drop into in the first section, move to the end of the gorge, and “E” is right ahead of you.
-O- After killing all the Akrid in the dome shaped room and heading out, look to the hallway on your left, and “O” is sitting at the end.
-R- Once in the large factory, and finished killing everything, look to the corner with the two large tanks. Look at that wall and follow it to your left until you see a few crates. “R” is behind the crates.
-M- On a snow peak near the cave, you’ll see “M” not far from the cliff.
-T- Under the top platform of the tower, you’ll just make it out high to the right of the two giant cylinders.
-E- After the tower, stand at the cliffs edge just after the Data Post, you’ll see “E” on the edge of the cliff.


