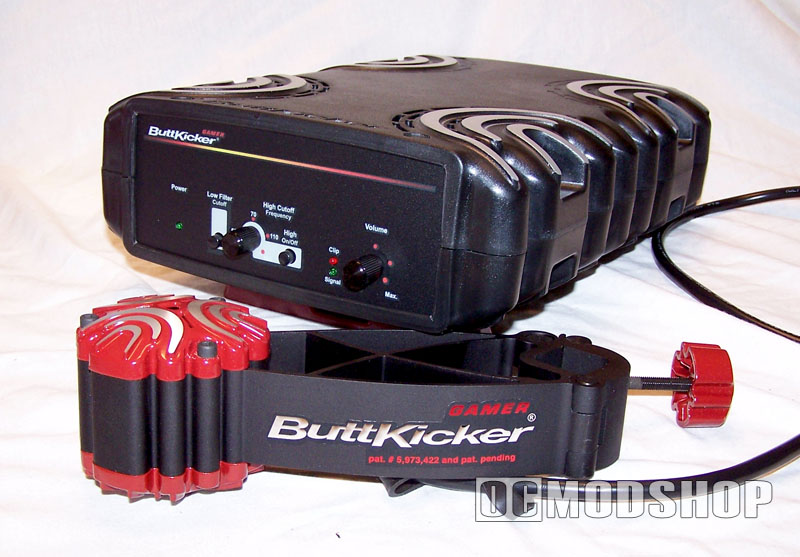
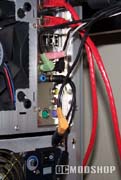
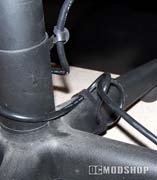
Installation is very easy when the “Quick Installation” instructions are followed. One word of caution: know which cables you are using and isolate the unused ones. All the hookups are easy and fairly simple to find. Just ensure your connections are secure before powering up. If you do happen to purchase one of these the trouble shooting, and FAQ section on the ButtKicker website is organized and easy to use. As you can see in my install pics my configuration uses the Y-cable to come out of the computer, route to my 5.1 speadkers, and then to the ButtKicker. Basically attach the bass unit to the chair, connect the cables and go. There are also instructions to install this on your console game system.
  |
Operation
The operation of the ButtKicker Gamer is fairly simple, but requires tuning to eliminate feedback and rattling. To tune the Gamer you will first need a movie or music with good hard bass. First start by setting the Low filter cutoff (you will want this off when watching movies). Then, using the high cutoff adjustment knob and the button to turn it on. I set my high cutoff to 110 for music listening, and just above 70 when gaming, but your preferences may be different. The whole tuning process can take up to an hour or more, and can be frustrating. While tuning if your chair lever starts to rattle, use some hobby foam rubber or cardboard.
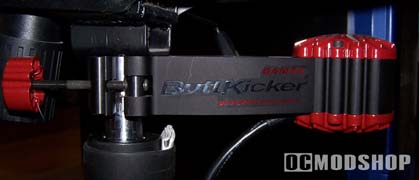
Once the unit was tuned the way I liked it I decided to test the bass with some Battlefield 2. Holy SMOKES this thing just broadens the gaming experience. You can feel the tank fire, the grenades, and if you have it set right you can feel the chopper… The ButtKicker is sweet! DVD movie effects are just like in a good theater, and responds to the wide dynamics of the LFE track.