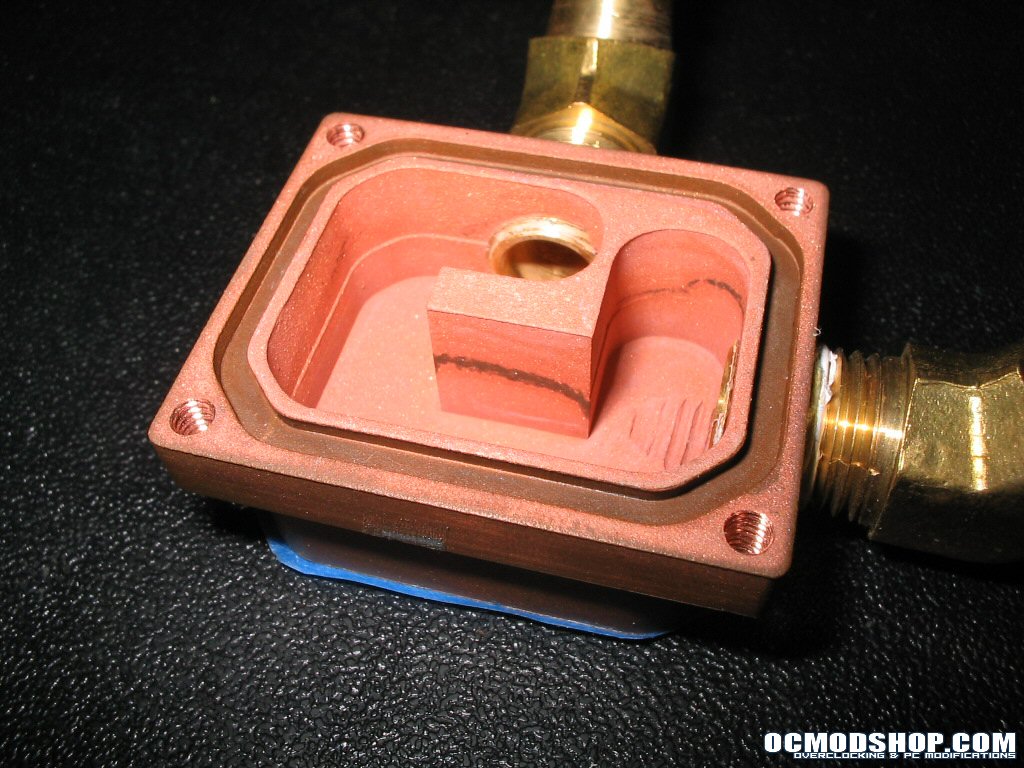
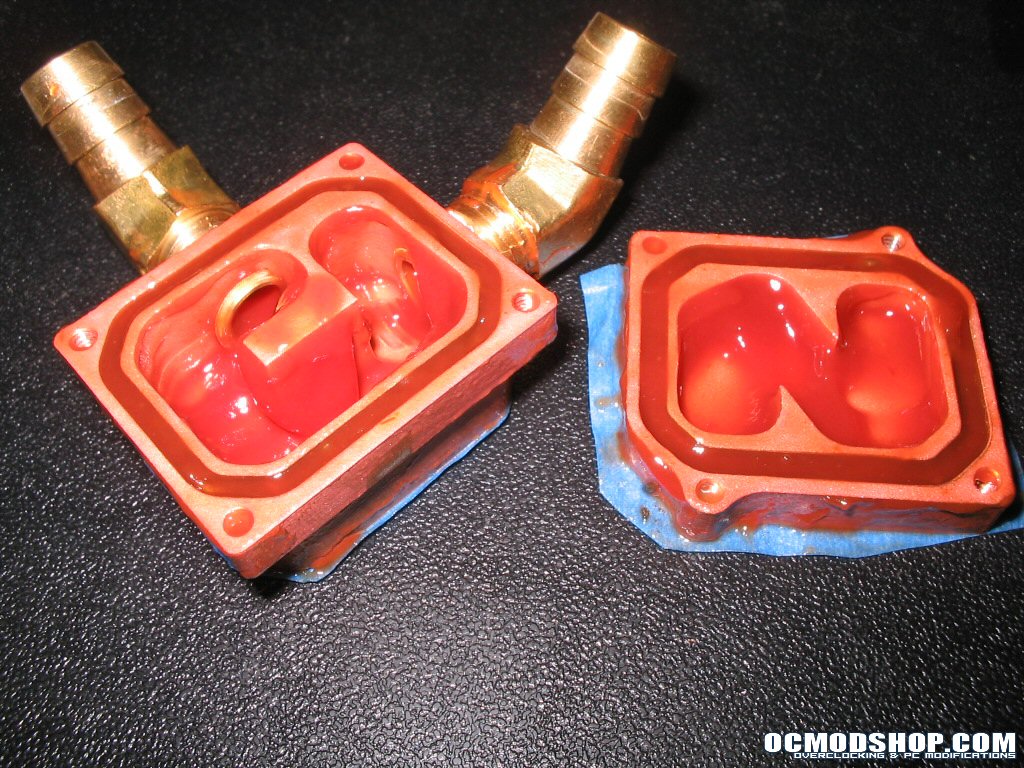
Once the blocks are fully disassembled, we can move on to cleaning. For copper blocks it is important when cleaning to use an acidic cleaning agent. This will eat away at any residues and oxidation, leaving only bare copper, just like how you bought it. There are many copper cleaners on the market, but personally I like to use something that’s a little more readily available, plain old garden variety tomato Ketchup. Ketchup has vinegar which is acidic and salt which is abrasive for scrubbing. This is a good thing to remember too if you own copper pots and pans. Ketchup is much cheaper than copper cleaner.
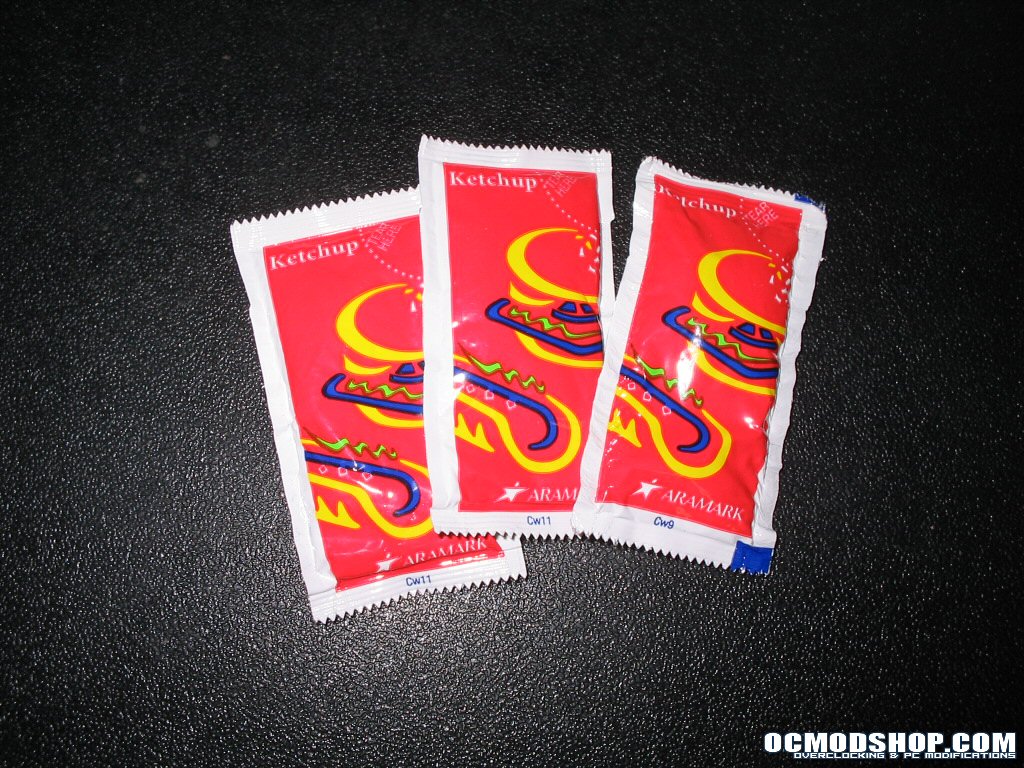
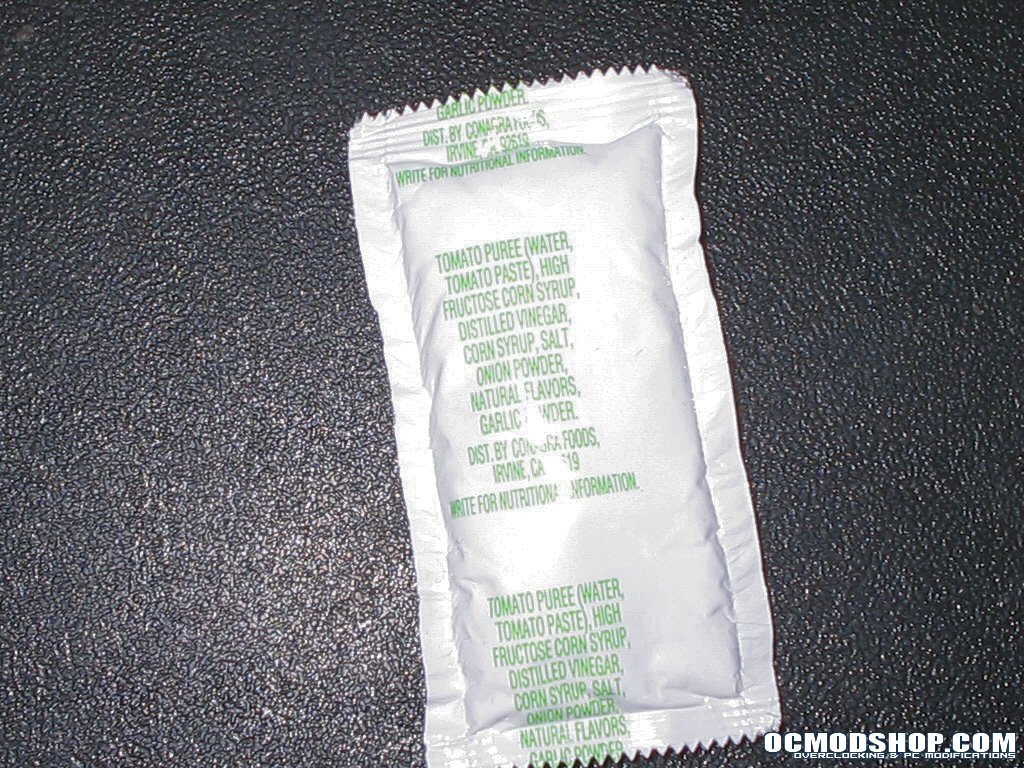
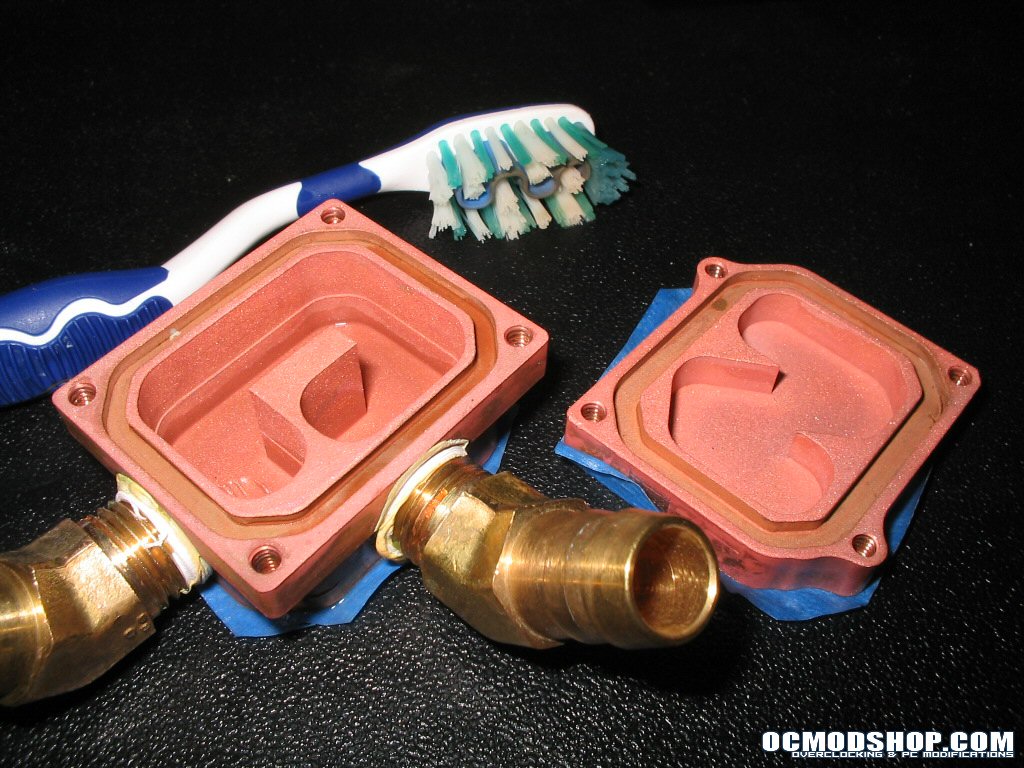
So to clean your blocks, spread the Ketchup over the interior of your block. If you have highly corroded areas (black or brown in color), scrub them vigorously for several minutes with your finger. Sometimes you may find dark fingerprints on the outside of your block, spread a thin layer over those too. After spreading and scrubbing, leave a layer of Ketchup on the block for 25-35 minutes. This will give the vinegar time to work. Once the Ketchup has done its thing, you can rinse the blocks off with hot water. Take your finger or a brush with plastic bristles (like an old toothbrush) and scrub off any residue or corrosion left behind from the rinse. The vinegar in the Ketchup should have loosened it from the surface enough that it should come off easily. If not, then repeat the process and let the Ketchup set for an hour or more. Just don’t let it dry on the surface.
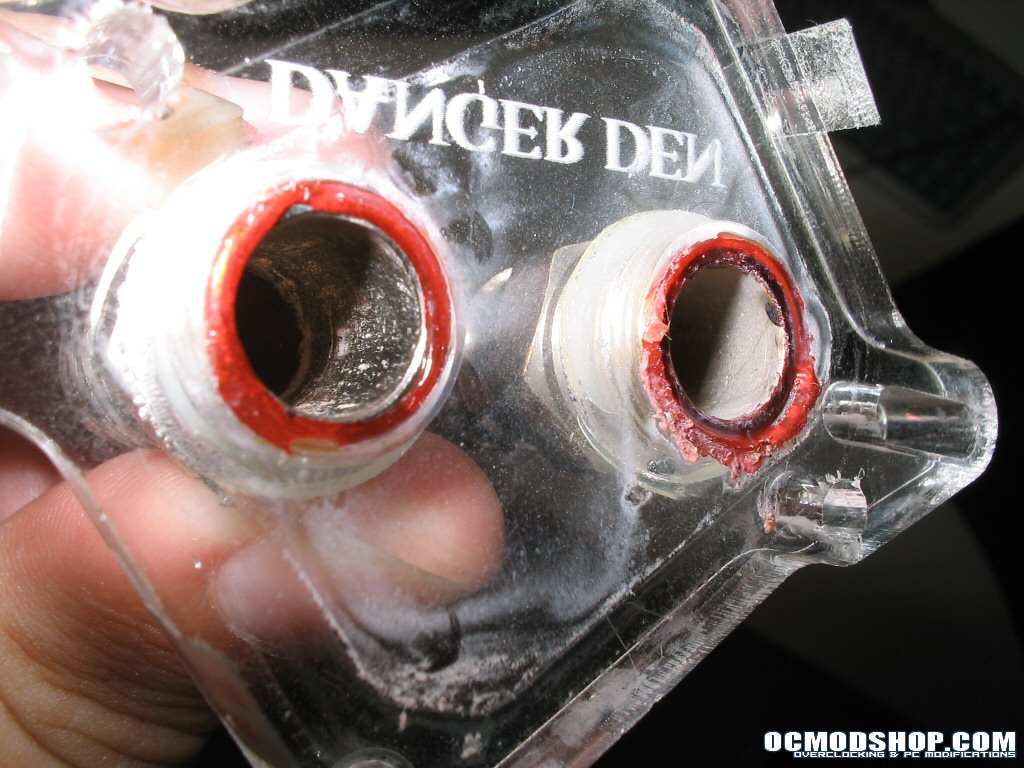
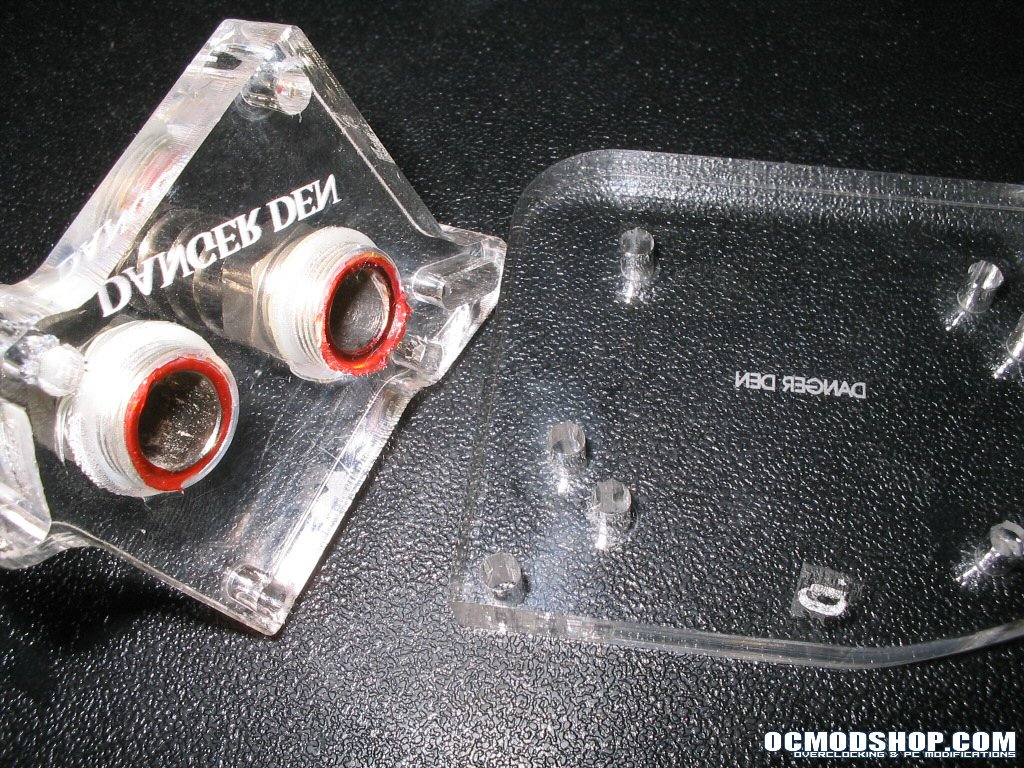
If your blocks have Acrylic or Lucite tops, many times you will find a white or brown residue. This can be easily cleaned using warm water and a mild soap. There are also polycarbonate and plastic cleaners on the market which do a great job too. Make sure not to use abrasives as they may scratch softer plastics.
Assembly
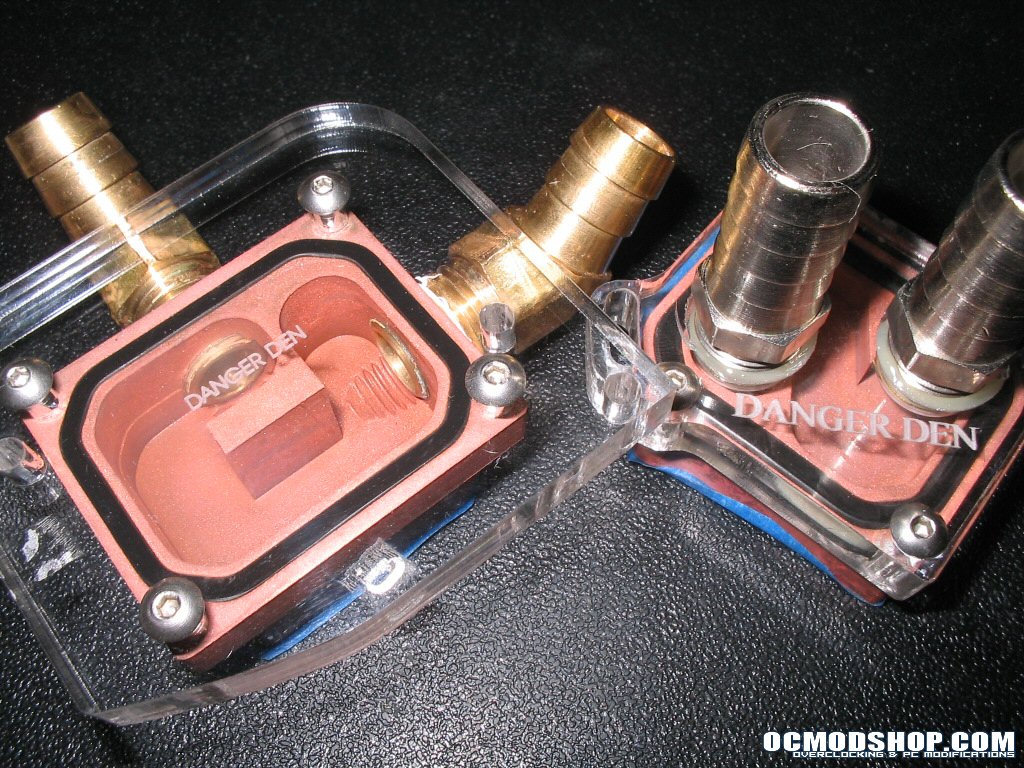
After rinsing the blocks should be clean and corrosion free. Now all that’s left is to dry them off and reassemble. Make sure you set the O-rings properly and that they are soft, not dry and brittle. That would mean that they may not hold a seal and they need replacement. Also, if you have an acrylic top, don’t over tighten the screws! Acrylic is brittle and cracks easily. One quarter to one and a half turns after the screws become snug is normally fine to seat an acrylic top. As a rule of thumb, it is always a good idea to fill and leak test your cooling system after reassembly of your waterblocks. You wouldn’t want to kill any computer components due to leaks you could have fixed easily.
Conclusion
Routine cleanings of your waterblocks are something to keep in mind if you want to keep your system performing at its peak. Not only does it give you a reason to drain and refill your coolant, but it will help keep your new waterblocks up to snuff for years to come.