

Installing a motherboard into the case should be a pretty strait forward venture. The motherboard tray appears to be removable at first glance as it mounts directly to the frame of the case.
Removing the tray however leads to removing about 15 screws around the edges of the tray. Not quite so convenient, as traditional removable motherboard trays. However, after exploring the BTX conversions manuals I believe the real reason the motherboard tray is removable in this way is just for the sole reason to convert the case to BTX standard.
In addition the case is definitely spacious enough to install just about any motherboard without having to remove the tray. Therefore I can understand why the tray was designed with 15 screws to remove.
One thing I need to mention though is several of the motherboard standoffs are rather close to the angle brackets of the tray making the use of larger screwdrivers almost impossible. Also note the long cutout on the left of the tray. This is for an optional feature Cooler Master calls the Crossflow fan. This is a custom blower fan that blows air across the length of the motherboard.
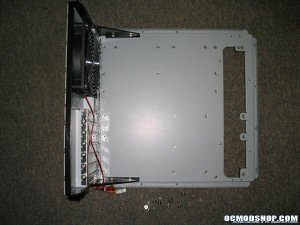
It seems a neat addition to the case, if I had one. I would have like to see it as a stock feature as it was heavily touted not only on the company website but also on the side of the box.
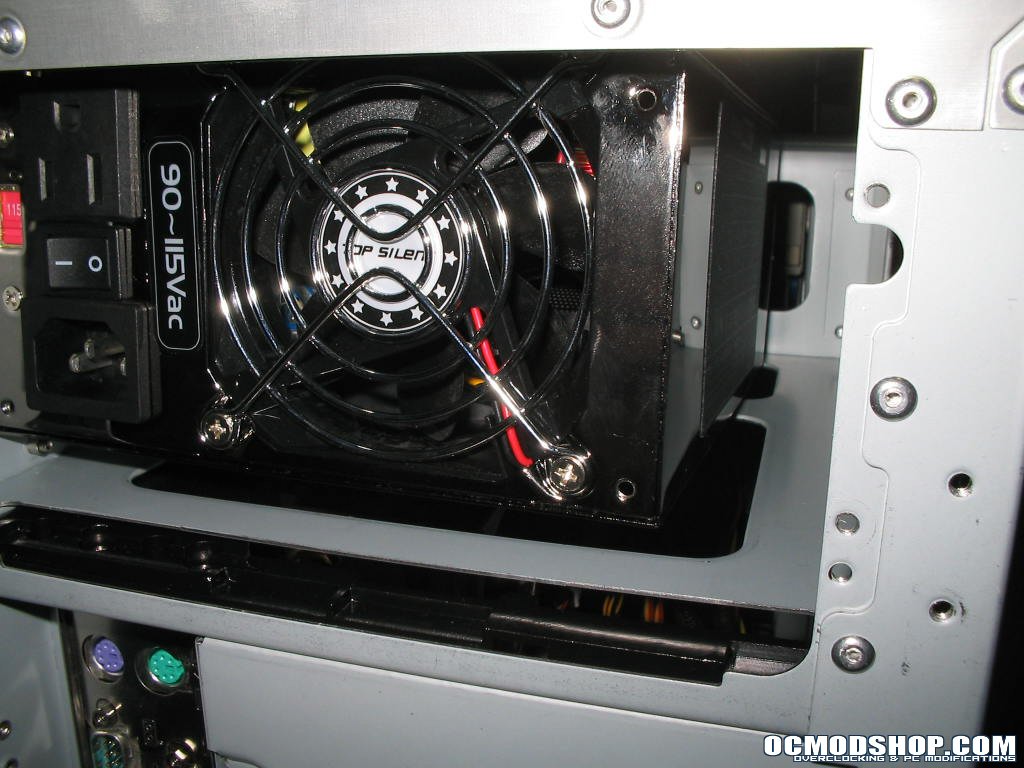
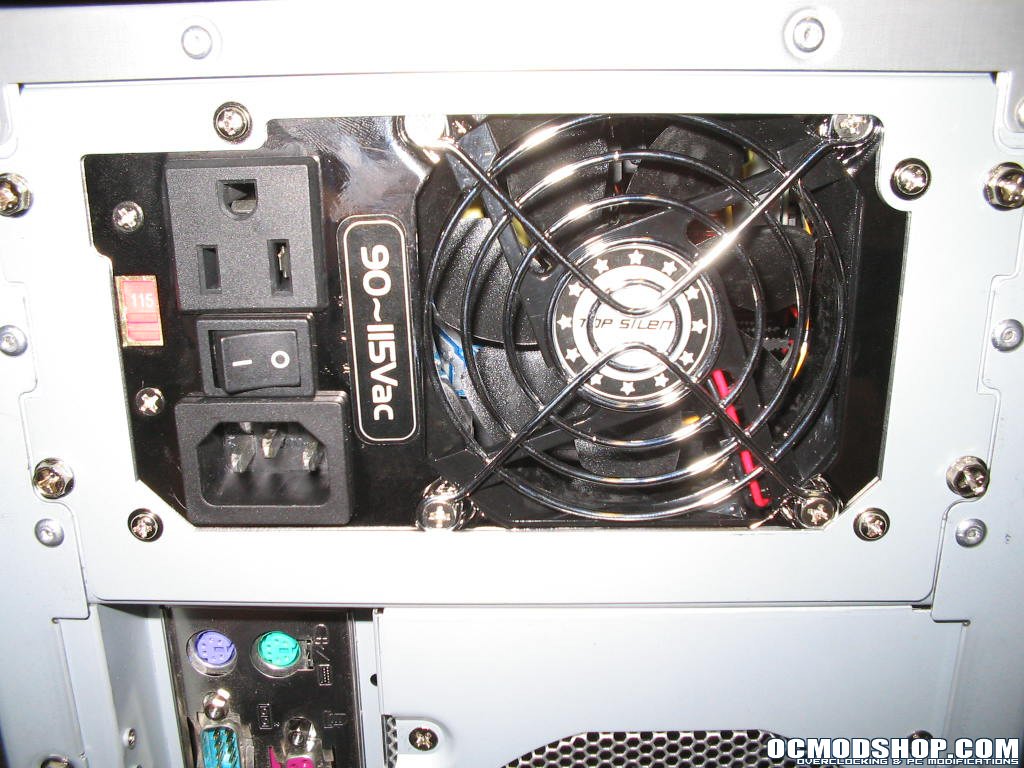
If you plan on installing a PSU in the standard top mounting position, you will be pleased to find an ample amount of room. This can be put to good use if you need to stow cables you don’t use. Just wrap them up and put them up and out of the way. The bracket’s provided for PSU installation have a lip at the top that prevents pulling out the PSU while the bracket is still attached to the case. I would have preferred a pullout method where the bracket attaches to the PSU and then you can slide the supply in and out.
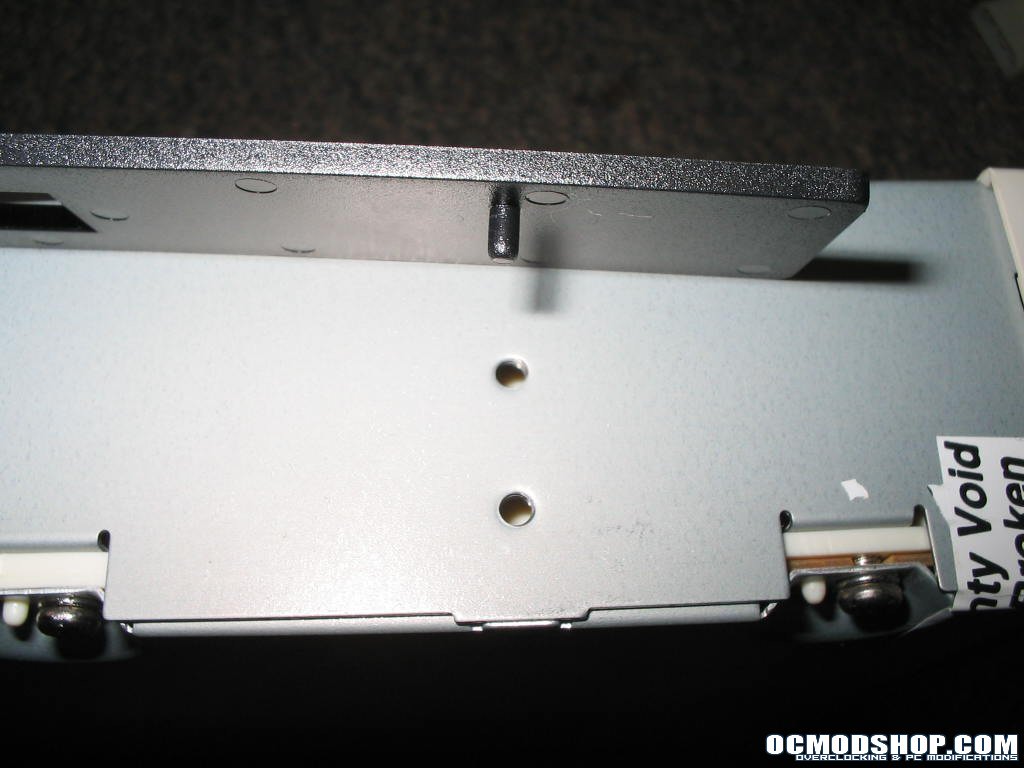
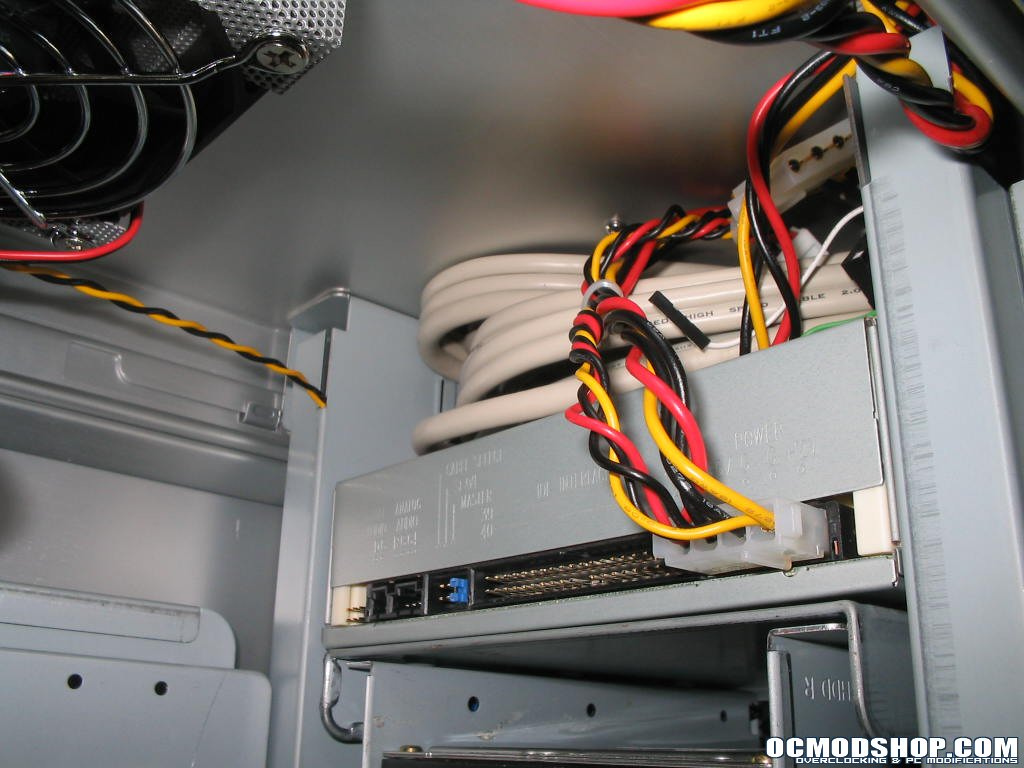
Installing optical drives are a snap with this case. Using the provided tool-less adaptors, just match the plastic pegs to the screw holes. Drop them in place and slide the drive into a free bay. You will hear a click from the retention clips meaning the drive is locked in place. To remove, just flip the clips on both sides and the drive slides right out again. No screws needed at all.
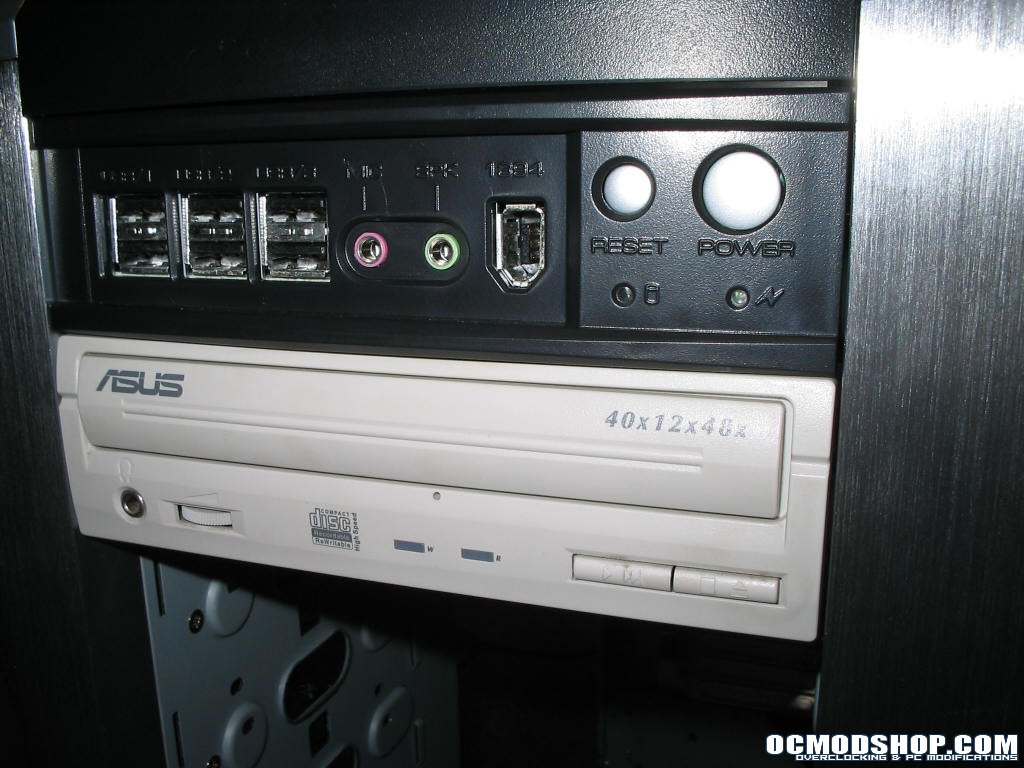
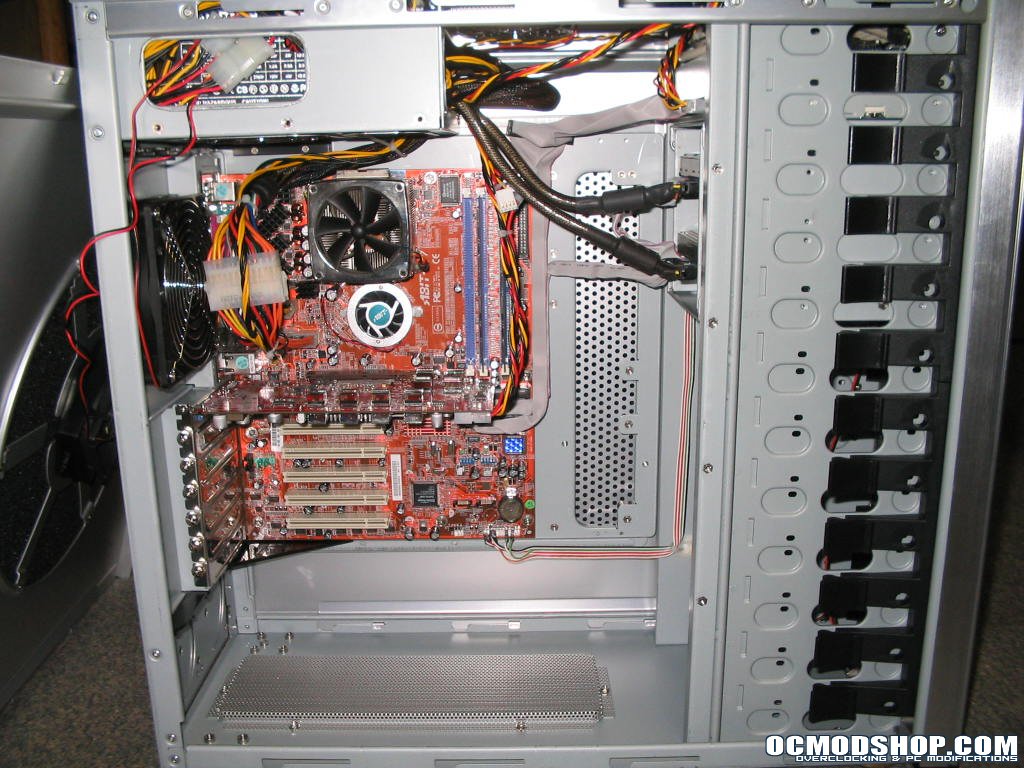
Overall installation went by without a hitch. It was a breath of fresh air having so much ample room to move around in. All of the exposed metal edges were either rounded or blunt enough to prevent cuts or scrapes and there were plenty of areas to stow excess cabling to clean up cable clutter. It took me roughly 15 minutes to mount the hardware into the case and clean up cabling to a more than acceptable level. You can really see how spacious this case is as it dwarfs the motherboard mounted inside.
Conclusion
Cooler Master has built a very solid and feature rich case with a demanding consumer in mind. This product seems to be well suited for professional seeking a solid case for a network file server or workstation.
Although with a tank-like construction, endless interior space and the ability to mount an impressive array of components, I can see many an ambitious case modder taking advantage of this platform and turning it into a stunning creation.
Weaknesses seemed few and far between. The case could have been a little lighter, the mesh drive bay covers could be easier to disassemble and an easily removable motherboard tray would be welcomed. In addition I also would have liked to see standalone brackets for 120mm fans in the front of the case, without having to use two more 4-in-3 drive modules and the Crossflow fan be a stock feature.

Overall I am recommending this product and am giving it a 9/10 and an OCmodshop Seal of Approval. I would like to thank Cooler Master for sending the Stacker Case to us for review.
Pros

- Solid construction
- Large interior
- ATX and BTX form factors
- Easy Tool-less Installation
- Up to 8 Fans including four 120mm
- Front I/O Panel
- Dual PSU locations
- Lots of accessories
Cons
- Heavy
- Motherboard tray not easily removed
- Front 120mm fans need purchasable drive modules
- Crossflow fan is not stock feature


1 comment
Do you happen to know where to get grill replacements for the front? I need about 12 of them :o They break too easy. Mainly the snaps break — but I just need the 12 sets of the "filters." – Let me know!
Comments are closed.