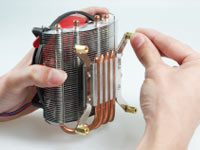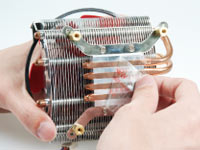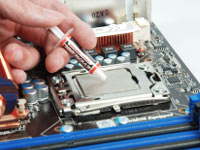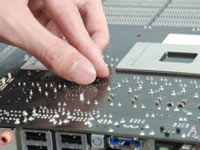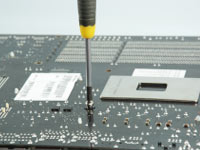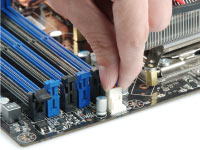
Installation is a breeze, with the LGA775 backplate on my motherboard not needing a switchout to work with the screws that comes with the heatsink. It’s entirely possible that if you don’t intend on using this on an LGA775 board, you will probably end up having to remove your motherboard to switch out the backplate. Obviously installations will vary here, so keep that in mind when you make your purchase. If you don’t mind gutting your PC (was and is one of my favorite hobbies) then you probably won’t give a minor inconvenience such as this much thought.
Here are the stats of my test machine.
As I said before, installation is fairly straight forward if you are a DIY kind of person, with a guided pamphlet to get you through. I am a realist when it comes to my testing. I know that unless you are working nonstop as a graphic designer or editing video for hours on end, you usually don’t need much more than an aftermarket cooler for your heat management. That’s why I run my tests in a real world environment. I don’t have a temperature controlled lab in my basement, and I don’t have a thousand dollars worth of testing gear at my disposal. I wouldn’t use it if I did. Because I review for those who are actually going to be using this stuff. And they all have their gear in some random room, just like me. On the next page we test the cooler… |