The box for this motherboard has a very shiny finish which seems to be the current trend in motherboard packaging. Both the top and bottom of the box are covered with the motherboard’s specifications. Additionally, the colorful graphics on the box are very eye-catching.
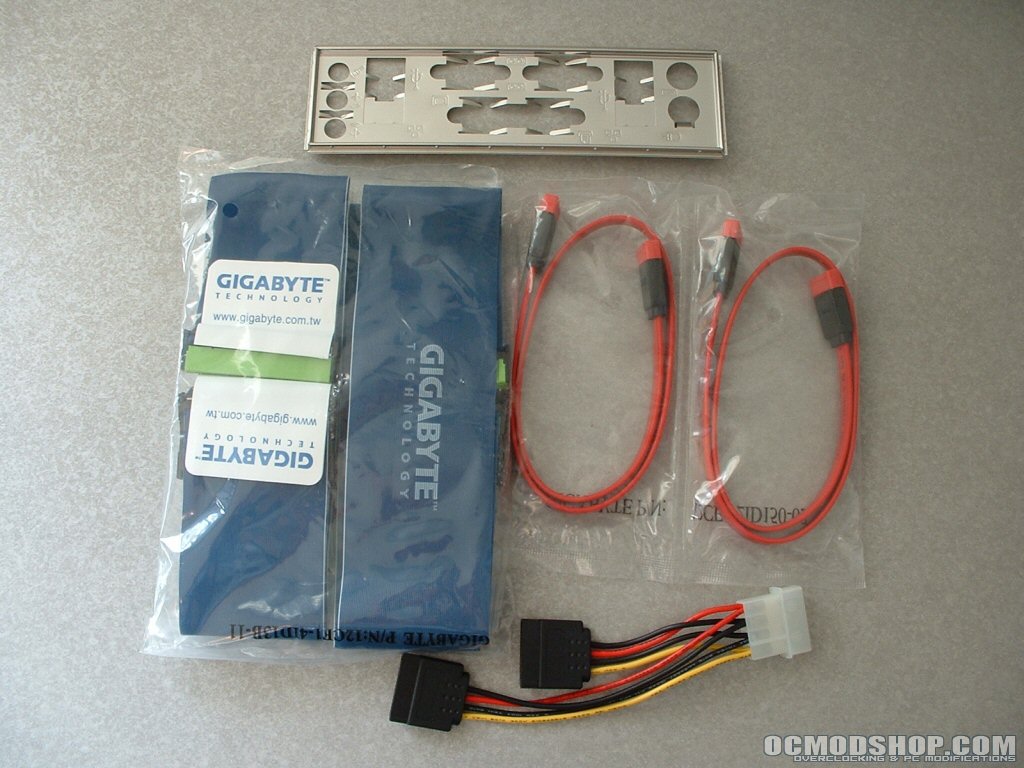
Gigabyte provides two IDE cables, a floppy cable, and two SATA cables for your drives. If your power supply doesn’t happen to have native SATA connections you can use the Molex adapter included. Since the back panel of the motherboard isn’t standard you also get an I/O shield to match.
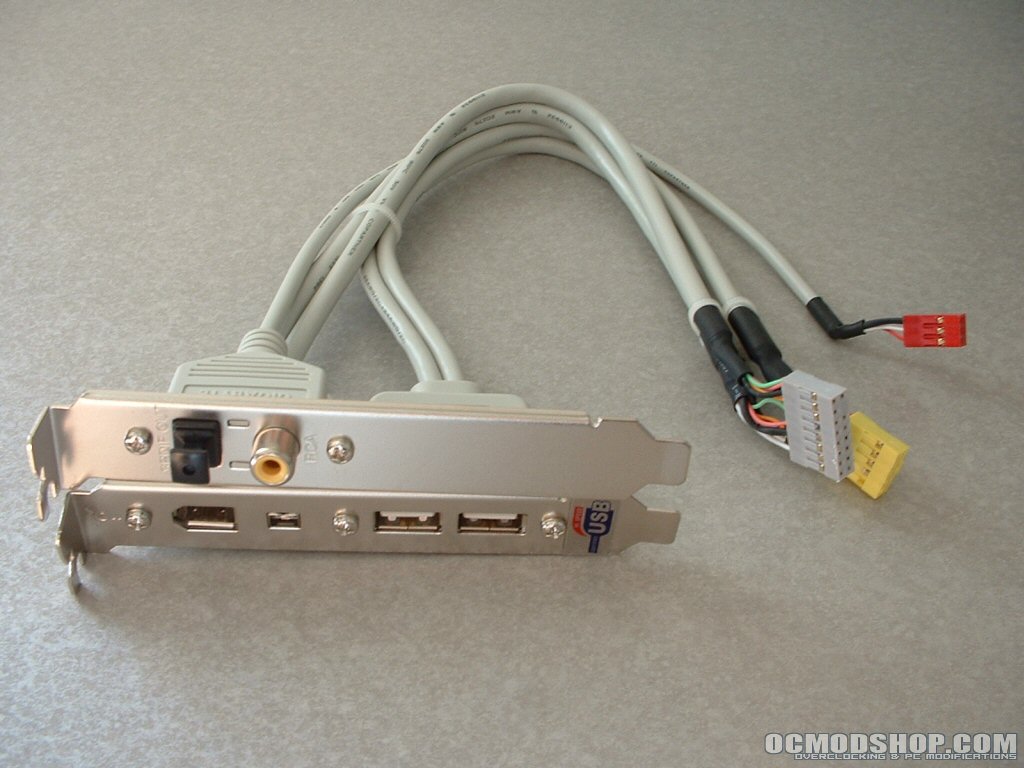
The back panel of the motherboard has four USB connections but if that isn’t enough you get two more on the header. Also on the header are two firewire ports, one 1394a and one 1394b. Last but not least you get a digital out header to use with the onboard audio.
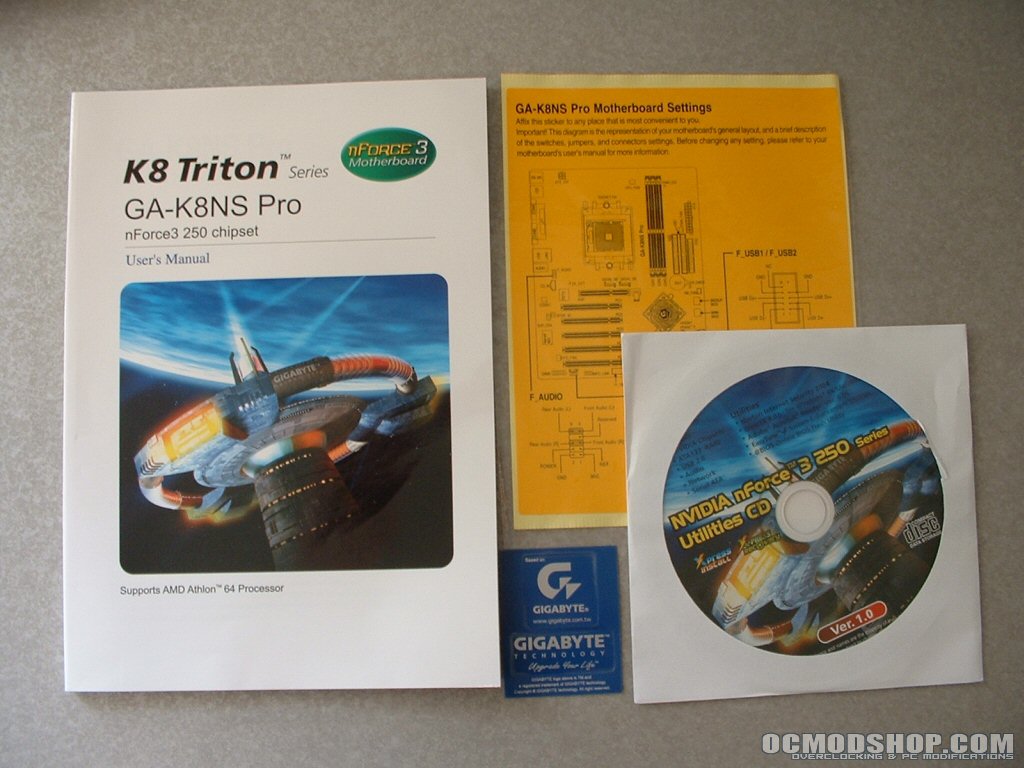
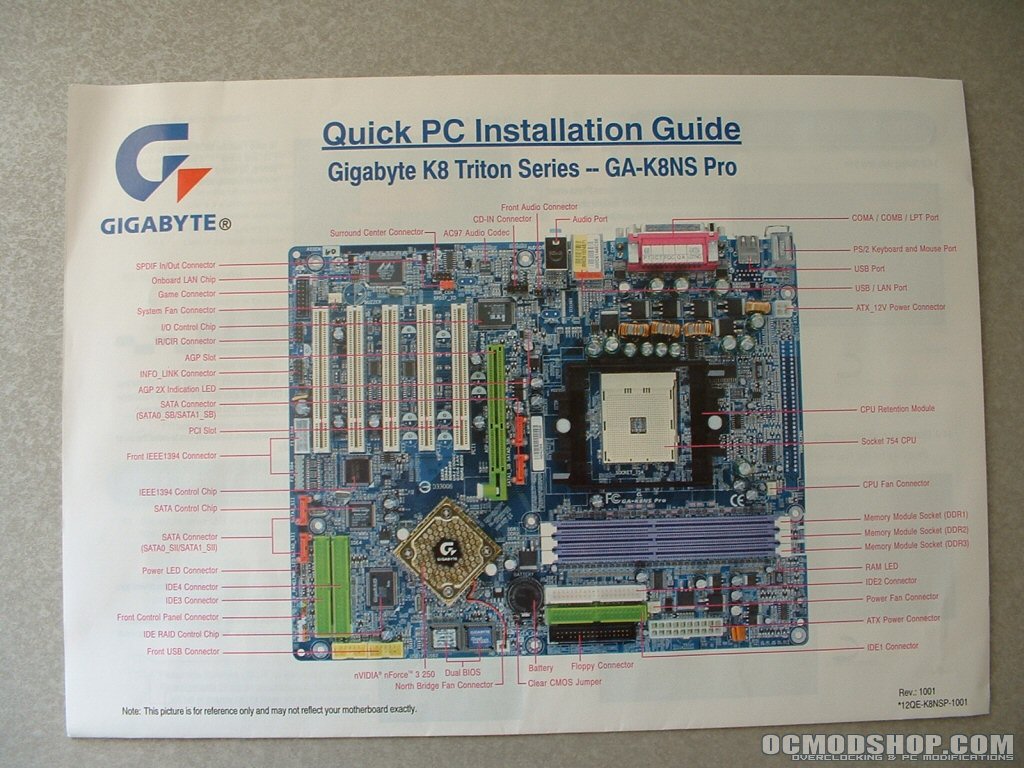
Included for your reference is a motherboard manual, quick PC installation guide, and motherboard settings sticker. The combination of this information should be more than enough for you to get all the information you would need to setup, configure, and troubleshoot if necessary. The driver CD provided contains your drivers and a few system utilities which will be helpful for installation and maintenance. Finally you get a Gigabyte badge that you can stick on your case or where ever else you like.
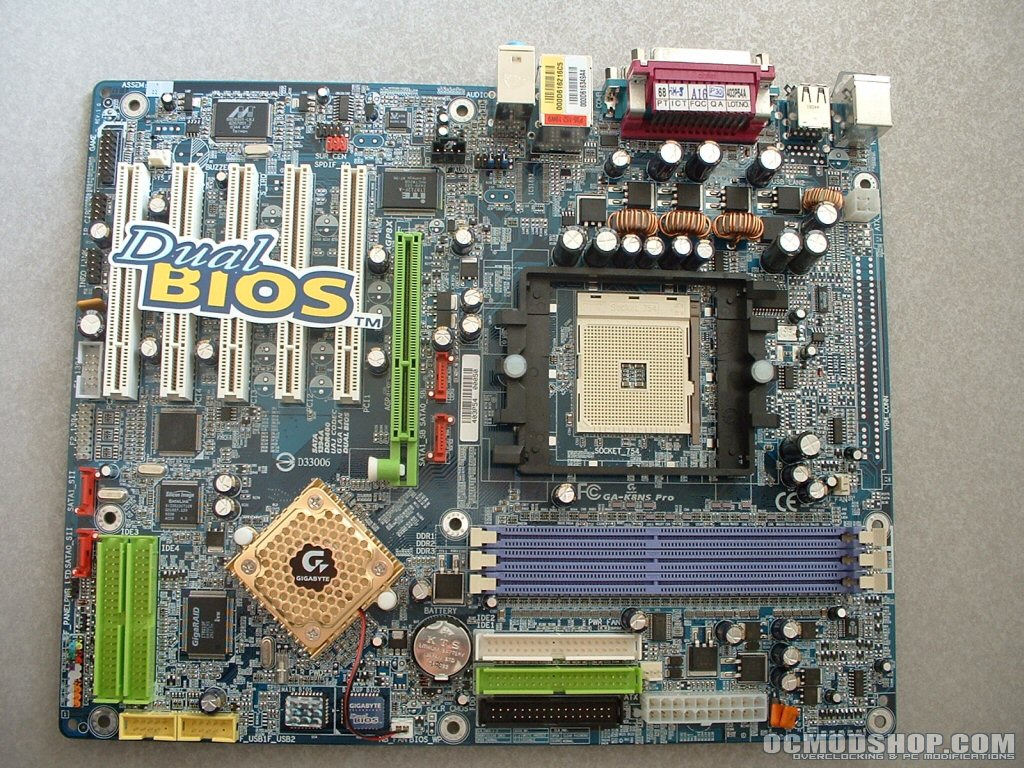
The overall layout of the board looks to be pretty good. The 12v connector is at the very top left of the motherboard so it will stay out of the way. The most obvious thing missing from this motherboard is a north/southbridge which has been replaced with Nvidia’s nForce 250 chipset. The back plate for the heatsink bracket is made of plastic and attached with some nylon bolts. Since I will be using a Zalman 7000Cu I removed this plate to install it.
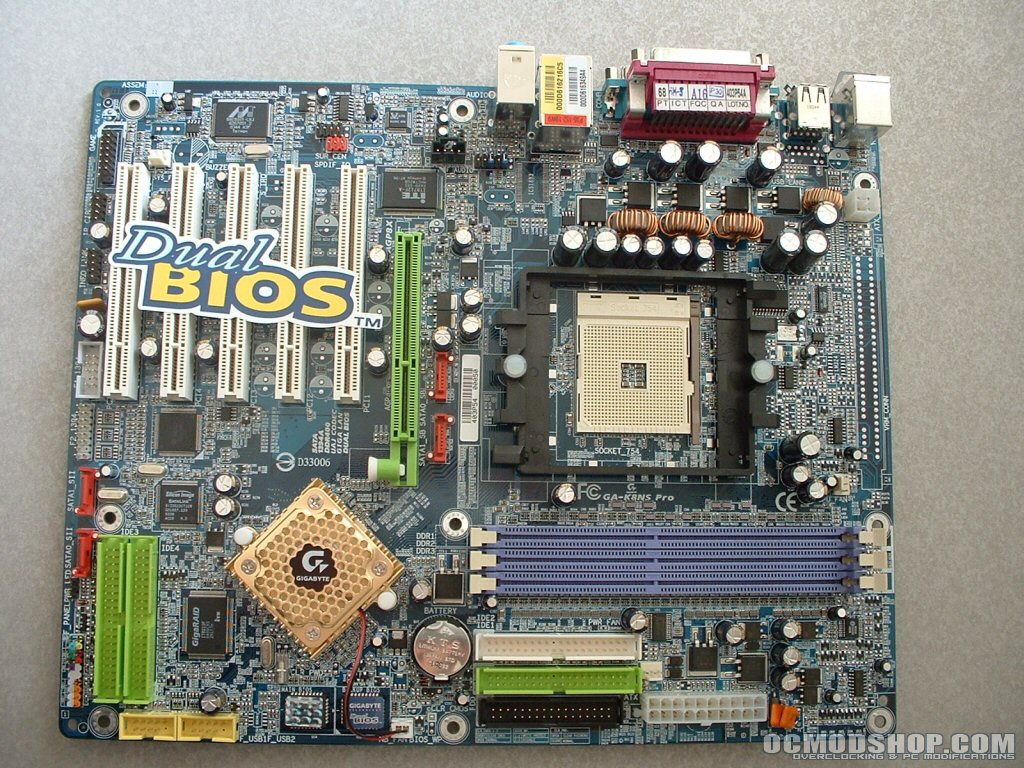
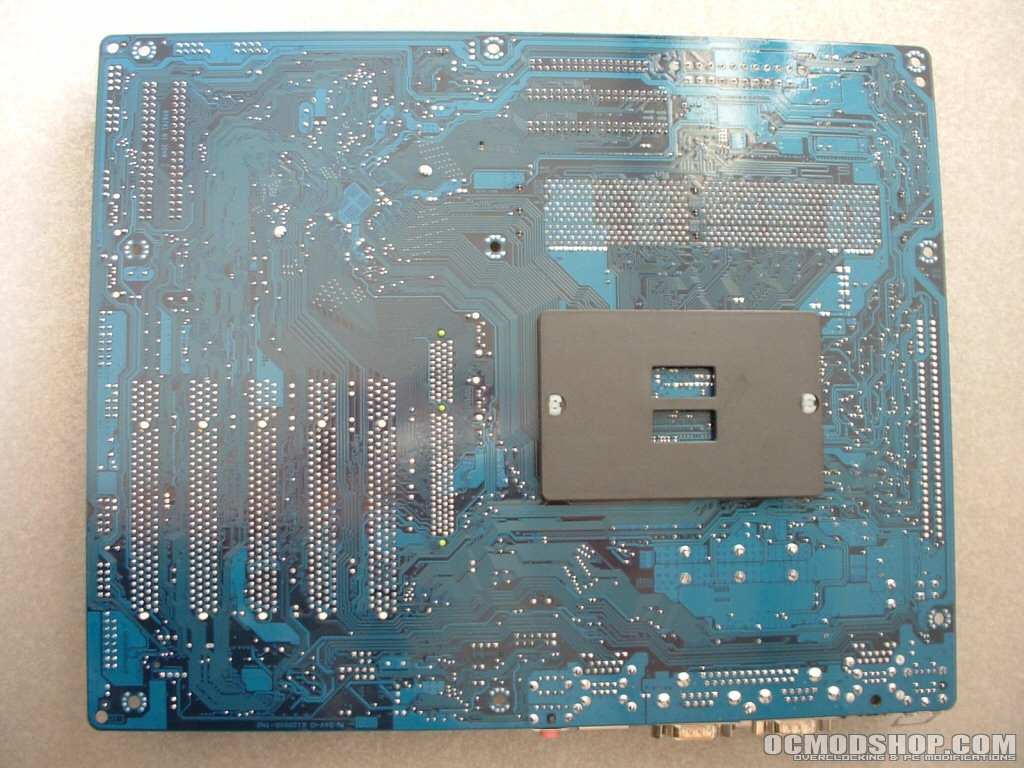
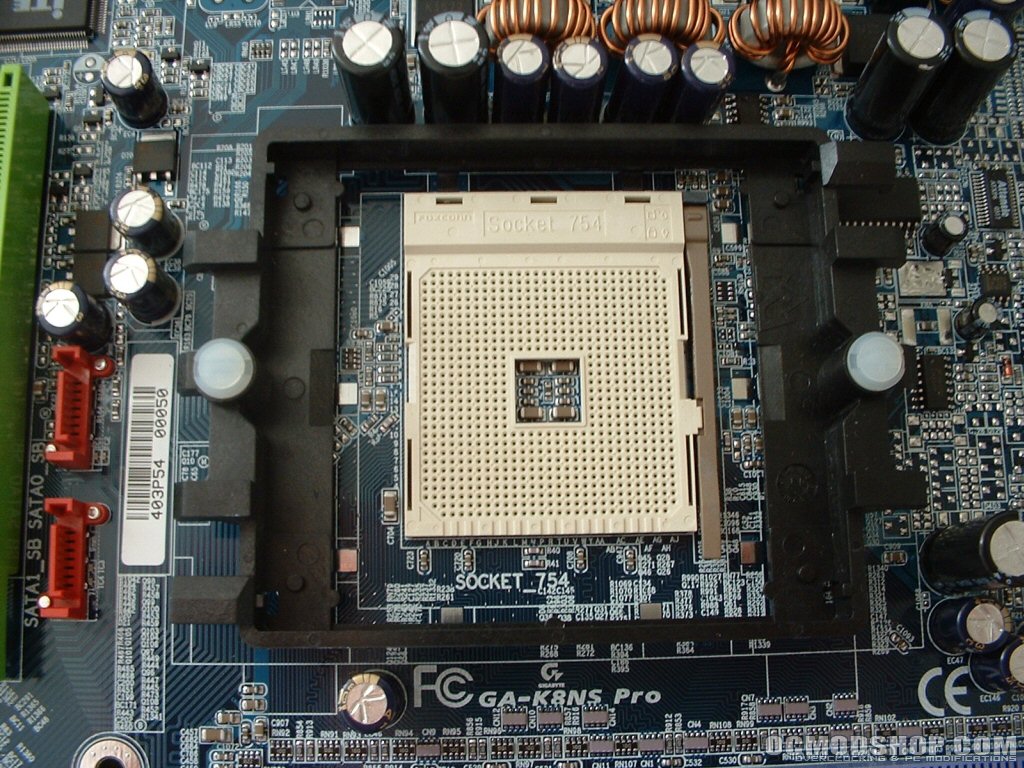
Room around the socket isn’t as important as it was in the days of socket A since most heatsinks now use the standard mounting bracket. Some heatsinks however don’t use the bracket like my Zalman 7000Cu, which I had no problem fitting on the board. Also right next to the socket are two SATA connections for your drives, not the best placement for these but the motherboard is pretty cramped which may have forced Gigabyte to put them there.
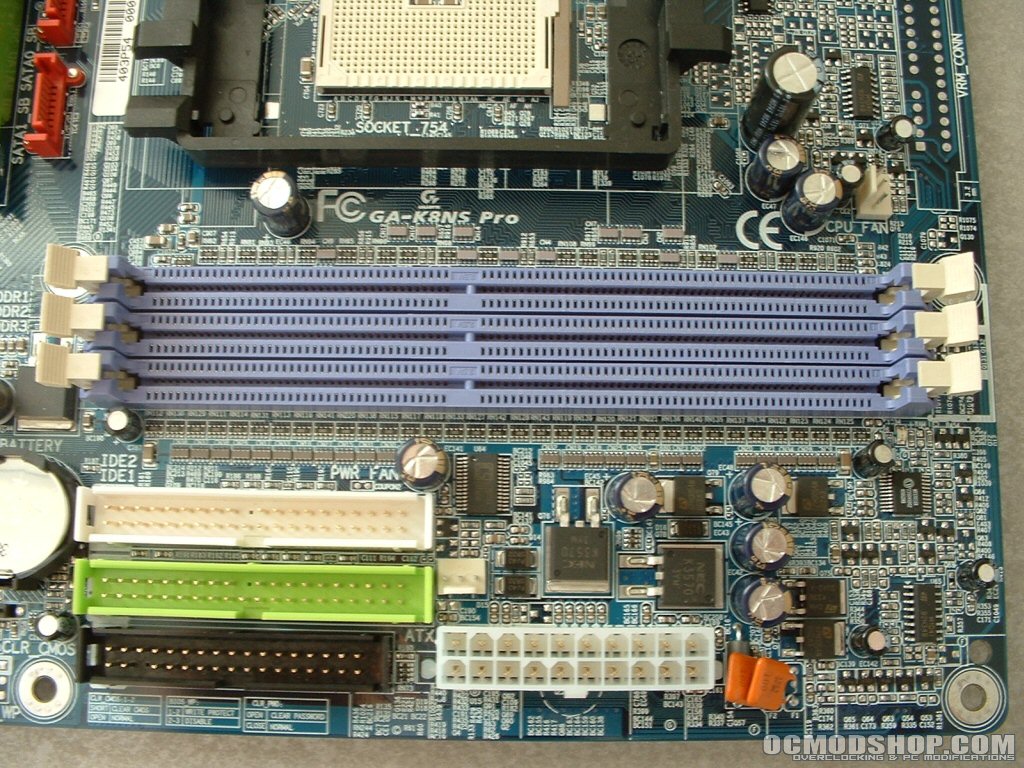
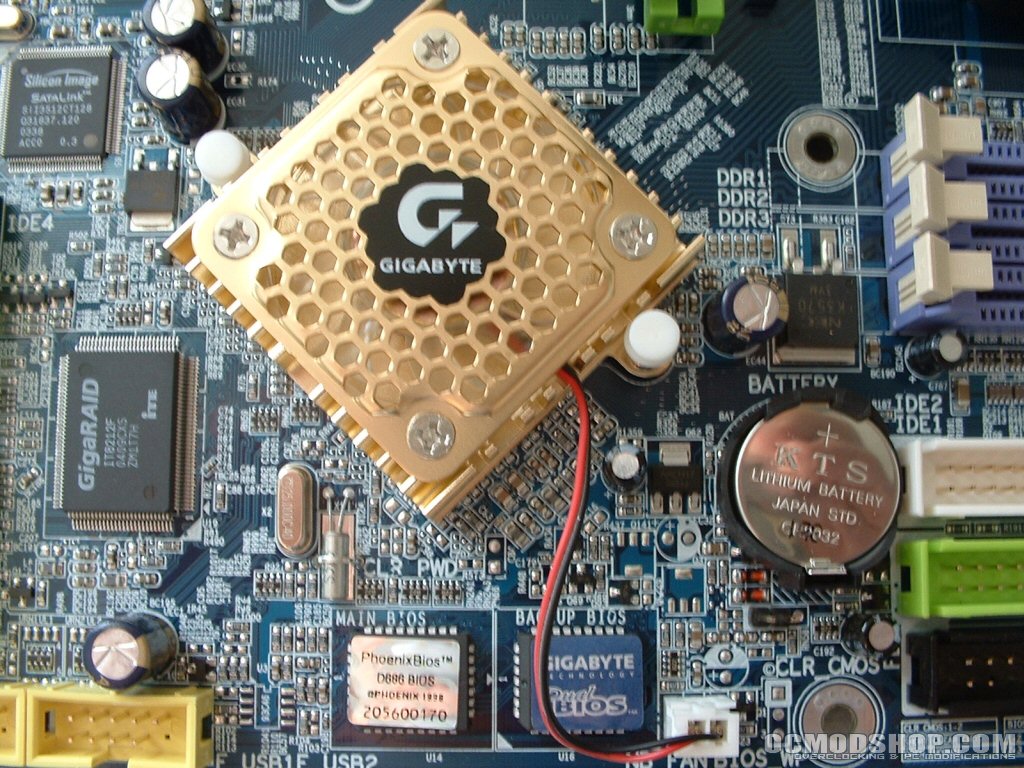
The DDR slots are positioned far enough from the AGP slot so you can easily change memory without having to remove your video card. The IDE and floppy connectors are adjacent to the DDR slots which is a good spot for them. This location however isn’t a good choice for the ATX connector and would have been better off over by the 12v connector. As I mentioned before the nForce 3 250 chipset is the only one on here and is covered by an active gold colored heatsink.
This heatsink produces little to no noise when powered on which pleases me since I don’t like fan noise. One nice thing about Gigabyte motherboards is that they use a dual BIOS system which gives you redundancy. If you happen to improperly flash your BIOS saving you the time and frustration of having to RMA your motherboard.
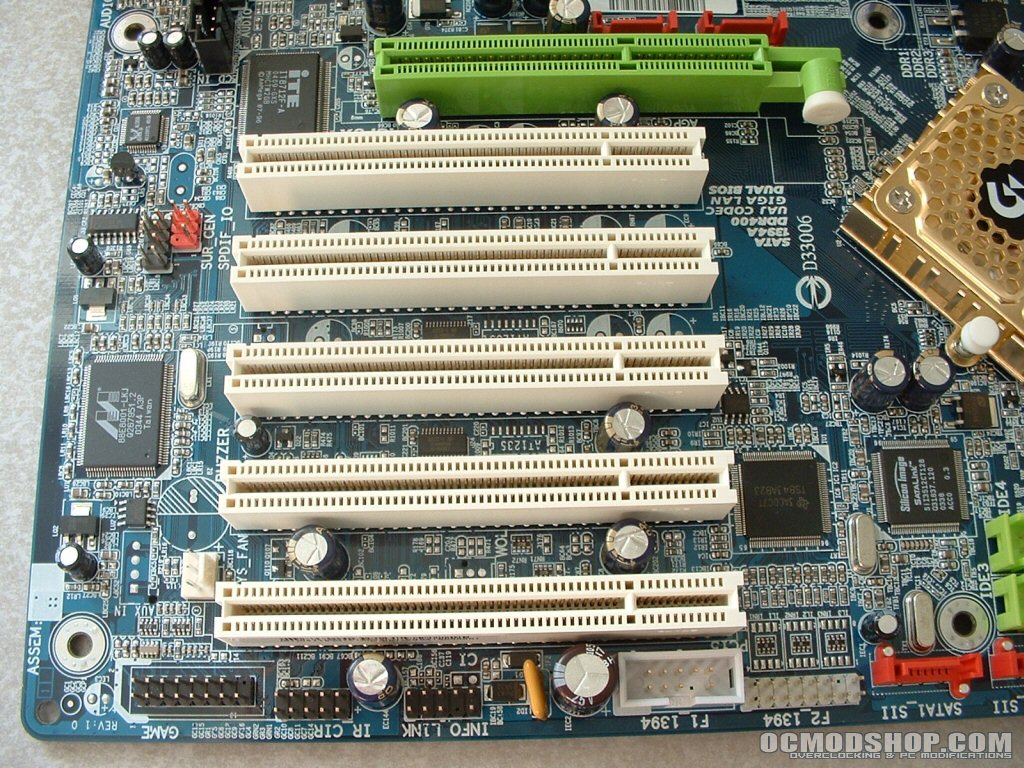
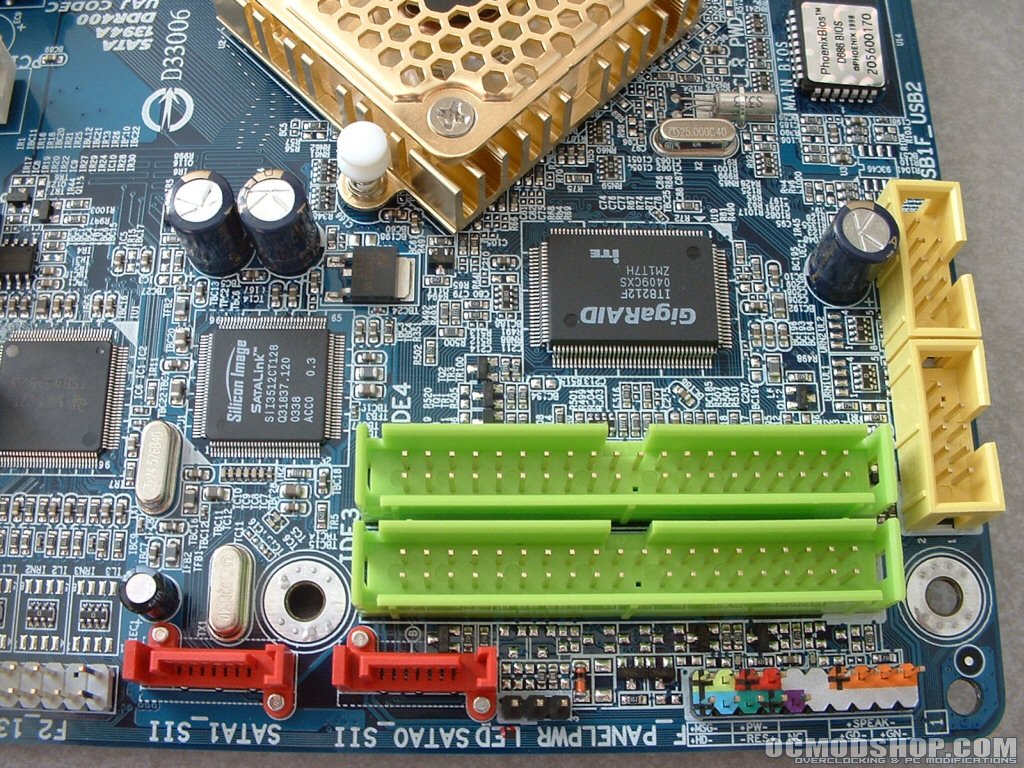
Five PCI slots should be more than enough for your cards as well as the 8x AGP slot for your video card. The retention mechanism for the video card isn’t a latch but a pull pin. This solution was a little tough to get to with the motherboard standing vertically, a latch system would probably have been a better choice. From the picture of the bottom left of the motherboard you can see the iTE IT8712F I/O controller, Silicon Image SiI 3512, Texas Instruments TSB43AB23 1394a Link Layer Controller, and Marvell Yukon Yukon 88E8001 gigabit Ethernet controller. On the bottom right of the motherboard you will find two SATA connections and your ATA133 IDE RAID which is controlled by the iTE IT8212F chip. A nice thing that most companies are doing now including Gigabyte are color coding the jumper headers making installation easier.