

Follow the road a bit and then take the detour off to the side. Follow the water back a bit and then take the dirt path on the right. Head past a gate and toward the tower. Get out near the tower and then turn around. Go left of the big building nearest you and find a path that takes you to the roof. Find a hole that drops you into the building. Find the items around and then go out to a smaller, adjacent building with the walls blown off. On the mound of dirt is a hole inside the locked room.
She stays behind as you go inside. Drop down a hole to reach the power room. Get out your GG and move the wooden thing on the wall. In total, there are five power slots in this room. The two near the elevator will have a small cord; the three near the power box will have a long cord. Swap the two cords. Put the longer one on the two by the elevator, then take the short one and connect it to the two slots closest to each other (making a straight line). If you connect the power generator line to the lower slot, it will just break.
When the power is restored, take the elevator back up. You run into a Hunter, actually, you run into three. Duck behind the wall on the left of the door to hide from their attacks. Use the grenades on the SMG to poke out and take a shot at them. When the wall is torn down, either use the SMG or rifle to kill the first two; you may have to run around to avoid their attacks if they charge at you. Then come out of the room and look to the roof for the third one. There are barrels behind you if you have time to use them, or just fight the thing straight up, much like how you fought the Antlion guards.

When you come out of the gate for this building-complex, two more Hunters appear: one from the right, one from the building in front of you. Use grenades and magnum rounds to finish off these two, they’re not that tough.
After the fight, go into the building just opened and find some supplies in the bathroom, then go to the radio in the other corner. After that, go into the only remaining building by the gate to get a lone crate. Then return to your car and go through that gate.
Go left when you see some wooden fences to find the path. After you jump a small ledge you hit a load point.
Keep going until Alyx sees a familiar sight, then go left. Around the burning wreckage, go right and into a farm-like estate with a locked fence. Get out at the fence and first enter the house on the right side for no more than some crates.
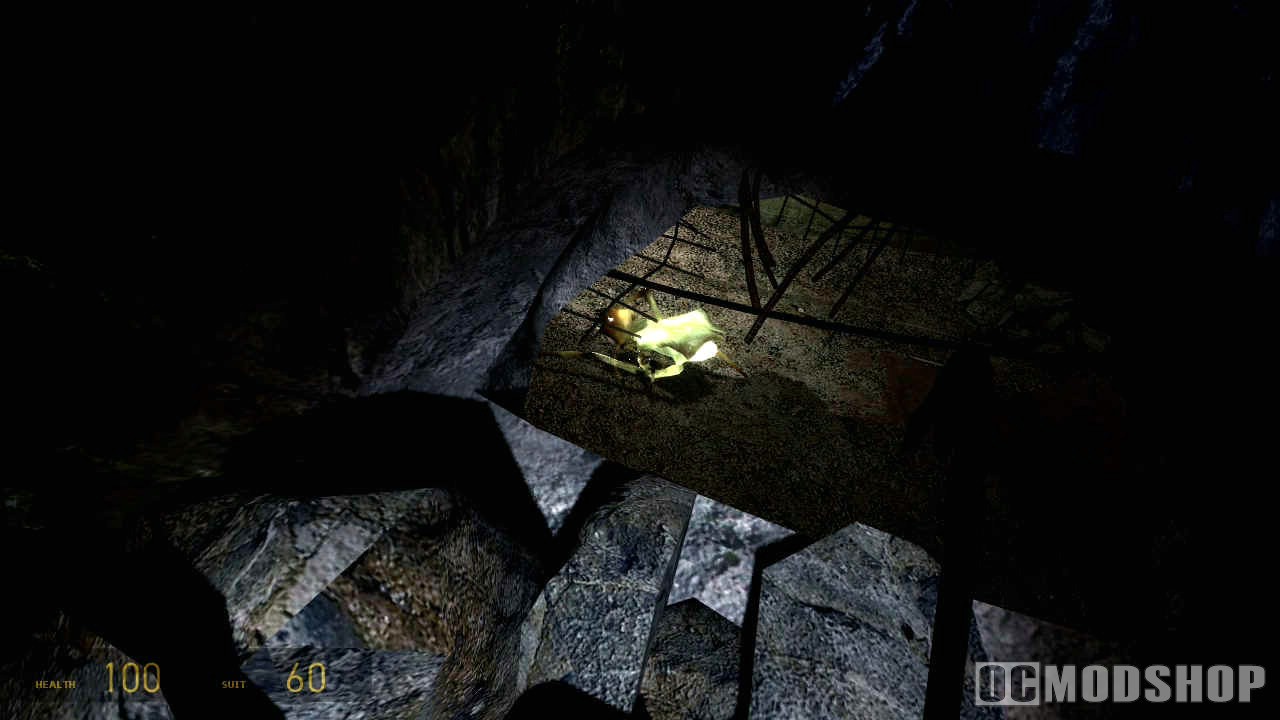
Then go to the left building and break the lock on a door. Go through and find a hole in the floor that you can take. Follow this path to the inside of the barn. You find an Advisor and Alyx intends to pull the plug on it. Use the GG to blast the power ball inside the chamber and then you get a bit of a scene.
After your close-call, look to the door in the corner in anticipation of your first run-in with the Combine soldiers. Kill the first guy and enter the room to find your old crossbow, use it on the next guy and then the next. Collect the items and go back outside to snipe some more in the opposite building. When things die down a bit, just run to your car and hop in. Push the pedal and dash by the Hunter and company.
Go around the cars in your path and then turn to follow the railway. Do your best to beat and dodge the mines the helicopter drops. Just weave in and out of the train cars, hitting some crates along the way, until you enter the tunnels leading to the next area.
Go forward and jump through the ramp. Follow the path on the left of the the trains. A zombie will jump on, but just swing around when you get to the dead- end to fling him off. Now turn around and take the path that was on the right of the trains, now it’s the left. Fly past some zombies and try to avoid the Barnacles. Keep following the railway until you see some trains in the way, then to right and through a friendly gate with the Half-Life logo.
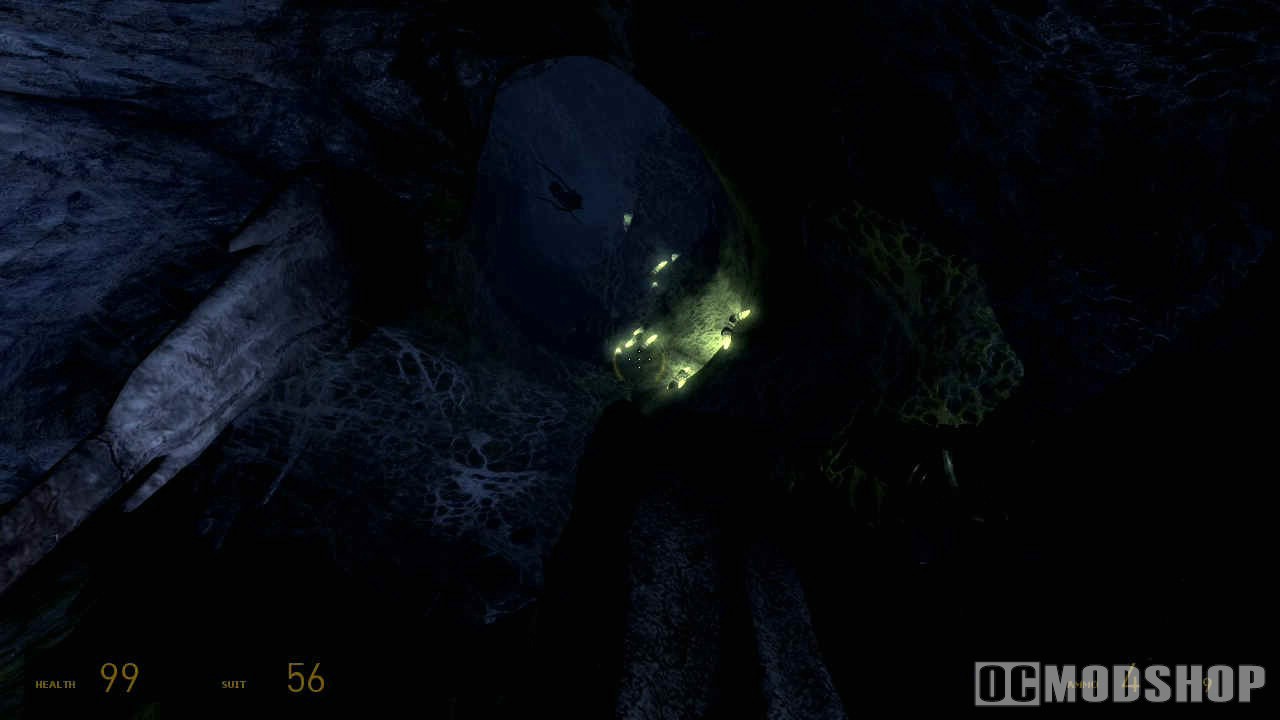
Ditch the car and follow your new friend. Don’t follow him around the corner, because he gone. Then hop down and crawl under the train car. Knock some wood boards out of the way near a mine, and then use the GG to pull that mine to break it. Then crawl through and keep crawling under the train to get to open ground.
When you get out to join the Resistance, go to the large building in front of you, go up some steps, and use the suit station to fill up your suit armor. Now get out your Gravity Gun and come outside. Locate a mine and pick it up. The idea is to send three of these into the chopper, which is easy since you get a good amount of time to hold them.
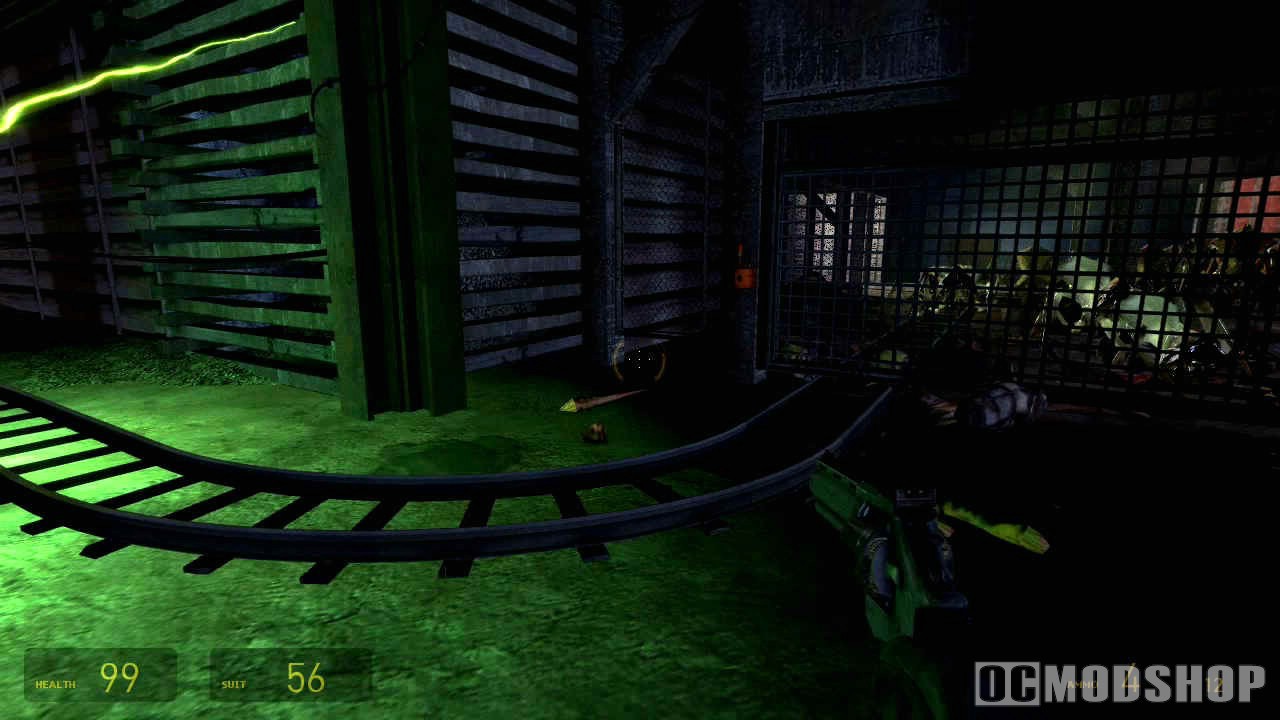
After three, take cover because the chopper will drop a ton of mines that you shouldn’t get near. Then resume your attack with more mines. You just need two more or so and the helicopter threat is no more.
Search the area for more supplies and then follow your allies into a building.



3 comments
To get the boxes from the high platform throw rocks at it with the CG.
again great walkthrough, one hint for you though if you havent already figured it out. The last radar cashe on the sling hanging off the cliff. Just throw the rocks, simple, sometimes the solutions are right in front of you but these are the hardest to find because you're looking for someting complicated. That's why I love these walkthroughs. thanks again
Excellent walkthrough! I really try not to use them but somtimes you just gutta. Most walks are full of errors and misleading but this one is great. Not too much info just enough to keep you moving. Thanks
Comments are closed.