
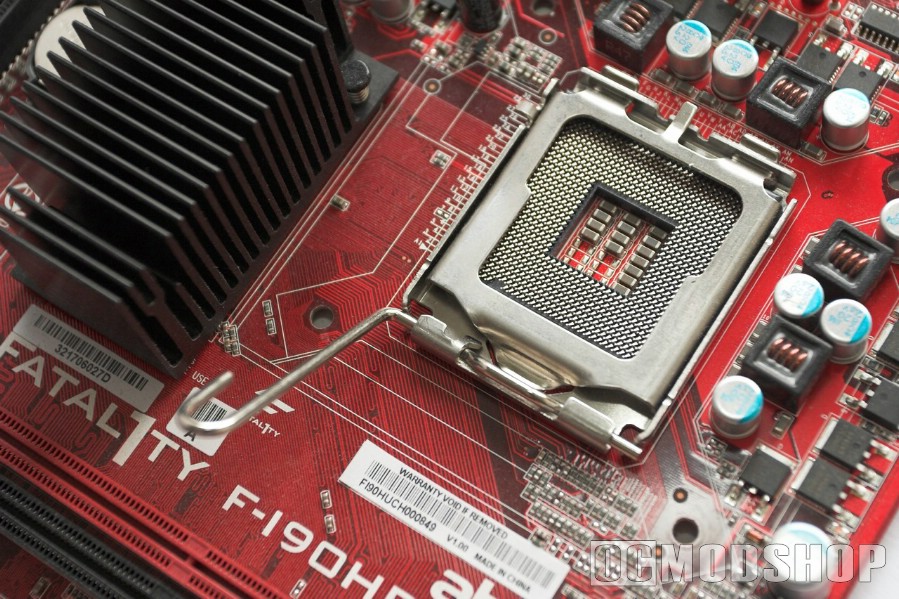
When you look at the motherboard itself you will usually notice some big warning stickers and labels as well as a protective cover to protect of the socket pins from damage. Older CPUs had pins on the bottom of the chip, but Socket 775 has the pins on the socket itself (which touch metal points on the bottom of the processor. This makes for a more care-free installation, which also lowers the chance of damaging your processor.
The only downside to this (as shown by the warning sticker itself) is that the pins on the socket are very (and I mean very (!)) easy to damage and bend out of shape… so avoid touching them directly and replace the protective cover whenever you’re not using it (or are not going to install the processor within 3 minutes :P)
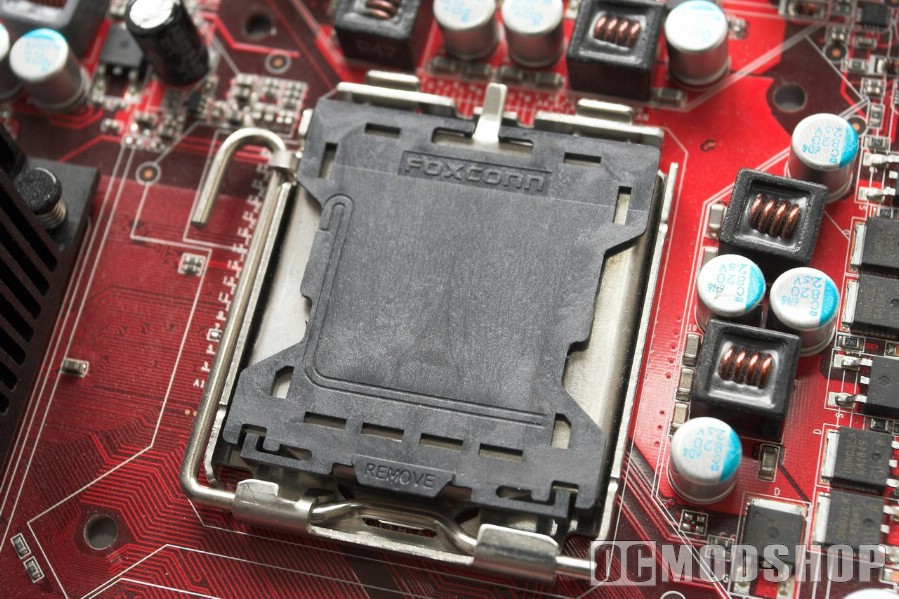
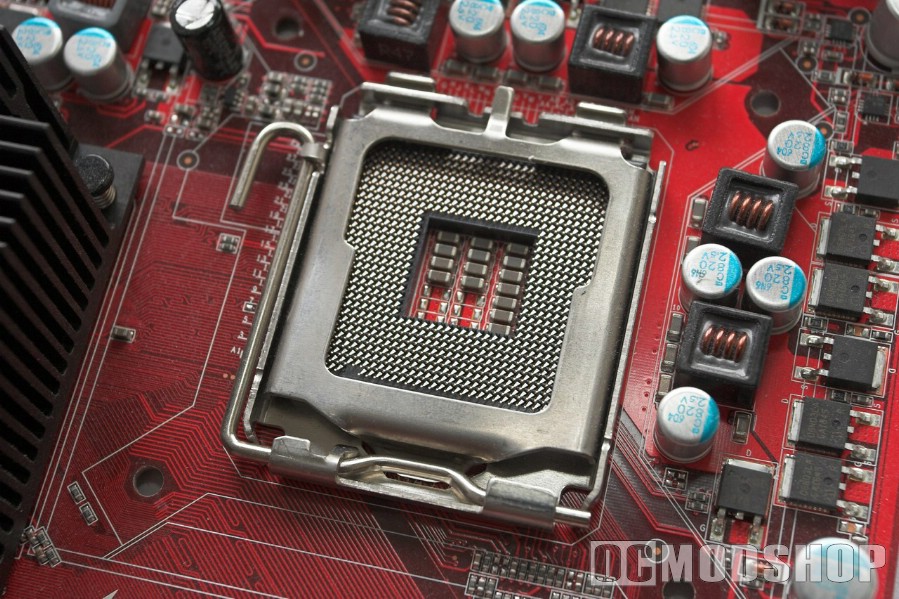
Removing the plastic shield is easy. Just pull the tab where it says remove (or read the manual provided). If you look on the socket you can see 2 notches / dimples. When installing the new CPU just make sure those 2 dimples line up with the 2 notches in the socket with the processor and you cant mess this one up. The same holds true for AMD processors, which have an alignment notch corresponding to Socket A.
First add a small strip of thermal compound then with a credit card or any other thing smear out the thermal compound to spread it around the entire surface that will contact the cooler. Some people use their finger to spread it but I think that would be contaminating if you have dirty hands. Besides, it’s more cleaning up to do.
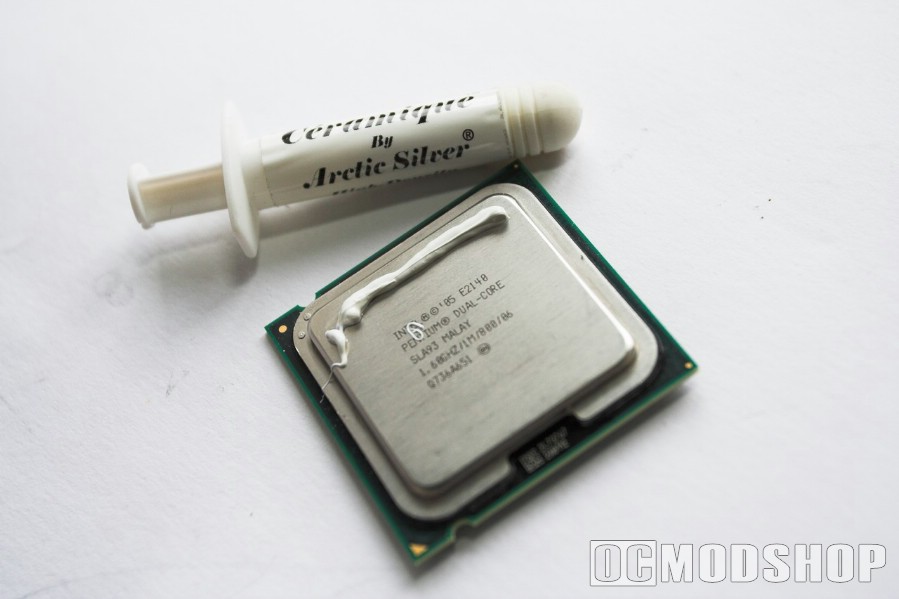

Try to spread the compound as best as you can, and remember that just because some parts aren’t covered doesn’t mean you have to use the entire tube of thermal compound. Less is more – just apply it specified by the manufacturers of your brand of thermal compound.
Socket 775 has a retention mechanism that holds down the processor against the pins. To install your new CPU, you must first release this mechanism and open the latch to expose the socket. Remove the plastic shield, undo the retaining bracket and flip open, now align the notches of the processor with the notches on the socket itself and close the bracket again. You will notice it might take some force so don’t be alarmed (however putting on your bodyweight would be a no no).
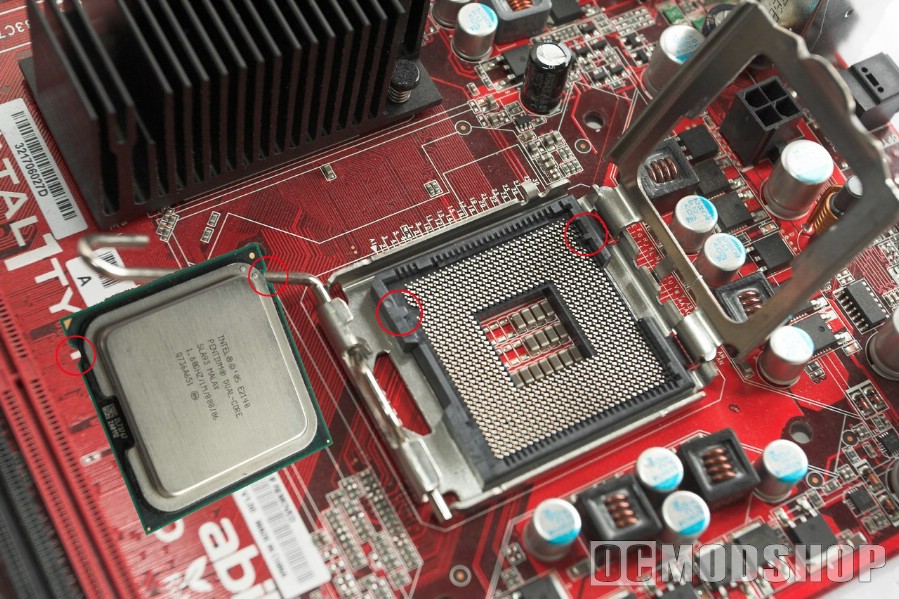
When the retention mechanism is secured back in place just put the cooler back on. Turn the prongs back into their default position, align the pins to the motherboard holes and push down. You’ll hear the prongs snap into place. It probably doesn’t really matter in which order you lock the pins, but I always like to do it diagonally (like an X) to distribute the load evenly on the motherboard and socket, whichalso makes installation easier.
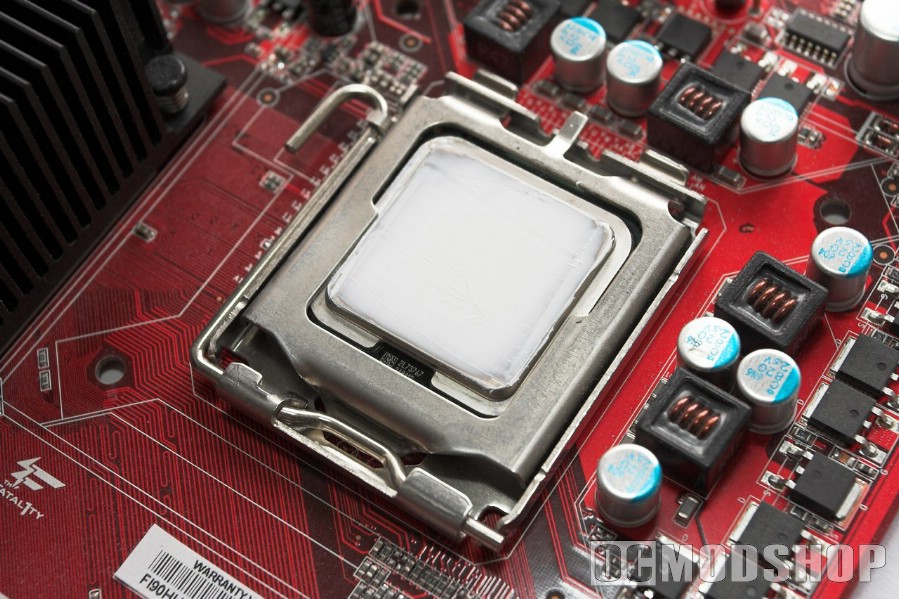
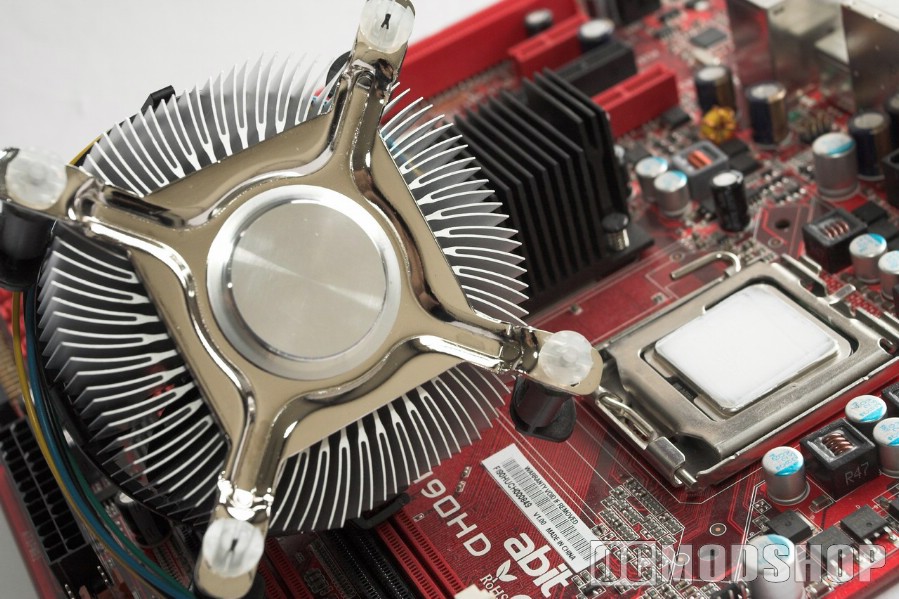
And there, you did it! You have successfully swapped out or removed / installed a new processor / cooler. There was no need to drive down to your computer shop because you were able to do it yourself.
As for installing memory, well it can’t come any more easier than that.
To remove a stick of RAM, just push the RAM’s 2 retention clips to the side outwards and the stick will just pop out. Pull the memory straight out.
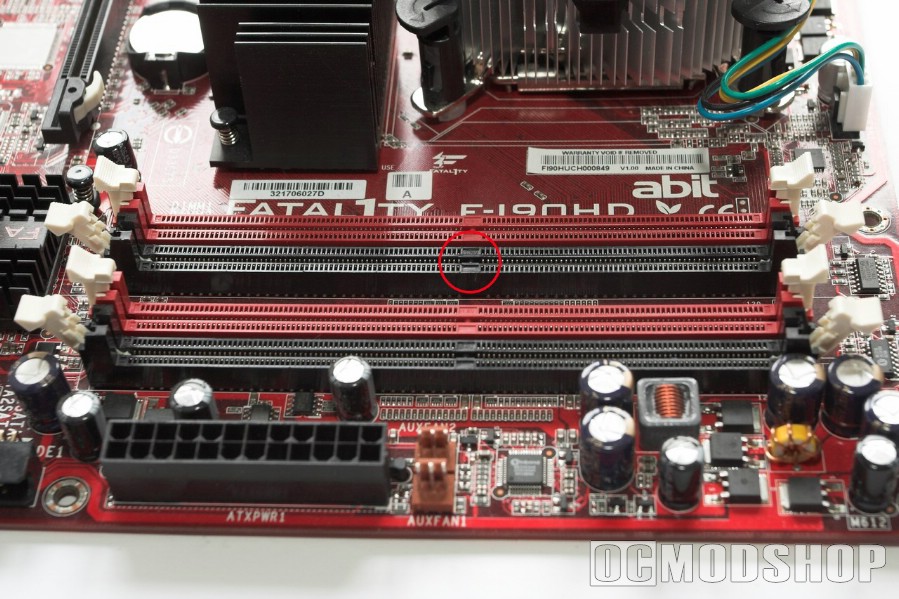
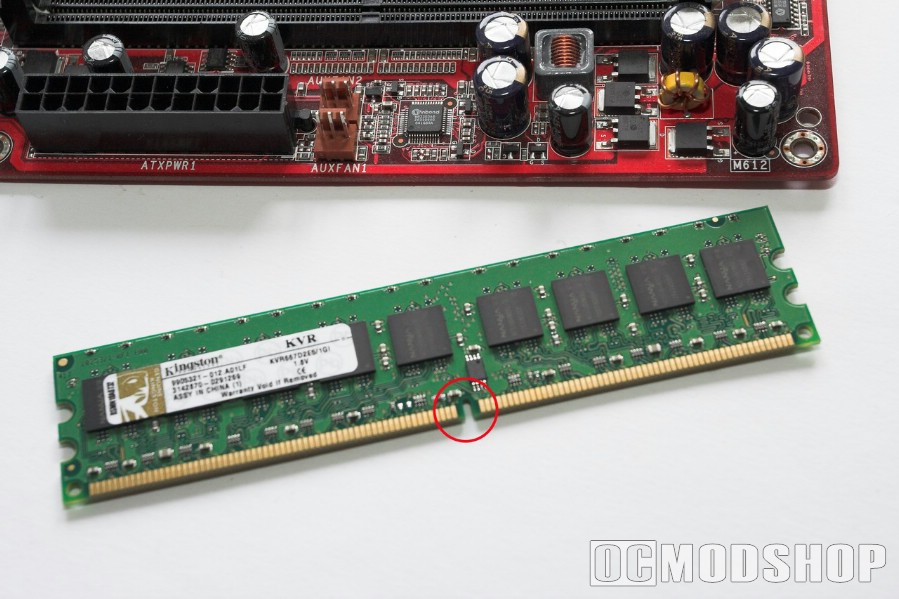
All modern memory has an alignment notch which corresponds with the motherboard’s memory slot (which keeps you from installing the RAM the wrong way). So, if it won’t go in forcefully, then YOU’RE DOING IT WRONG! Just apply equal pressure to both sides of the memory stick itself and the retention clips should snap into place.
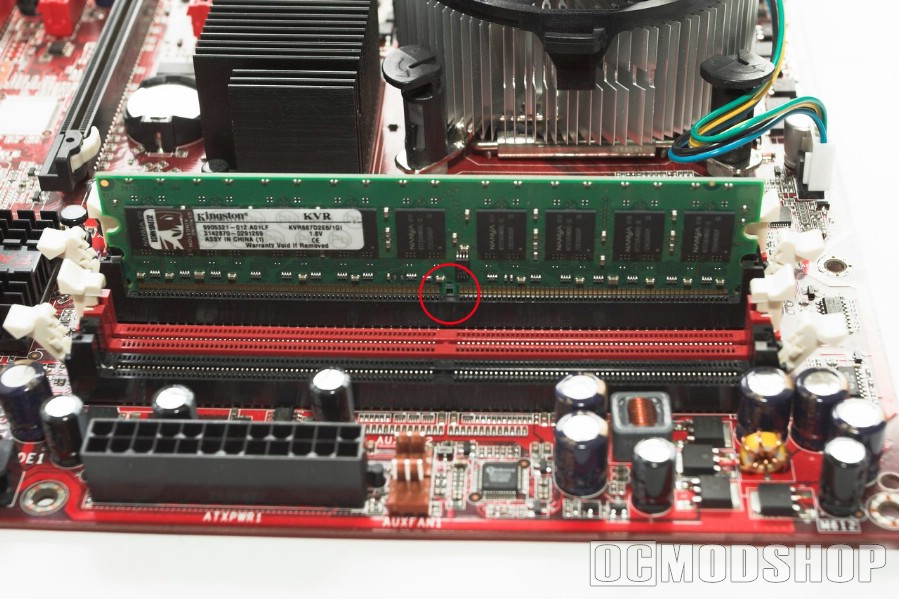 It’s so easy that anyone can do it, and now so can you.
