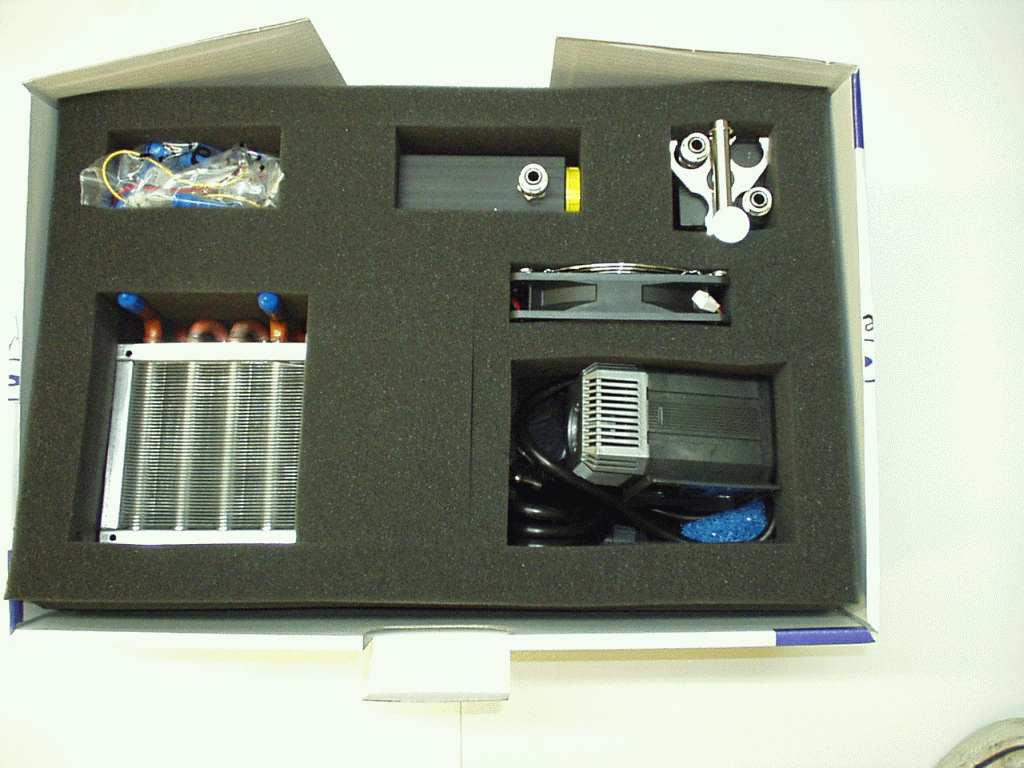
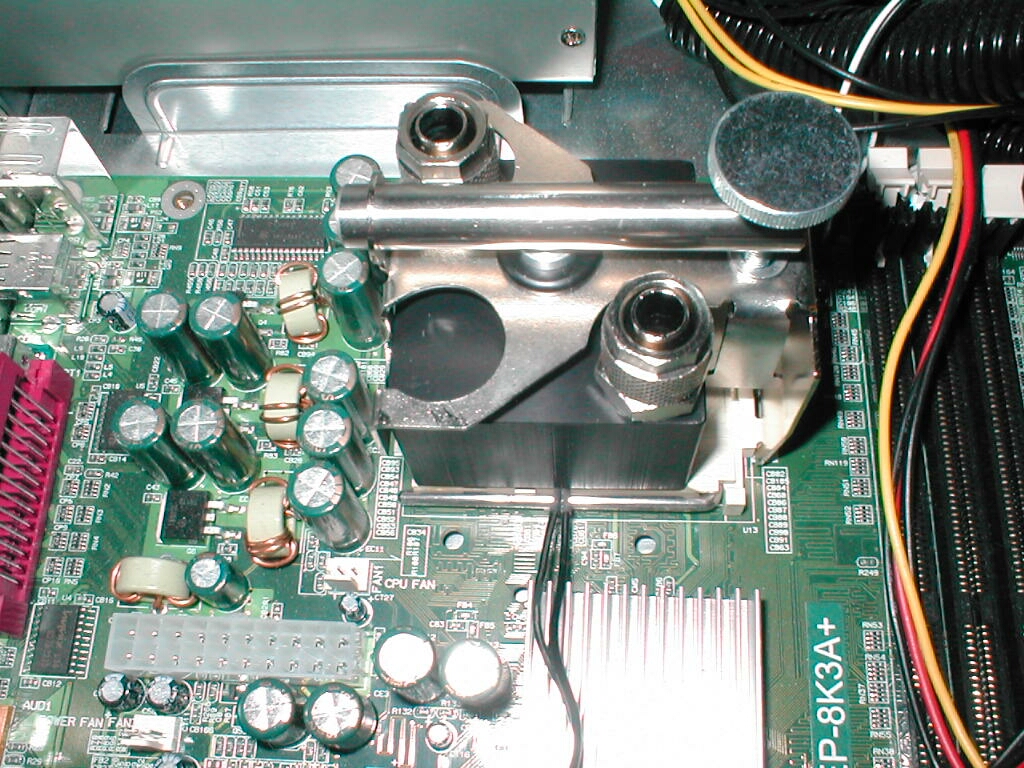
Now that you have your Innovatek watercooling parts all setup you are now ready to install them. The first thing I would do is to install your waterblock to your motherboard. Earlier I said that this block looked like it would be a pain to install, well I couldn’t be more wrong. This waterblock is so simple to install I was baffled. All you have to do is unscrew the knob a little bit, place the block on and then tighten it down. There is no need to take your motherboard out and install nylon screws or anything at all which is really cool. Be sure to use some kind of thermal compound I would recommend using Arctic Silver 3 because it is the best thermal compound on the market.
After you have the waterblock installed you should find a place to install your pump inside your case. Placement of your pump really depends on your case. For the testing of this setup I didn’t install it to my case but in my own personal watercooling system at home I have the pump in the front of the case.
With these Innovatek setups it is probably going to be best to install the pump to the front bottom of the case if you have a full tower and if you have a smaller tower you will probably have to put it right next to the motherboard. For the purposes of this review I put the pump outside of the case which you can also do if your case is not big enough.
The radiator that comes with the innovatek is pretty small in comparison to most of the other radiators on the market so it should make installation much easier. The best place for the radiator in a full tower is usually on top of the power supply and if you have a smaller tower you can most likely fit it in the front bottom of the case. It is also good when you have your radiator setup inside of your case so that the fan can be pulling air from the outside of the case into the case and through the radiator so that the radiator is getting good fresh cool air instead of re-circulated warm air. The best place in this case that I am using would be right in the front where it is in the picture but in the case.
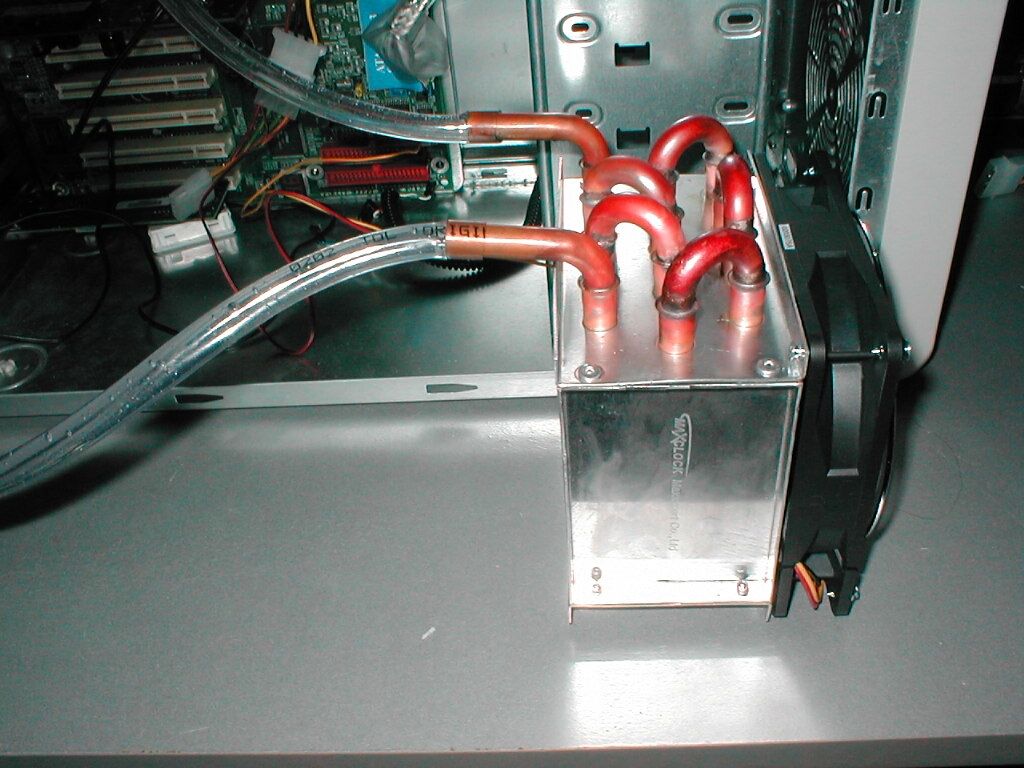
When you have the location of all your parts chosen you can then hook everything up. The best way to set all of this up is so that the pump is pushing water into the radiator then out of it to the CPU and then back to the pump. this is best because all of the heat from the CPU that is in the water will be taken out by the radiator and the CPU will then get colder water.
If you are using one of Innovatek’s Graph-O-Matics which are for the northbridge and video card your water will be heated up by them and passed onto the CPU. The most ideal thing if you are going to go all out is to have 2 radiators, one if which is for the CPU and the other for the northbridge or video card. Now that we have all the explanation out of the way lets set this thing up.
I connected it all together and everything went pretty well. I don’t like the fact that the radiator does not have any barbs or good connection device on it to cut down on the possibility of leaking. You are provided with zip ties which could be used for this purpose but barbs or Innovatek’s connection system would have been better.
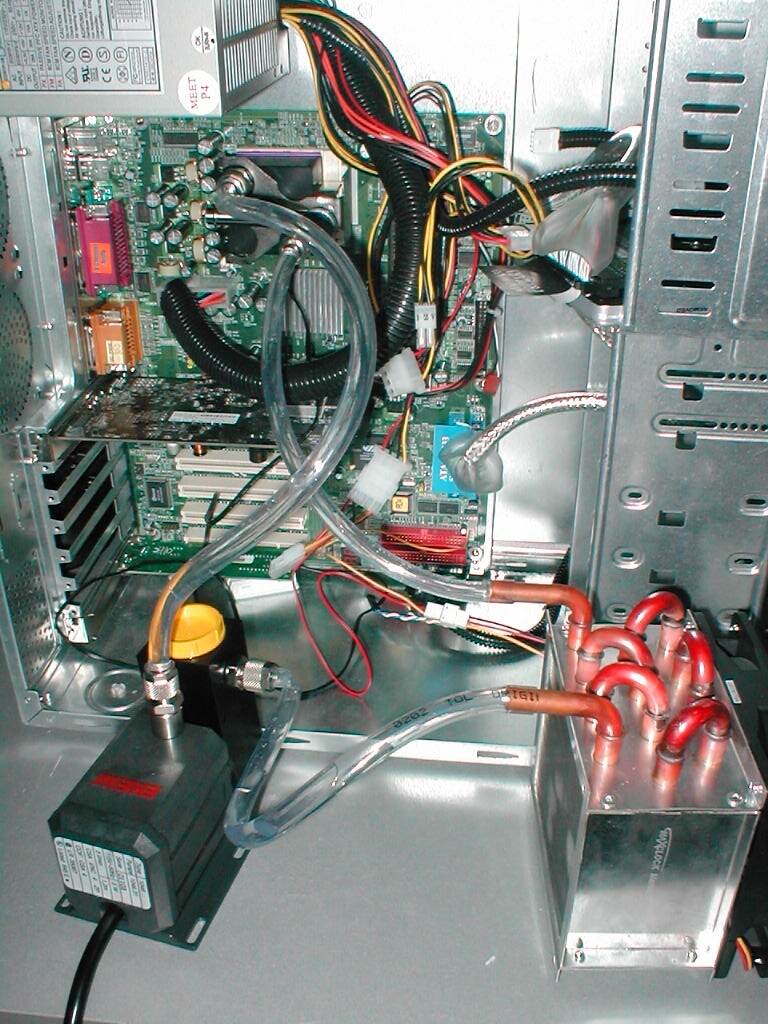
Filling up the system is pretty easy, you should always use distilled water with any watercooling setup so if you don’t have any run to your super market and get some. You should also use a funnel while filing up your reservoir so you don’t spill all over the place. To fill it up just pour some water in until the reservoir is full and then plug the pump in. This will not be enough water to power the system so continue to fill the system until the reservoir is full and stays full. Now that you have your kit installed it is really important to test it without the system running to make sure there are no leaks.
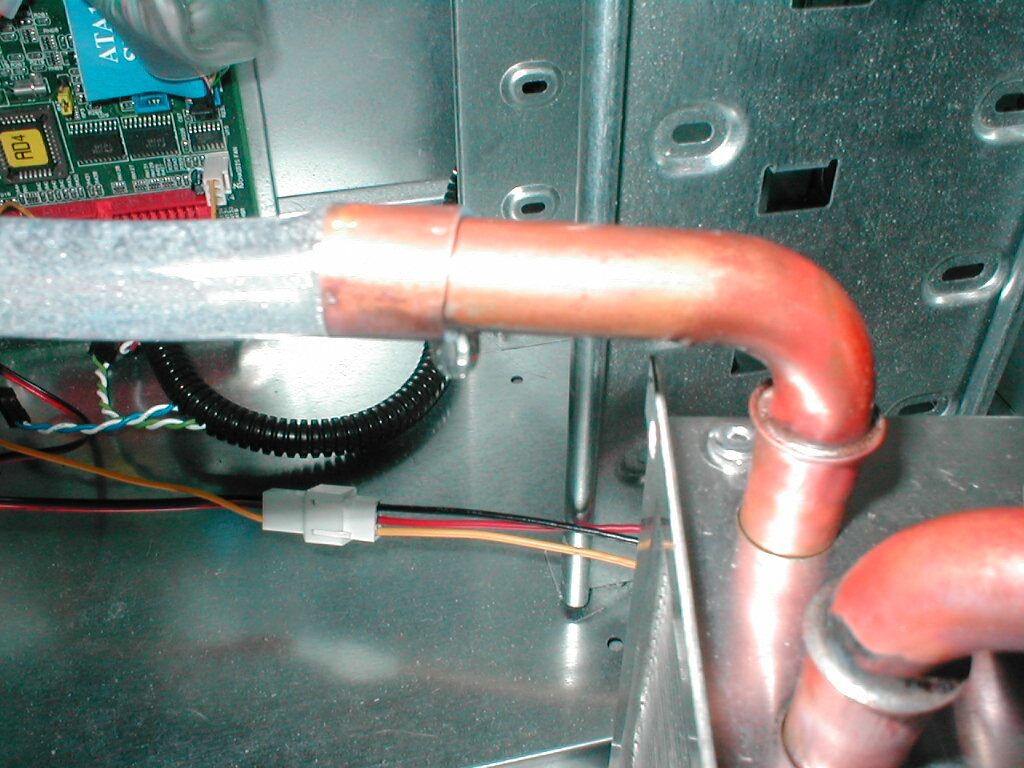
The best way to do this is after you are all done setting up your system and have it installed go ahead and plug the pump in with the computer off and let it run overnight just to make sure there are no leaks, put a paper towel around or under where the connections are so that you can tell if there is a leak. I tested my system for only about an hour and at that time I did find a leak on the radiator which means I needed to tighten it up a bit so that it wouldn’t happen when I was actually using my computer.