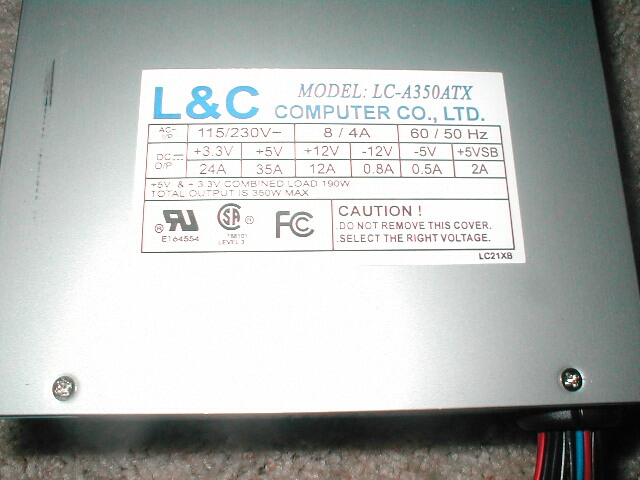
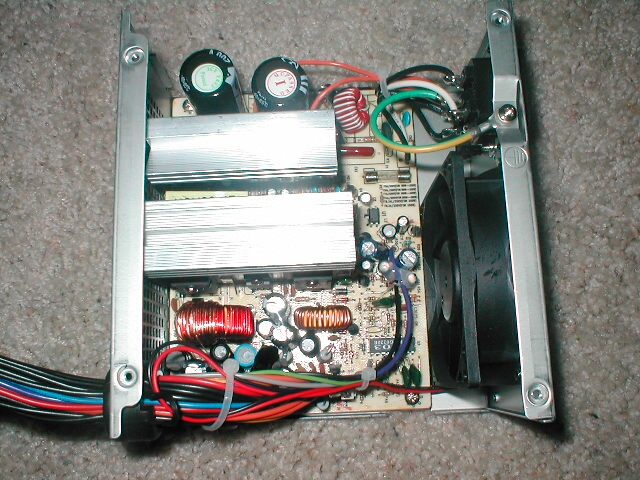
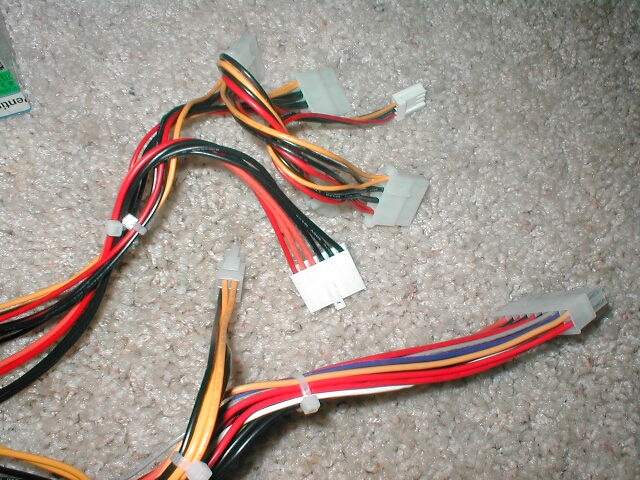
The power supply that comes with this case is a LC-A350ATX power supply which is made my L&C Computer Co., LTD. This is basically a generic power supply but that does not mean that it’s not good. I went ahead and opened it up as I usually do power supplies to take a look around. I did not find any pots in the power supply but I did find two really big capacitors which look like they should do a good job keeping this power supply full. The cables on the power supply are pretty short, which I like because it will make your case a lot cleaner. It is AMD approved and Pentium 4 ready so this thing should be able to handle whatever you throw at it. There are three four pin, one floppy, one auxiliary, one 12v, and one motherboard connector.
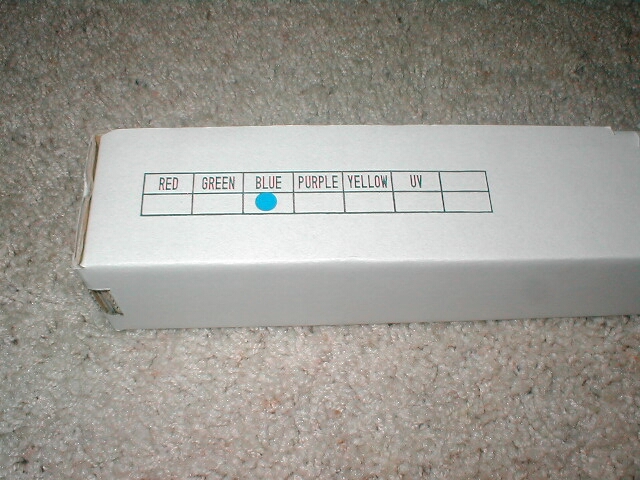
The case does not come stock with the cold cathode but it can be added for only $20. The cold cathode I got is a blue one which is made by Sunbeam, I have had previous experience with their products and really like them. Nothing really fancy about the box, basically just tells you what color you are getting, you can choose from: red, green, blue, purple, yellow, and UV. Koolcases currently only carries blue and red, both of which look really cool.
The inverter comes attached to the set of wires with the Molex connector and where you will hook your switch up. The switch doesn’t come soldered onto the wires which makes installation and un-installation easier. The inverter, which we will look at in a minute, is wrapped in Velcro. The other parts that come with the kit are 2 pieces of Velcro for the mounting of the cathode, a piece of Velcro to mount the inverter, the switch, and a template for the switch so that you can mount it correctly. I love that they included all of these things; all of it will make installation easy and help it to look really nice. Instructions are also included in the kit which explain how to install and setup your cold cathode because not everyone will know how.


The inverter comes wrapped in Velcro to insulate it, usually I prefer to see heat shrink around the inverter but I find this to be a very good method for a few reasons. The inverter is able to hold two cold cathodes, which means if you want to put another on or take one off you will need to get to the plugs. If the inverter had heat shrink around it this would be difficult, but because Velcro is used you are able to take it off and get to the plugs. Another reason why this is good is that you will be able to mount it anywhere in your case just by sticking it to the other piece of Velcro provided.


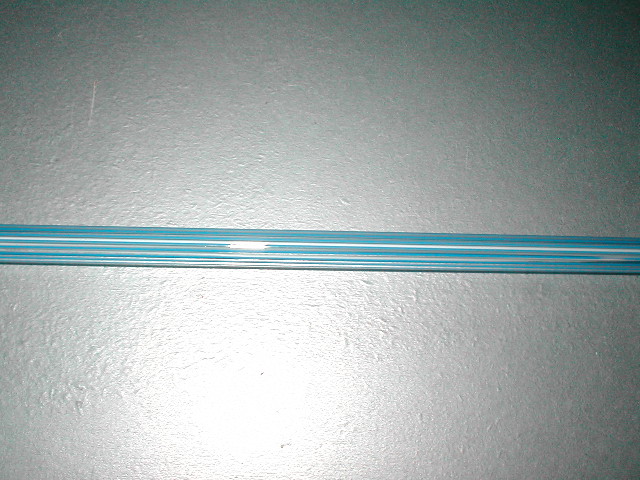
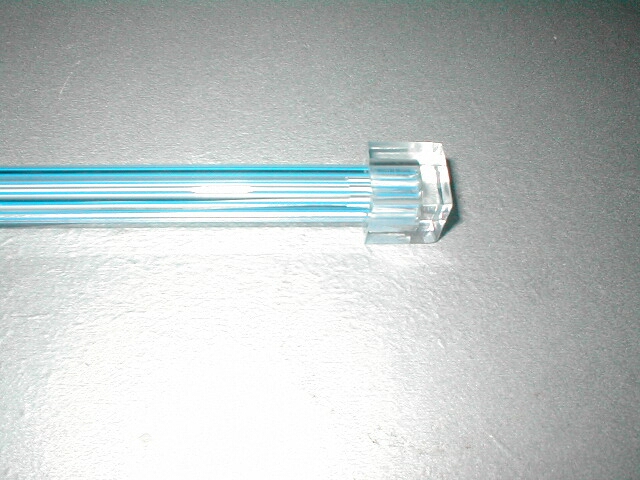
The cold cathode is really professional looking just like I expected, the cathode is surrounded by an acrylic tube which has a few lines of blue going all around it. My assumption for the reason for this is so that the light is directed evenly in every direction and to make it more intense. Each end of the cold cathode has an arcylic cube so that when you mount it, it will not roll all around.