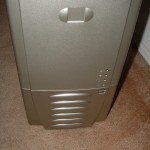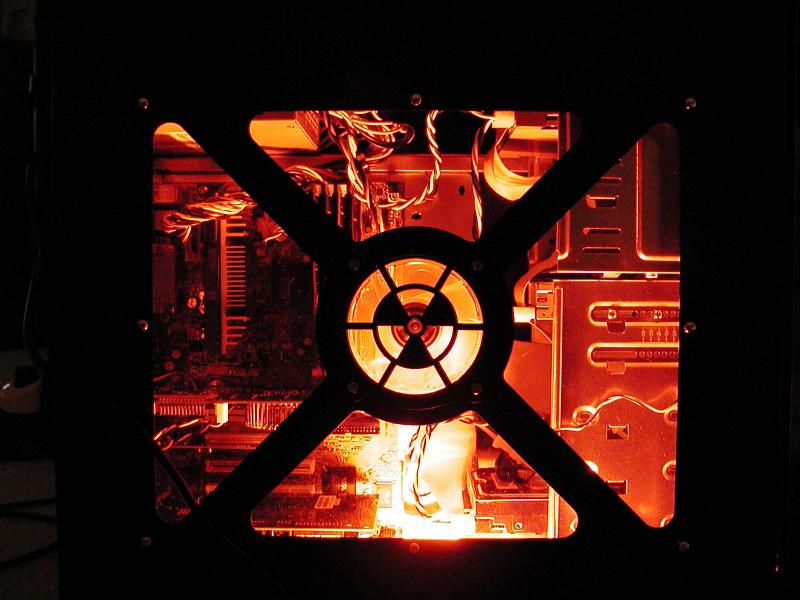
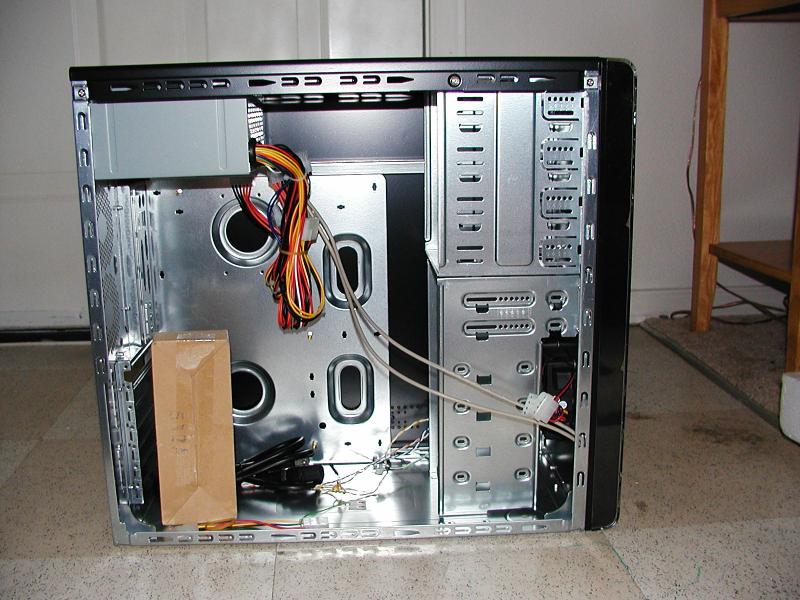
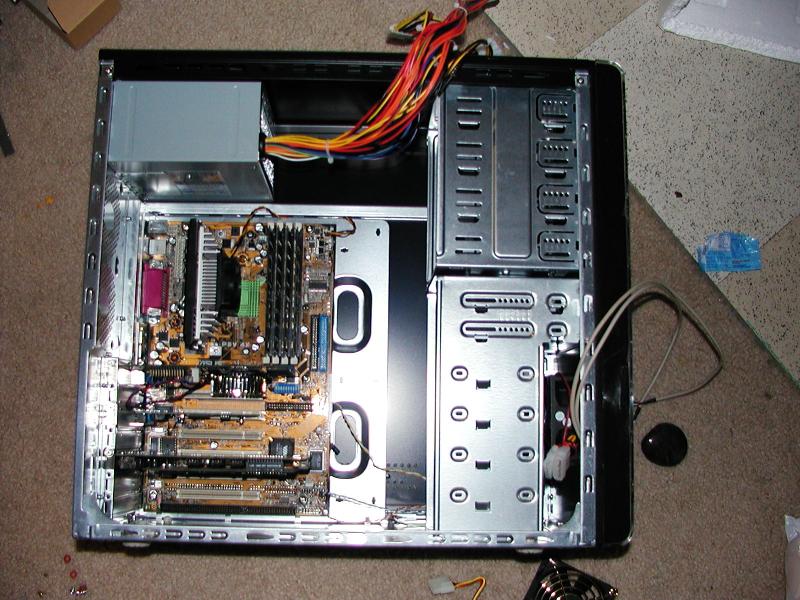
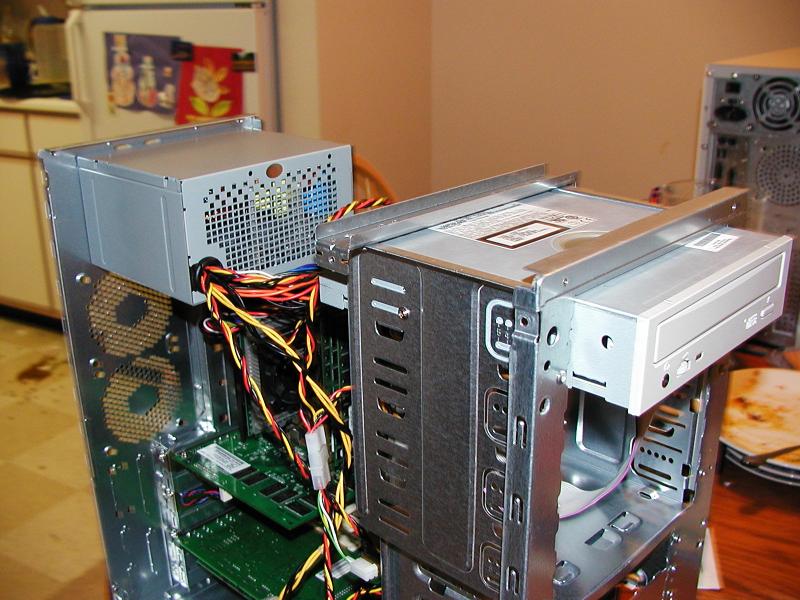
The inside of the case offers a decent amount of room for a mini-tower. The motherboard connectors are all bound together, and are wired directly to the front panel. The drive cage is one sturdy column from the top of the case all the way to the bottom. I prefer this configuration as it adds stability and looks nice. Some people prefer to section their drives together, and have the ability to remove a section at a time. Each drive bay has an interior lip for the drive to rest on, which also makes the drives easier to install.
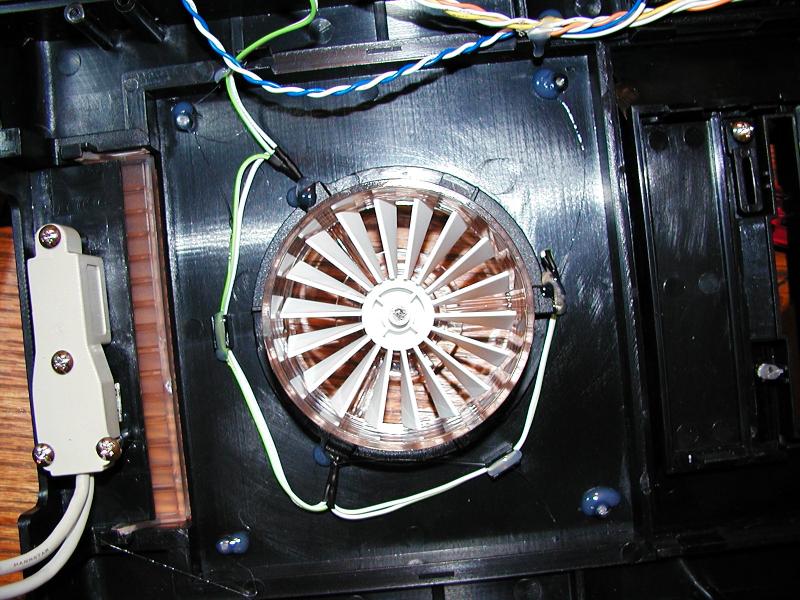
I removed the front plastic bezel for a quick visual inspection. The blue LEDs surrounding the clear air intake port are messily held in place with a hasty glop from a glue-gun, leaving a string of glue behind. I never really got to verify that the LEDs are actually blue, because they fried when I powered them using the included 5v adapter for the power supply. Behind this port is a mounted a standard black 80mm fan, which circulates air through the port, setting the free-flowing white blades in motion.
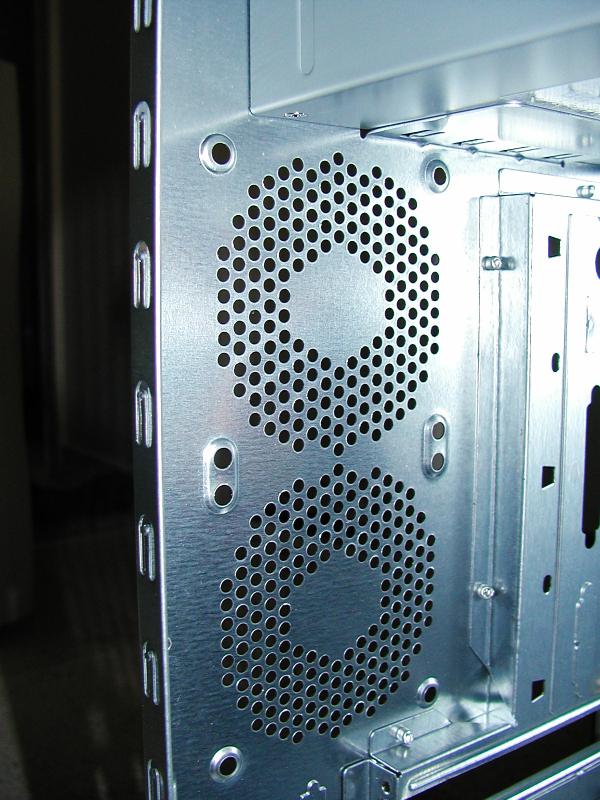
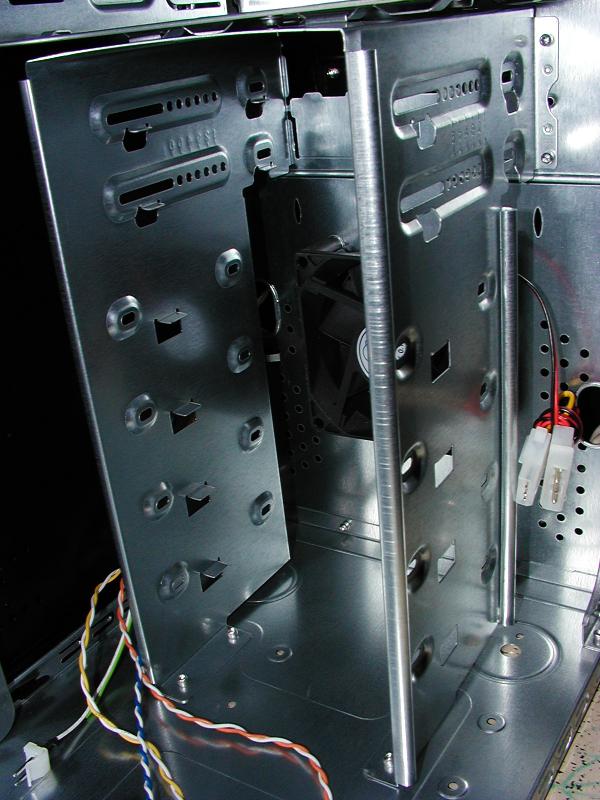
The USB 2.0 connector’s pins are separated, making it universal to all motherboard types. There is, however, no audio connector of any kind, rendering the pre-drilled audio ports useless, unless you want to want to stick toothpicks or lollipops in there. The case comes with 2 sleeve-bearing fans (one black and one clear), which are theoretically quieter than ball-bearing fans. The fans are powered by standard Molex connectors and do not have any rotation monitoring capability. A clear lighted fan would have complemented the air intake’s lighting job perfectly.
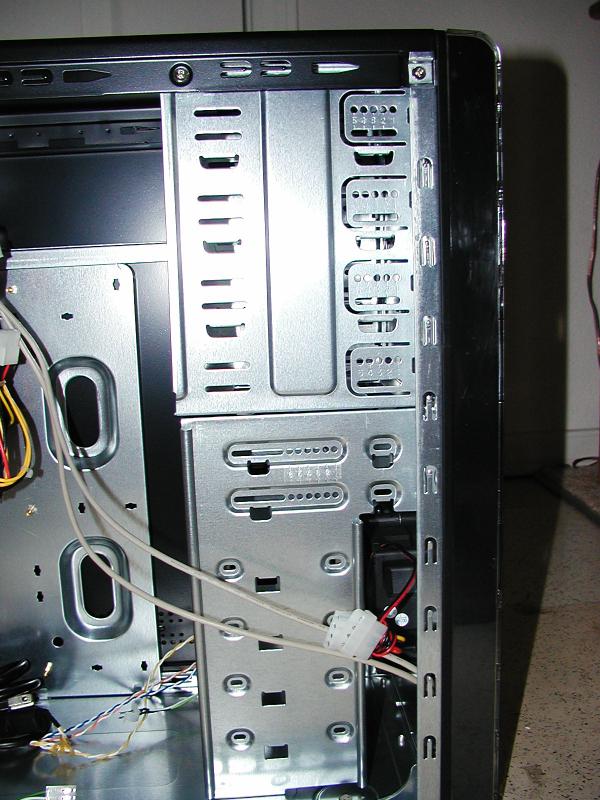
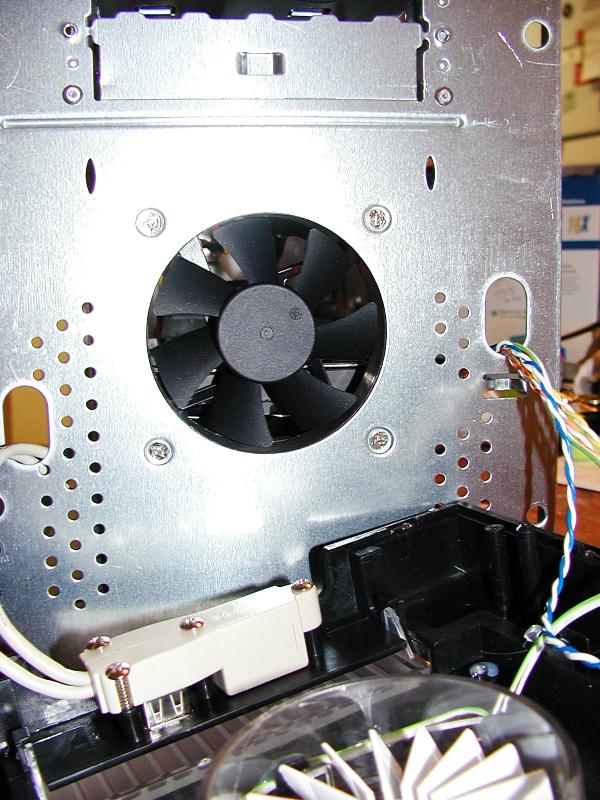
You must install a 5.25” drive from the front. The drive will rest comfortably within a lip of the front panel, and will not push further into the case. As a result, all drives installed will sit flush with each other and the face plates. Installing the motherboard was very easy, as there is a good amount of room inside. Drive installation was also a snap, thanks to the drive bay lips.
The power supply is an average 350 watt power supply, and the wires have ample length to reach any drives in the case. There is only one floppy connector, however, so an installed floppy drive may determine the power layout when installing. If a floppy were installed in the middle of the case (and the floppy power connector is at the end of the wire) then you really couldn’t reach a hard drive at the very bottom of the case. This is just something to be aware of.
All of the corners are pop-riveted in place, reducing the need for extra bolts. It appears weird to me that the extra care has been taken to rivet some corners, but leave others untouched.
The top is merely held together by screws, and can be completely removed by loosening said screws, which does not bode well for the stability of the case. People may not really even care about this feature, but case vibration will take its toll on this case eventually. A poorly constructed case will go through the following inevitable scenario…
- Screws loosen (especially with vibration).
- As screws loosen, joints become weak.
- As joints become weak, vibration (and noise) worsens.
- Repeat.