

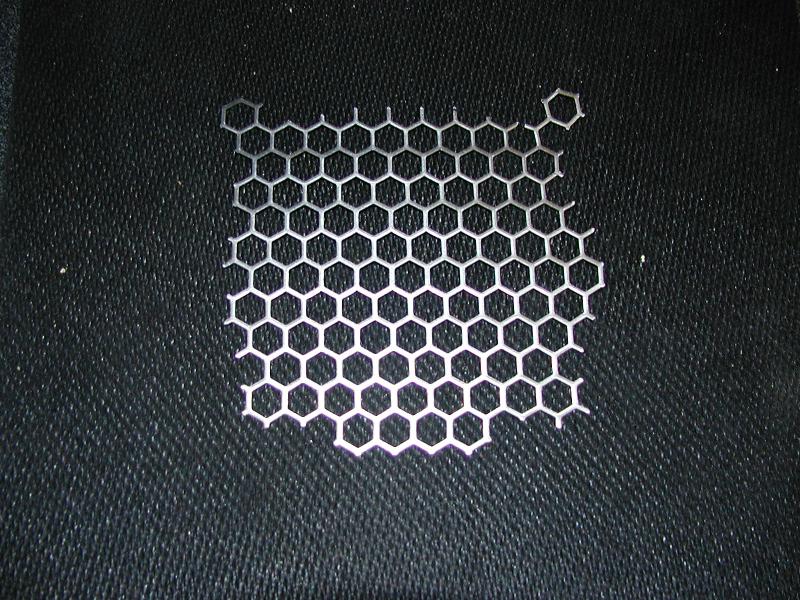
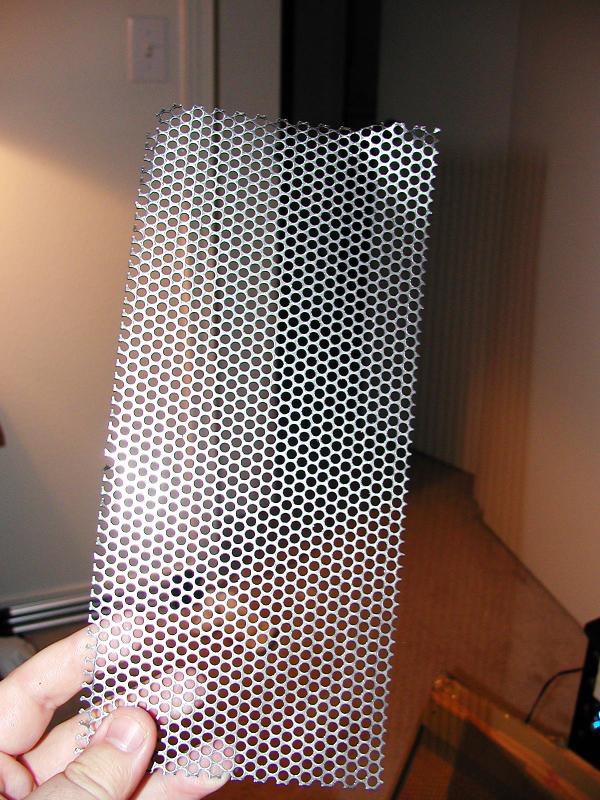
The mesh was used for several simple projects, and yielded outstanding results. This mesh can be used in many different ways, adding an industrial touch. It creates a nice shadow patterns when wrapped around a light source, or can be wrapped around a fan for a custom-looking fan grill. It can also be used to improve ventilation, or diffuse lighting for some nifty effects. The only tools required to perform these mods are a SharpieTM and wire cutters, and none of these projects are particularly difficult to produce.
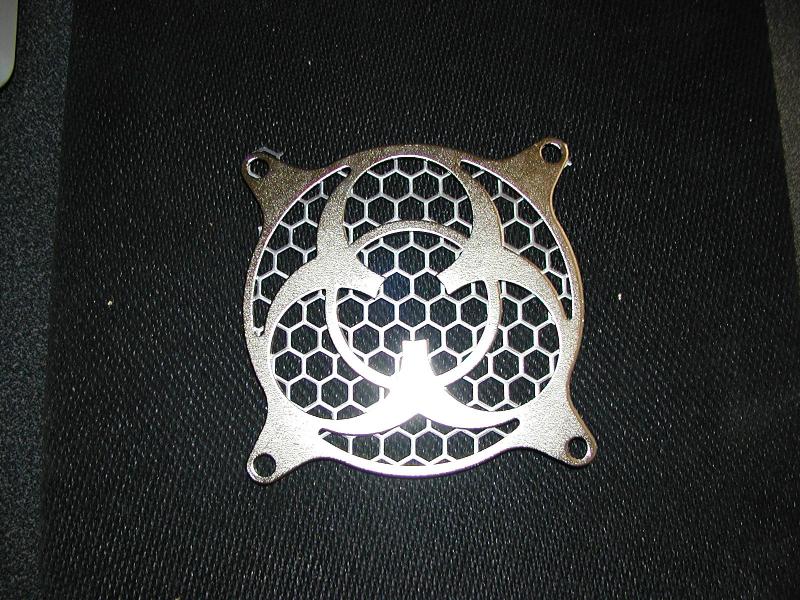
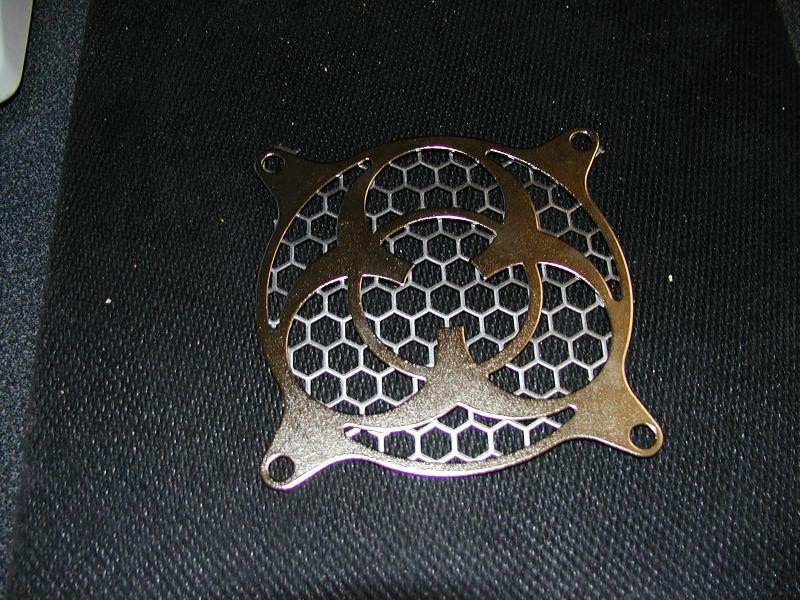
Fan Grill
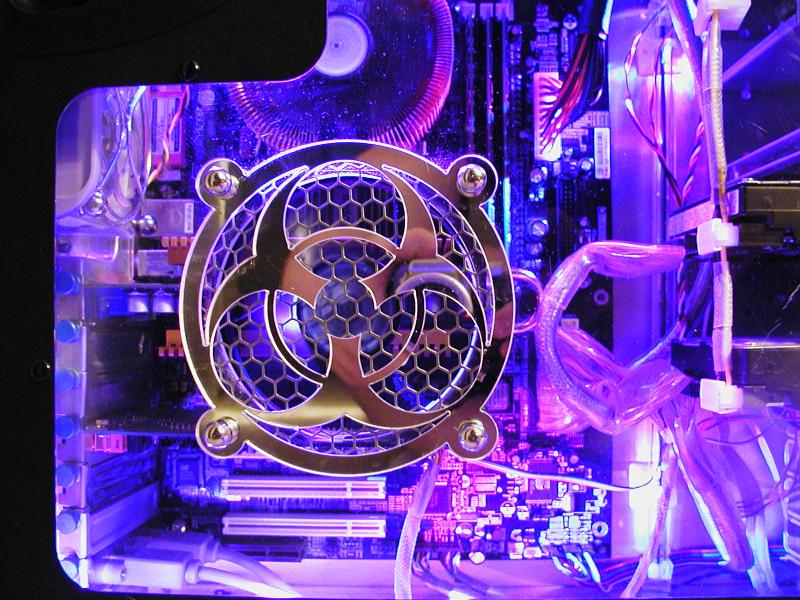
You can add an industrial touch to your existing fan grills with little work. Since the mesh would be hidden behind an existing grill, I did not require the edges be perfect. First pull out the grill of your choice and place on the mesh for sizing. Try to line up at least two screw holes so the mesh will mount securely behind your grill. Draw an outline with a permanent marker and then simply cut the pattern with some heavy-duty wire cutters (the more leverage the better!).
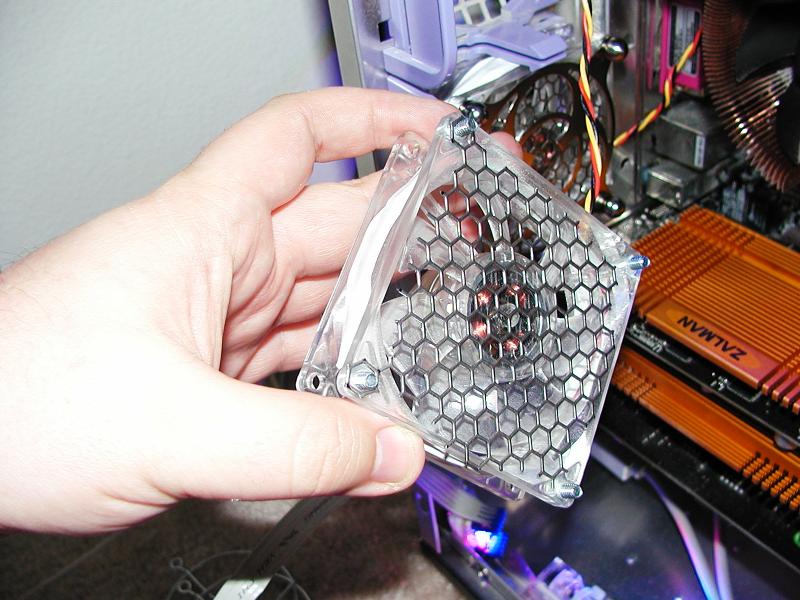
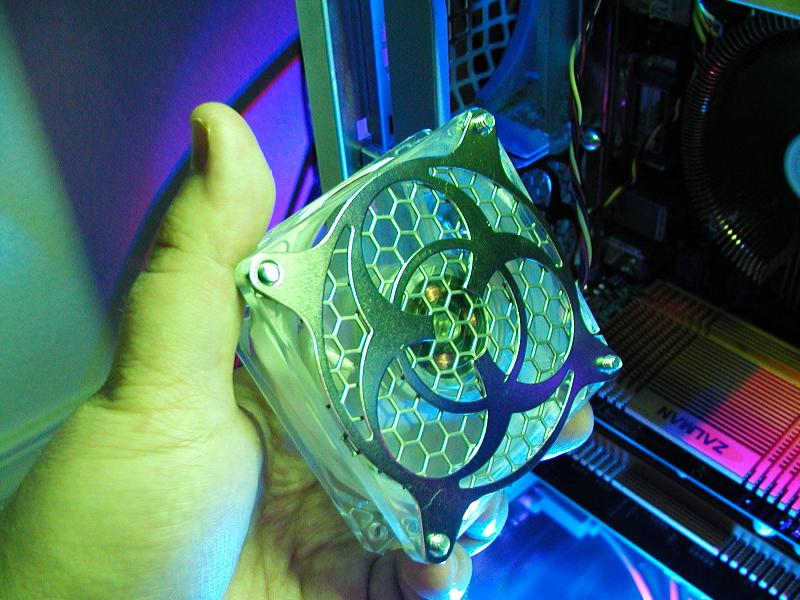
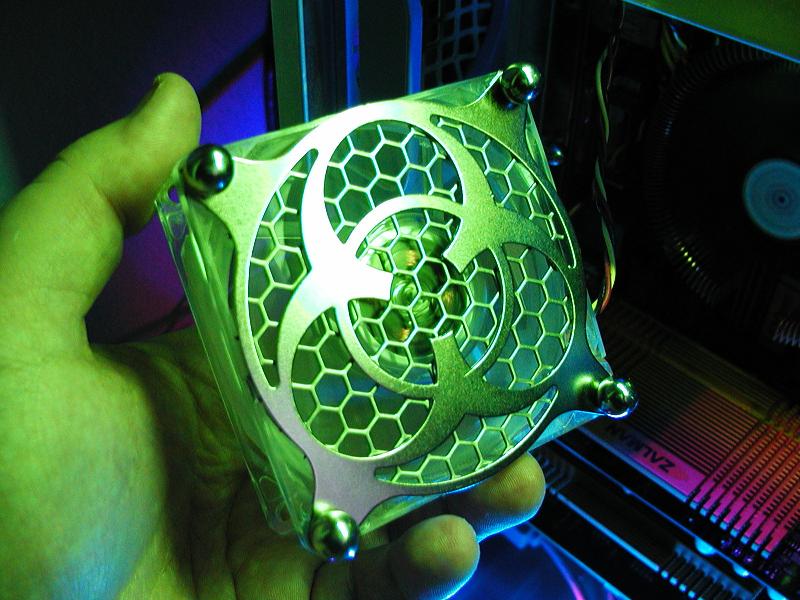
Once you have the pattern cut out, place over the fan and lay the desired grill on top, making sure the screw holes are lined up. Then simply secure with case screws. For an added touch, I used rounded washer ends found in any hardware store’s lighting department (they are typically used to secure outdoor fixtures, and are available in chrome or brass).
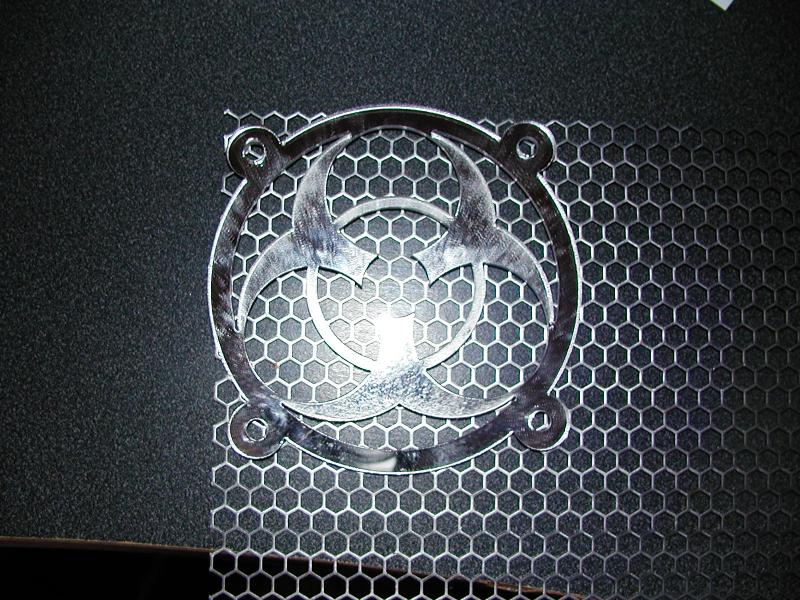
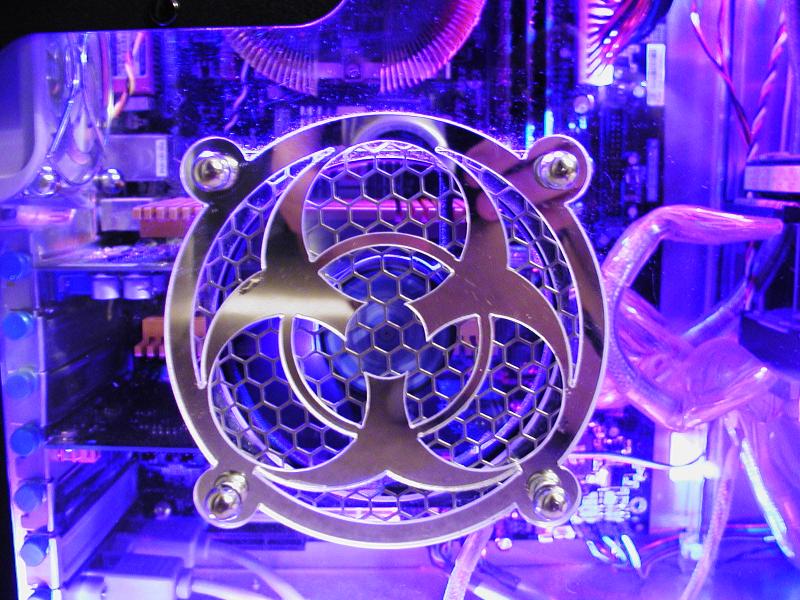
Decorative Front Screen
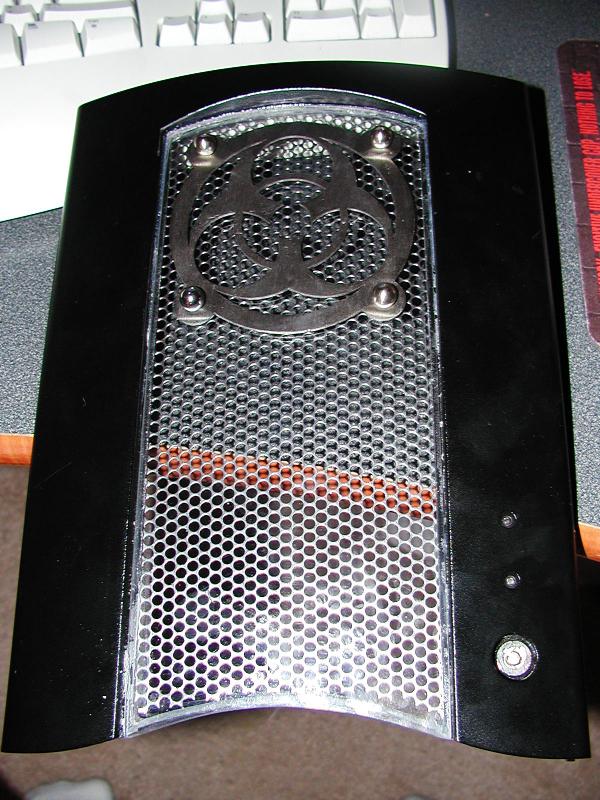
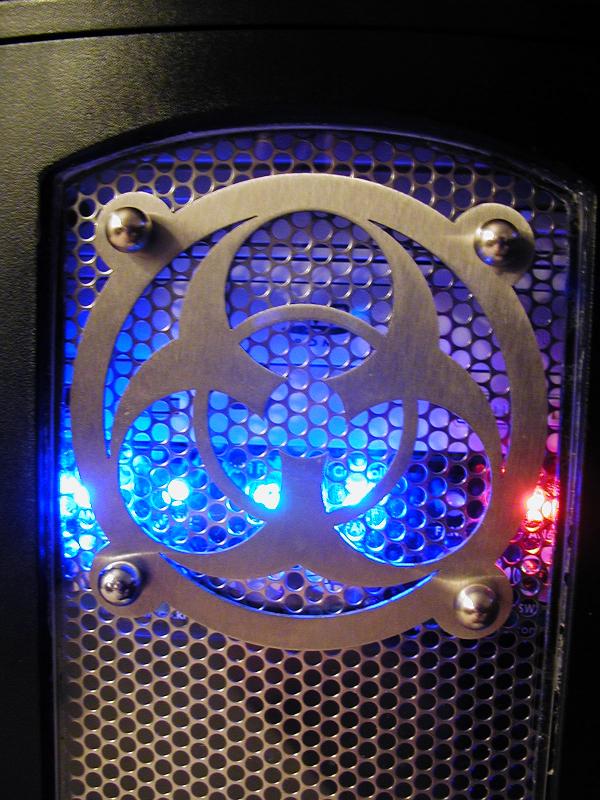
I had previously made a window for the front door of my Chenming case. I thought the case could do with a touch of mesh. Since I could not remove the window, I measured the window size and then marked a sheet of the 5/32” mesh with a permanent marker (I added a little overlap to make sure no edges were seen, as this was going behind the window). I used wire cutters to trim between each hole, and eventually cut the piece free of the 1 foot sheet. I have a decorative fan grill on the window, so I had to cut holes for the mounting screws. The holes on this pattern of mesh are not big enough to accommodate a typical case screw.
Power Supply Cage
This was the most involved of these projects, but was still simple to do. Once the power supply is removed, remove the top cover, which we must measure. You can then measure the width and height, wrapping around the corners of the lid. Now that you have your total height, mark your measurements on a sheet of mesh. A typical power supply will probably be 1 foot long, using the entire length of a mesh square. Add a about ¼” to the length to make sure it can be tucked inside the power supply’s housing.
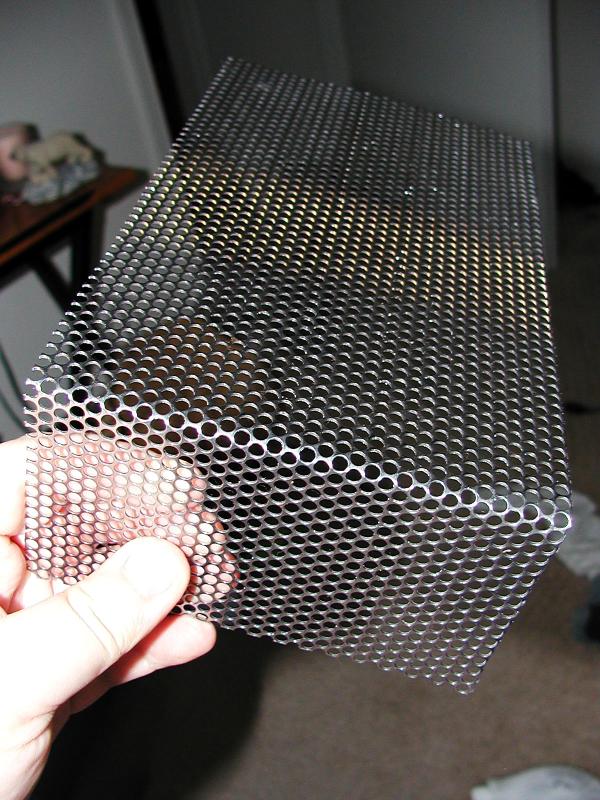
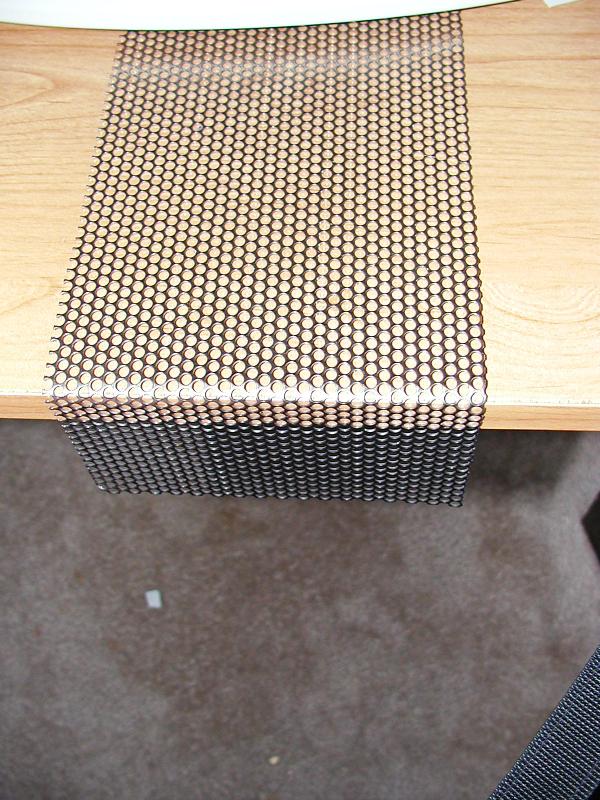
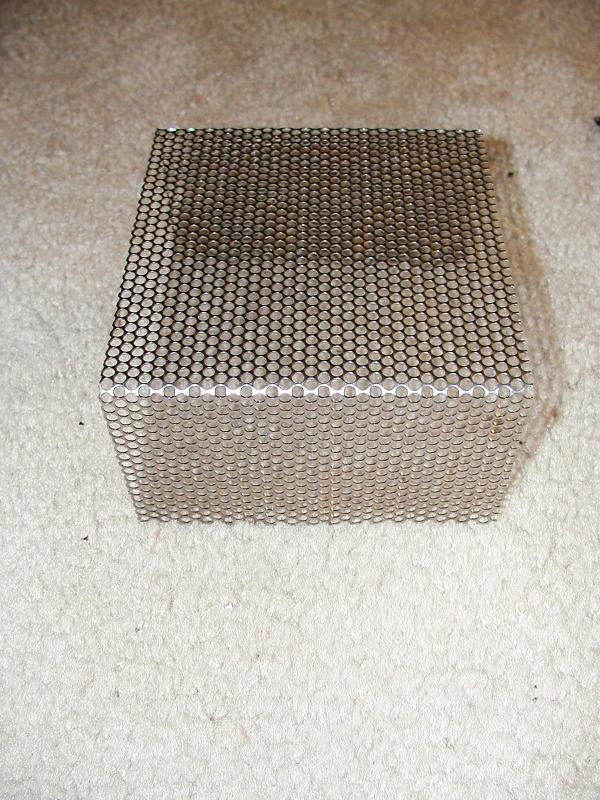
Once cut, you can bend the cage into shape. I recommend using the edge of a table with a sharp 90° angle. This should be pretty simple to figure out, so I won’t go into a step-by-step detail of how to measure bends in metal. Once you have your cage formed, fit on top of the power supply and note where the screw holes are. The small screws should fit through the mesh, but you may need to do some cutting if the mesh is blocking any screw holes. If your power supply has a fan attached to the lid, you must measure and cut mounting holes for it. Now the entire cage doubles as your fan’s grill!
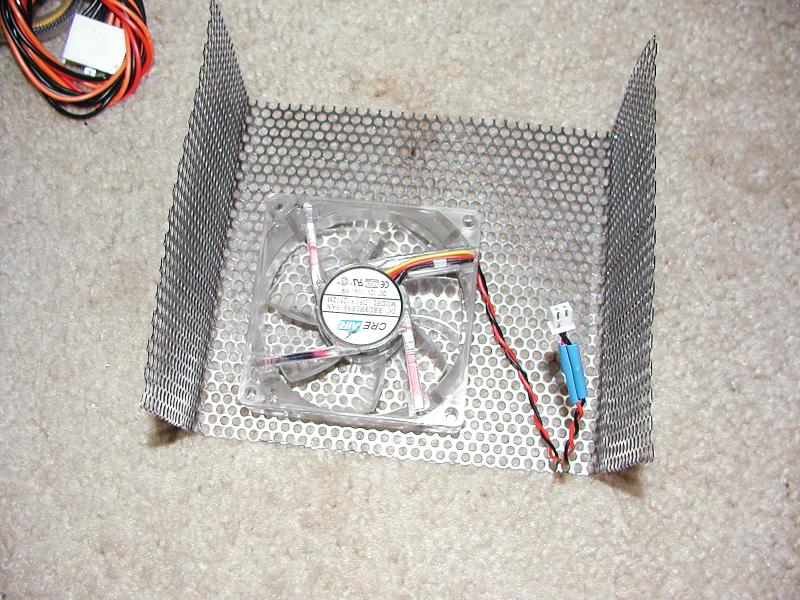
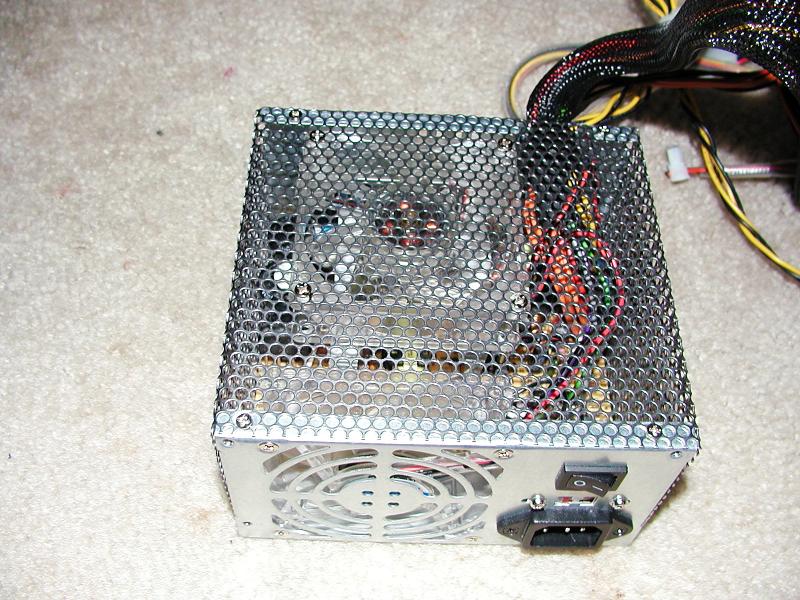
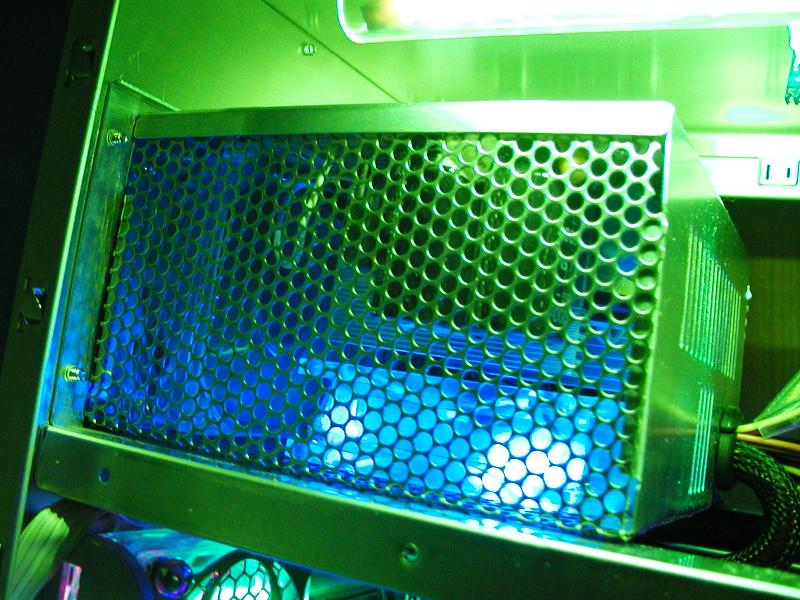
Once all this work is complete, simply place on top of your power supply and tuck edges into the main housing. Then secure the lid tight with mounting screws!

