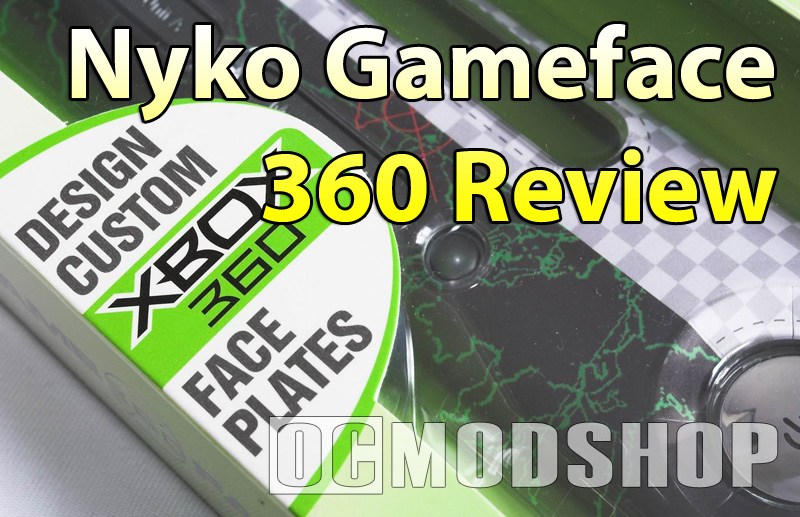
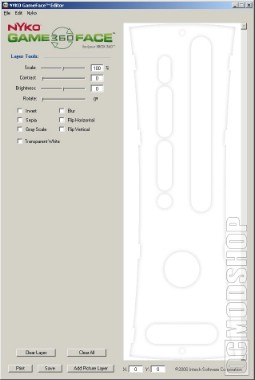
So we downloaded and isntalled the program, ready to go (the software is available for PC and Mac) and if you have a picture ready (or downloaded one of the other designs of different users from the community website) then you’re ready to go and import and print.
If you do have anything else in mind you are very limited. Using Nyko`s software you can add a picture into another one as layers but as soon as you do the others lock. The software’s functionality is very simple, moving from picture to picture. Since Nyko doesn’t provide a Photoshop template of some kind it’s a basic trial and error game. You’re also able to adjust brightness and contrast of your image, only other thing that strikes me is the fact that exports and downloads on the community websites are in a low-res BMP format, but you can always convert them to JPEG later on.
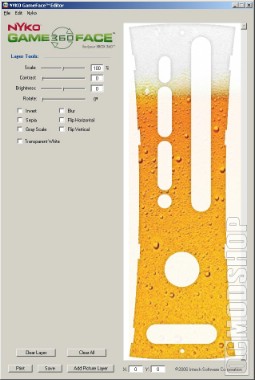
If you have leet Photoshopping skills and a few hours then you can create a much more robust design.
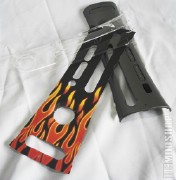
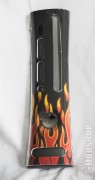
When you’re satisfied (and you spend some neckbreaking hours editing and so forth), then it’s time to print your design. Luckily the software reminds you when you click the print button to set your paper feed to 8.5″ x 14″. If you don’t, then the holes and cutouts don’t line up and you’ve wasted a tree and made baby Jesus cry. After a successful print, another little flaw comes up: the software doesn’t remove the images in the cutout sections thus printing those as well, and since you have to remove them it’s a waste of ink not a lot but still for the money conservatives its another few cents.
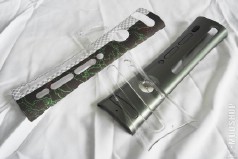
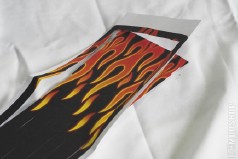
So after you let the ink dry punch out the pre-stenciled holes, fit the paper in the transparent cover and snap the 3 together to create a plastic-paper-plastic sandwich. Now behold your new fully-customized faceplate! Slap that biotch onto your Xbox and get your Gameface on!