
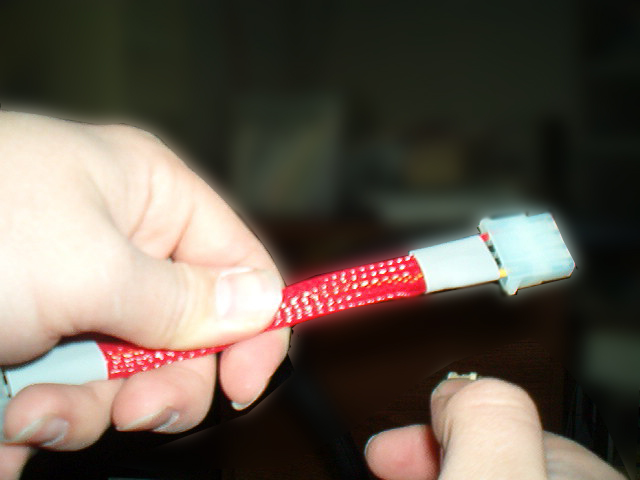
To Sleeve floppy connectors, its pretty much the same as the regular in terms of sleeving and heatshrink, but removing the plastic connector is different. For a floppy connector you’ll need something smaller than a paperclip – the push pin works perfectly for this. Take the push pin and push it down on the outside contacts.
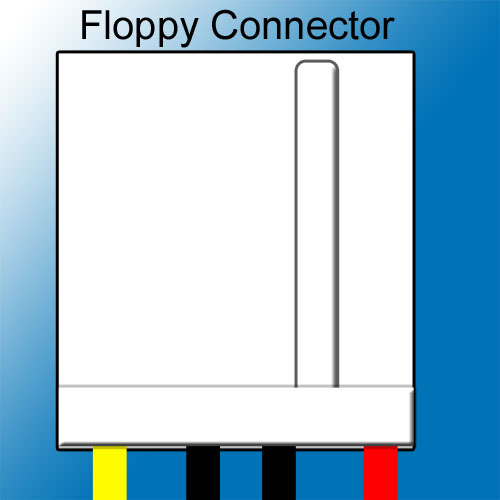
The way these lock into the plastic housing is much easier than the main wires, all you need to do to put them the right way back, is use your fingers to bend them back up before pushing it back into the slot. The plastic housing on the floppy isn’t numbered however, but to put the pins back in order is just as easy. There is a separator of plastic, that makes one pin slot stand out, the singled out hole, is the red wire, to the left of it are the two black wires, and the far left is yellow. The picture below gives you an idea of what I mean.
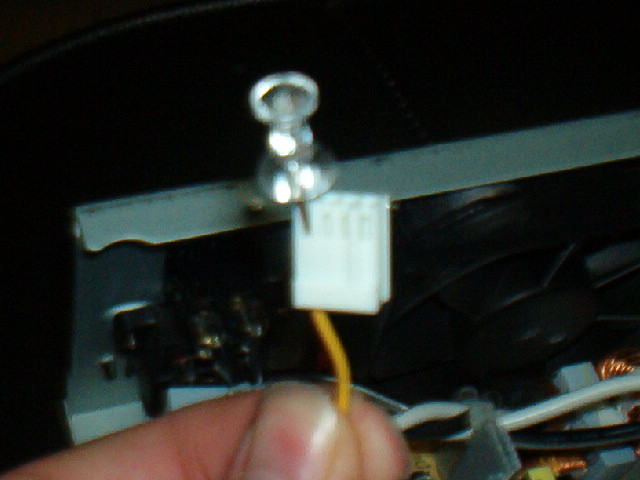
The ATX connector is the trickiest to sleeve, seen as how there are so many wires! The easiest way to get the ATX connector apart is with a molex extractor tool, but if you’re going the way of office supplies, like most of this guide, you can use staples. Slide the bent staple in the side of the pin area, push the pins in, and slip the wire out. The way to remember where each specific wire goes is to label the same colors in alphabetical order. Below is a detailed picture for reference.
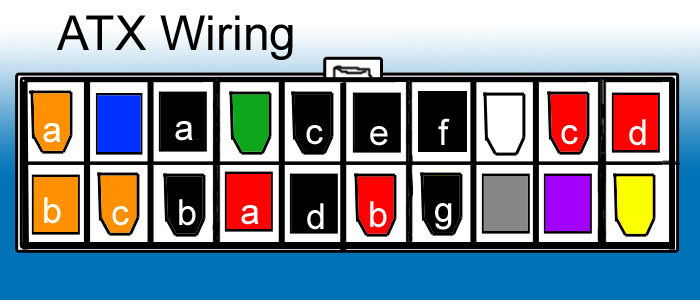
Tape like you would for the main power wires, measure the distance of sleeving needed, and then slip your 3/4” sleeving up the wires. The same method goes for heat shrink as well, cut off two good sized pieces, and slide them onto the ends of the sleeving. Remove the tape, and use the picture above to easily put them back where they belong. After you get the ATX connector back on, shrink the heat shrink with your choice of heating tool, and you’re good to go.
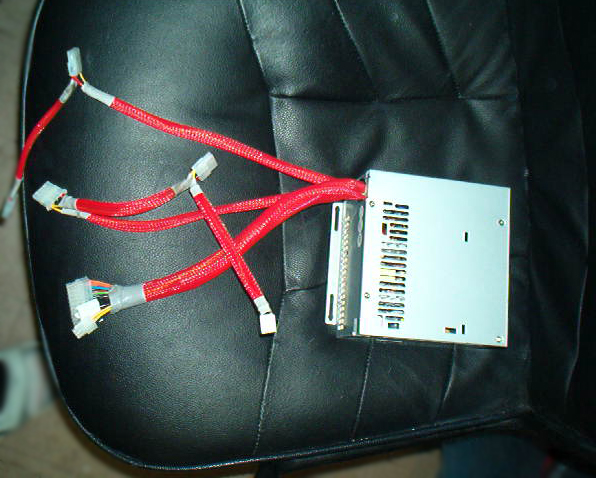
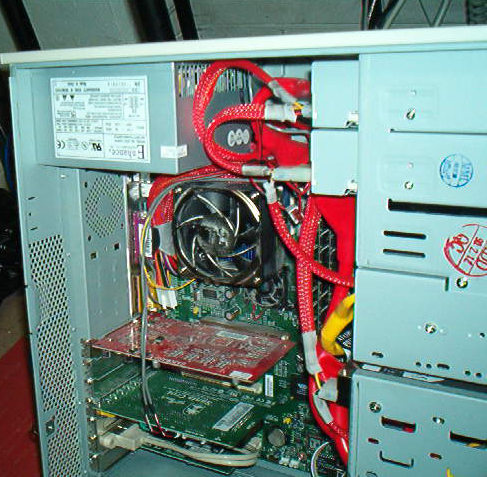
Conclusion
That’s about all there is to it, the benefits of a sleeved power supply are not only aesthetic, but help with performance too. The cleaner a case is, the more air can be distributed, and heat dissipated.
While doing this mod, you might concider working on any other power supply related mods, its easiest to do them all at once, so why not take the plunge, and cut out the stamped fan grills or tap into the power of your PSU to add an led.
When all is done, install your power supply back into your case and hook it back up to your components. Enjoy your hard work, and great looking power supply!


4 comments
hey, those are pictures i took/edited and text slightly edited – why did you take away my credit and give it to brandon?
Andrew Tuma / drxandy
I had to manually edit things when moving content over to the new system. Send me an email with any other articles you've written and I can update them.
And if you want to start writing again, OCMS would be glad to have you back!
You need to heat heatshrink so it will SHRINK… otherwise it will just stay loose around the wire. Use a heatgun. You can use a lighter, but will probably cause ugly black marks on your heatshrink.
why do we need to heat the heat shrink??? how much do we need to heat??
Comments are closed.