The QNAP TS-109 Pro has a nice attractive aluminum case that encases a powerful all-in-one PCB and single SATA drive mount. Included in the box is the unit itself, a getting-started manual, mounting screws, vertical positioning feet, external power supply and power cable.
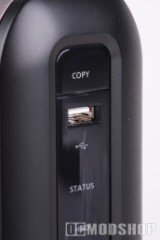
The front of the unit houses a single power button, copy button, LED status and activity lights, and a single standard USB port (used to transfer files to the unit directly). The front LEDs indicate Front USB status (if a storage device is plugged in), NAS status, Hard Disk activity, eSATA (activity on the back eSATA port), Network (activity on the network), and Power (activity on the power… I mean if the unit is on).
 |
 |
 |
||||||||||||||||||
|
QNAP TS-109 LED Status Messages
|
|
||||||||||||||||||
 |
|
 |
The back of the unit has two standard USB ports (used to expand storage or connect a printer), a recessed reset button, an eSATA port, gigabite LAN port, and DC port.
Opening the unit is very simple. By default the unit is not secured with screws, so the inside compartment slides right now. The internal component contains the PCB with all of the unit’s intelligence, and is where a single SATA drive can be mounted. The PCB has five LEDs that illuminate the front of the unit’s case, two pushbuttons (the actual switches behind the Power and Copy buttons), a standard USB port and a tiny speaker (used for warnings and other auditory diagnostics). The rear of the unit is connected directly to the backplate, and houses the eSATA jack, network jack, DC power in, reset button and dual USB 2.0 jacks.
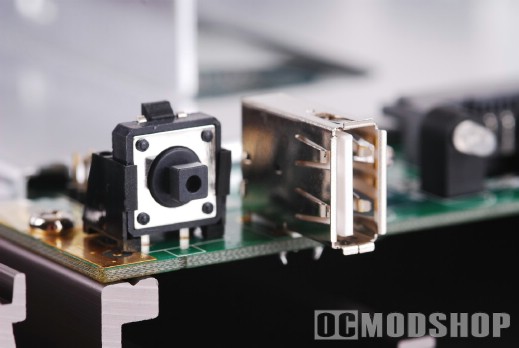
In the center of the PCB is an aluminum frame where a standard SATA drive can be mounted. There is a single connector that plugs directly into the drive which makes both the data and power connections. The data port is perfectly positioned, so all you have to do is place a drive into the aluminum mount and slide it into position until contact is made. The drive can then be secured by attaching the included screws to the side of the drive mount.
The innards can be inserted back into the aluminum chasis. The backplate can then be affixed within the case by securing screws to the backplate. Installation of a drive is now finished, and you can begin to play with your new digital toy.
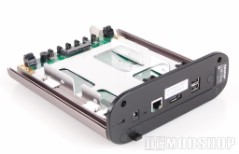
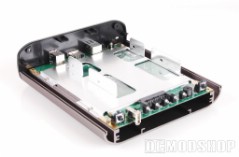
One thing to note about this unit is that is completely fanless. This may be a boon for those who want their NAS sitting on their desk, but most users will probably locate a NAS to a network or wiring closet. The unit is constructed of aluminum and does dissipate heat (it gets rather warm in use), but I would rather see a unit with even a small fan. I have used many detachable storage devices, and most of the ones with fans are so quiet that you never notice them, and they keep the unit’s temperature within t