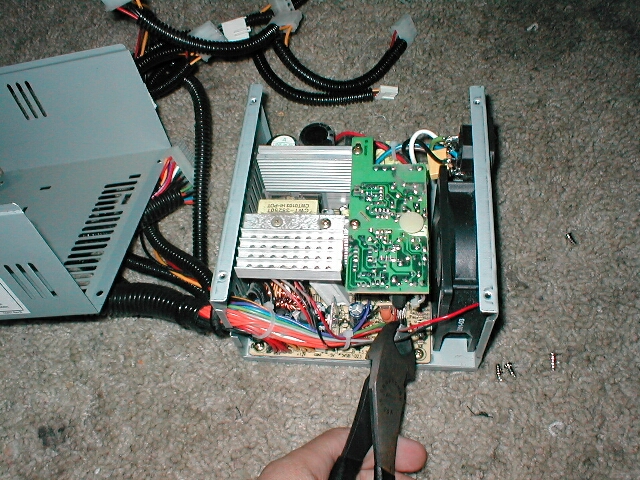
Now you will need to take the cover from the power supply and drill a hole in it so you can run the fan connector through it so you will later be able to hook it up. Determine where the best place for you to drill will be. Your case may be setup different than mine and the hole may work better somewhere else. I used a 5/16″ drill bit to make a hole large enough for the fan plug to fit through. Depending on what kind of fan you use and the connection it has you will have drill the hole accordingly.
Now that you have the hole drilled in the cover you can mount your new quiet fan back into the power supply. Slide it in and line it up with the holes. Be sure when you position the fan the wire is going to match up with the hole you drilled.


Take the 4 screws you removed from the stock fan and remount the fan you just positioned in the power supply. Be sure not to accidentally touch something inside of the PSU while screwing the 4 screws in. Now that your new quiet fan has been mounted in the power supply take the cover and thread the fan plug through it.


Pull the slack through the hole and replace the cover of the PSU. Now Screw the 4 screws back into the cover of the power supply. Now you are done changing your loud stock fan to a quiet one like this Panaflo. Your finished product should look something like this.