

As far as this mouse is concerned, it is practically identical to the PC version of the Razer DeathAdder. The only real hardware difference is the firmware of the mouse, which allows the mouse to be recognized by Apple computers (assuming you have OS X). The mouse is completely black, but the top part of the mouse has a nice matte finish, and the underside and sides of the mouse use a shiny black plastic. The large white scroll wheel is notched and sits right in the center between the left and right mouse buttons. On the left side of the mouse are two thumb buttons (typically used for Forward and Back on the PC). The underside of the mouse has the 3G laser sensor and a small recessed button to switch your gaming mode.
The mouse comes with a plethora of stuff, too. Included with the mouse are several Razer stickers, a quick-start guide, a driver CD, and several other pieces of Razer Flair.
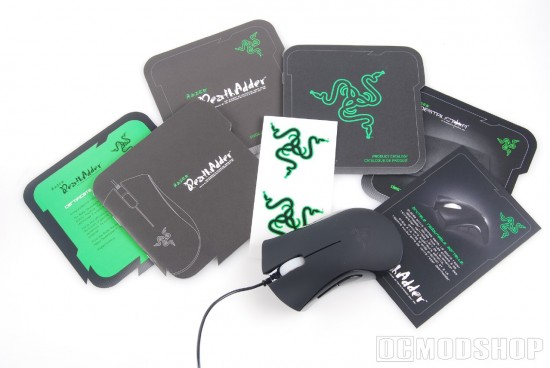
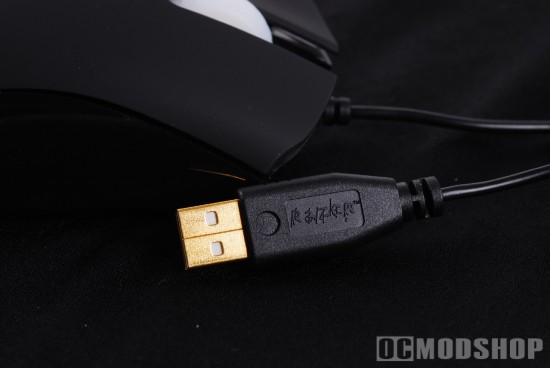
Installation of the mouse on a mac is fairly straightforward. Just like on the PC, it is immediately recognized and ready to use as soon as you plug it in. You really only need to install the software to use the extra functions of the mouse. The white LEDs underneath the scroll wheel illuminate, as do the LEDs under Razer’s Snake logo on the body of the mouse. By default, the Snake logo fades in and out, but can be changed to be on all the time.
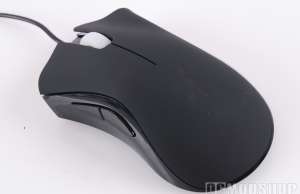
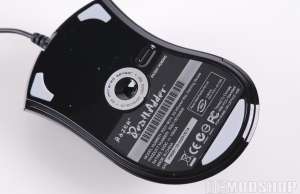
The mouse can have several different profiles, each with their own button assignments and dpi, which can be changed using the button on the bottom of the mouse, or within Razer’s software. As with the PC version, there are no visual indicators on the mouse to communicate what mode the mouse is in.
You may have some issues in some Apple programs, because most Apple software was never intended to use these many buttons. For example, by default the Forward or Backward buttons won’t work in Safari, but you can create macros to emulate keyboard commands (Command Left and Command Right). So, there can be a lot of setup involved if you need the mouse to do a lot of different office tasks.
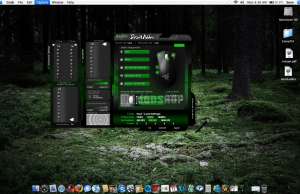
Razer’s software is almost identical to the PC’s, which makes the DeathAdder one of the more flexible choices for the Mac platform. The main software window lists button assignments for the mouse (left button, right button, wheel button, and two thumb buttons). By default they are Click, Menu, On-the-Fly Sensitivity, Dashboard, and Expose. The bottom part of the window allows you to choose between several USB polling rates (125Hz, 500Hz, and 1000Hz), and 3 different DPI settings (450, 900, and 1800). You can save or load settings into one of five banks.
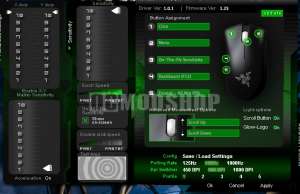
You can also expand tabs which allow you to modify the mouse’s sensitiviey, X-Axis and Y-Axis. You can also change how responsive the Double-Click and scroll speed is. There is also an option for the monitor to show the DPI when it is changed on-the-fly (which is practically essential since there are no other indicators).
It is great to be able to adjust your sensitivity on the fly. Sometimes when working with graphics you need fine control, and when web browsing you may need more fluid movements. For the mac user, this is a relatively new feature, but many PC mice have had this for years. If this were a PC-only mouse, I would definately complain of the lack of a dedicated DPI button and on-mouse sensitivity indicators. Honestly, Mac users won’t mind, because a message comes up when they change dpi settings.



3 comments
Yes you are right razer death adder is really Best gaming mouse ever!
Razer actually released a new version in 2013 which has a far more superior sensor.
I made review of DeathAdder 2013 version and I love it! This version is actually much better!
Comments are closed.