The kit I purchased came with two relacement earcups, two scrims (black fabric mesh shield), an neatly-folded instruction sheet, and a new warranty card.
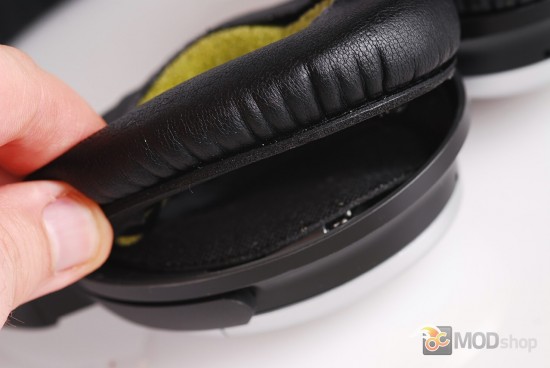
Removing the Earcup Cushion
Gently begin pulling one area of the cushion away from the earcup until it separates.
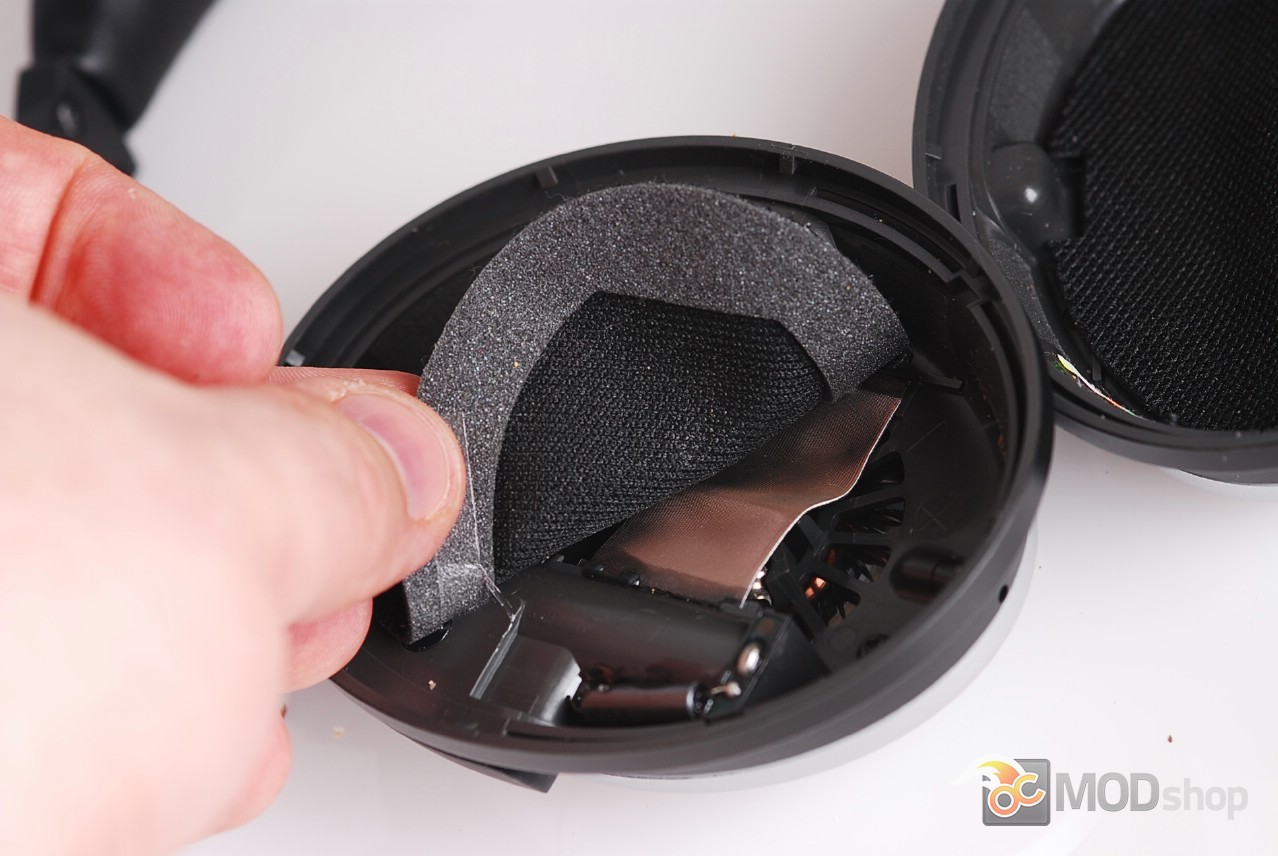
Removing the Scrim
The scrim is the black cloth inside the earcup which covers and protects the earcup components. It is attached with two strips of adhesive. To change the scrim, gently remove it from the earcup by peeling it away.

Be careful not to touch, press on, or remove any other components inside the earcup.
Inserting the New Scrim
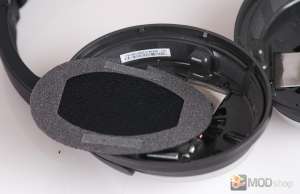
Remove the two paper backing strips from the scrim to reveal the adhesive. Place the new scrim inside the earcup, using the notch to keep the orientation.
Gently press down on the edges of the scrim to secure the tape to the plastic part of the earcup.
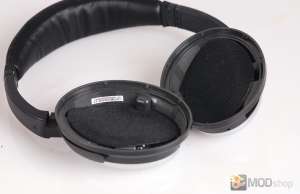
Re-attaching the Ear Cushion
The earcup cushions are held in place by a mounting flange which snaps under the tabs on the inside rim of the earcup.
Press the edge of the mounting flange, making sure it is secured all the way around the earcup.
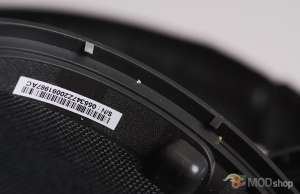
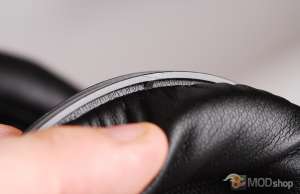
You will hear and feel a firm snap when the earcup cushion is properly in place.
Get replacement Ear Cushions
The earcups are the only thing that has needed to be repaired on the headphones after 3 years, which is a testament to their investment. The headband, plastic, cord and case are still in excellent condition after 3 years, and I can see using these for another 3, maybe even 10 years.
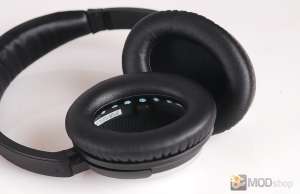
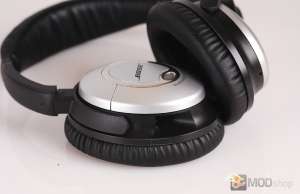
You can buy the replacement Bose QC15 replacement ear cushions directly from Bose for $35, or you can get them for $12 here