
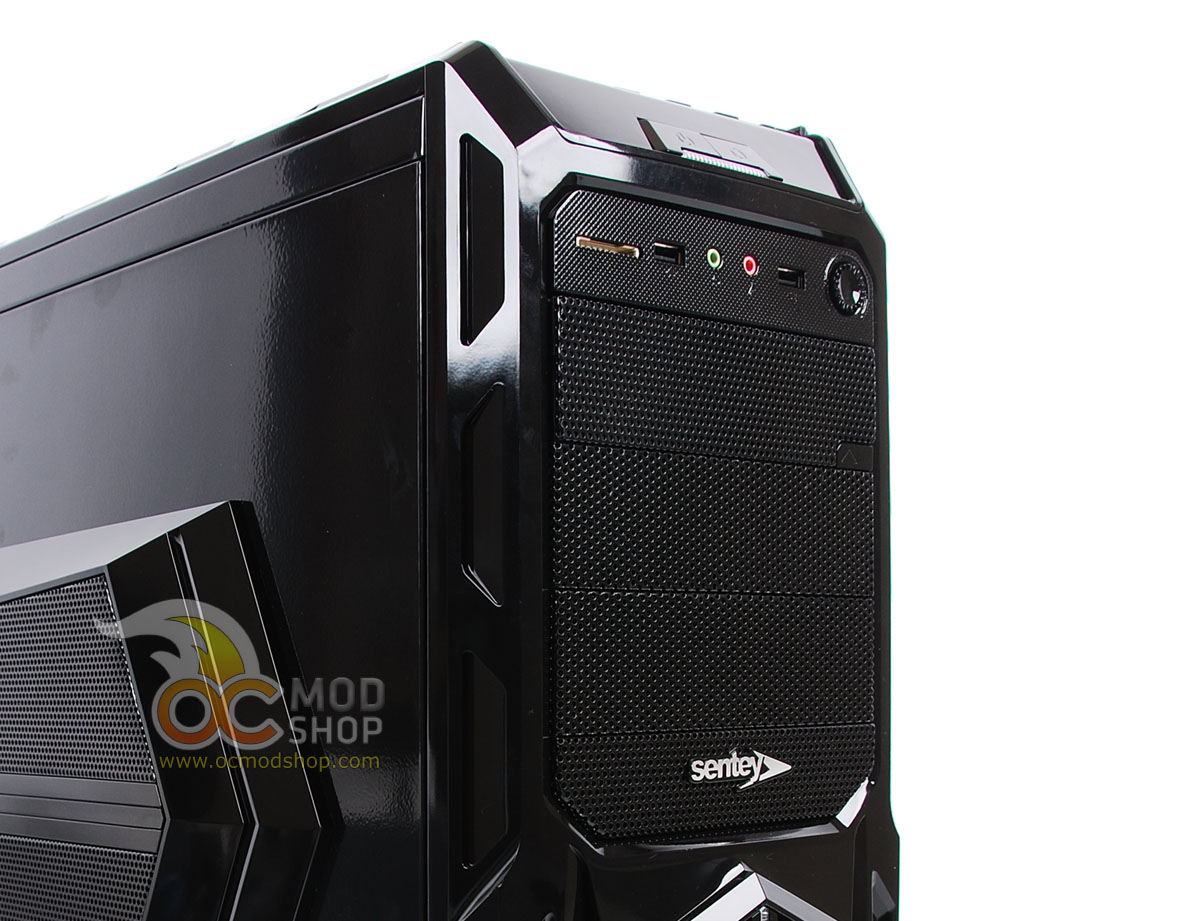
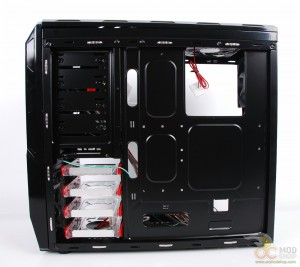
After we open up the case, we can take a look at the internal features of this case. With both sides off, one can’t help but notice all the cable-management holes, nooks and crannies this case has been designed with. There is a generous hole in the motherboard area which allows for installation of larger heatsinks that require access to the motherboard’s underside. With this feature, you never have to remove your motherboard whenever you decide to upgrade your heatsink.
There are also several oblong holes that allow you to snake cables underneath the motherboard tray and to the hard drive and optical drive bay. There are also areas that are popped-out which are intended for securing wires with cable ties.
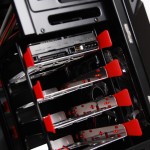
The hard drive bay area is certainly worth mentioning, which again is another feature found in higher-end enthusiast cases. Other cases we’ve tried do allow drive installation on rails, but only have plastic rails. The Optimus case gives you four metal trays, which have been ventilated to allow adequate airflow around the drive. Red plastic rails do secure the drive and tray to the slide-in area, and the rails are hinged at the top.
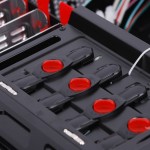
The optical drive bay comes with several tool-less screw-in holders, but I’ve never really been a fan of these. They do look great, with a red plastic hub that secures the whole thing together, but your drive is only secured from one side. Either you live with the fact that installation took about two seconds, or you have a drive that’s half-installed and can introduce additional vibration to this case. I heartily recommend taking the extra minute and secure your drives with screws on both left and right sides, especially since the opposite side of the drive bay is not obscured in any way.
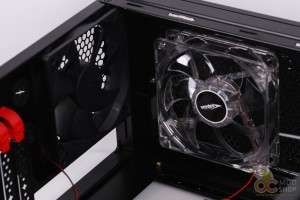
The case comes with several clear plastic fans, and many of them are cool-looking clear fans with LEDs. The side has a very large 180mm fan with LEDs. There are two exhaust fans on the top and back, and two intake fans with LED that not only introduce fresh air into the case, but pull double-duty by cooling your hard drives.
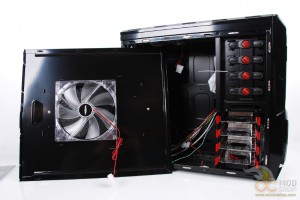
Unfortunatley these fans get their power with huge-ass Molex connectors rather than standard 3-pin or 4-pin fan power adapters… which is my other major pet peeve about cases. When I encounter these fans, the first thing I usually do is rip them out and replace them with new ones, but that isn’t feasible in this instance as there are severeal odd-sized fans, and replacing them would easily cost about half the price of this case.
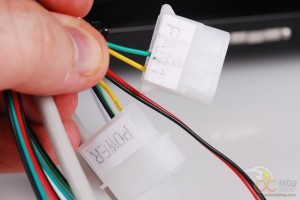
You pretty much are stuck with the Molex fans if you want to use the integrated fanbus, which distributes power via Molex plugs. It would have been great (and probably would have solved some space issues) if the I/O panel had a real fanbus that utilized 3-pin and 4-pin leads, and used fans that were compatible with this system. I have to detract major points from any case that still uses Molex power connectors, and you shouldn’t tolerate it, either.
On the next page we go over installation considerations.


5 comments
[…] Senty Optimus Mid-Tower Case Review @ OCModShop […]
[…] Senty Optimus Mid-Tower Case Review @ OCModShop […]
That's a pretty sweet case you have there.
[…] Master HAF 932 Advanced Case Review @ Rage3D Rosewill Blackhawk Mid-Tower Chassis Review @ Techgage Senty Optimus Case Review @ OCModShop NZXT Sentry Mesh Fan Controller @ OCModShop Be Quiet! Dark Rock Pro CPU Cooler Review @ Kitguru […]
[…] Senty Optimus Mid-Tower Case Review @ OCModShop […]
Comments are closed.